1. Inleiding
Thank you for choosing the LG 34 Inch UltraWide WQHD Curved Monitor. This manual provides essential information for the safe and efficient use of your new monitor. Please read it thoroughly before operating the device and keep it for future reference.
Inhoud van het pakket
- LG 34 Inch UltraWide Curved Monitor
- Monitorstandaard (voet en nek)
- Stroomkabel
- HDMI-kabel
- DisplayPort-kabel
- USB-C-kabel
- Gebruiksaanwijzing en garantiekaart
2. Belangrijkste kenmerken
- 34-inch WQHD UltraWide Curved Display: Expansive 21:9 screen (3440 x 1440) for enhanced productivity and immersive viewind.
- HDR Display with 99% sRGB: Delivers vibrant, natural colors and distinct image layers, supporting HDR brightness performance.
- Hoge verversingsfrequentie van 120 Hz: Ensures fluid scrolling and dynamic content for a comfortable visual experience.
- 5ms (GTG) Response Time: Provides quick pixel response for smooth motion.
- LG Switch for Multitasking & Eye Care: Enables quick split-screen functionality, customizable layouts, and Reader Mode to reduce eye strain.
- Verstelbare standaard: Supports height, tilt, and swivel adjustments for optimal viewhoeken.
- Ingebouwde luidsprekers: Geïntegreerde audio voor extra gebruiksgemak.
- Meerdere connectiviteitsopties: Includes DisplayPort and HDMI inputs.
3. Instellen
3.1 De standaard monteren
Carefully remove the monitor and stand components from the packaging. Follow the instructions below to attach the stand to the monitor.
- Leg de monitor met het scherm naar beneden op een zachte, schone ondergrond om krassen te voorkomen.
- Bevestig de hals van de standaard aan het achterpaneel van de monitor. Zorg ervoor dat deze stevig vastklikt.
- Attach the stand base to the bottom of the stand neck. Tighten the screw(s) firmly to secure the base.
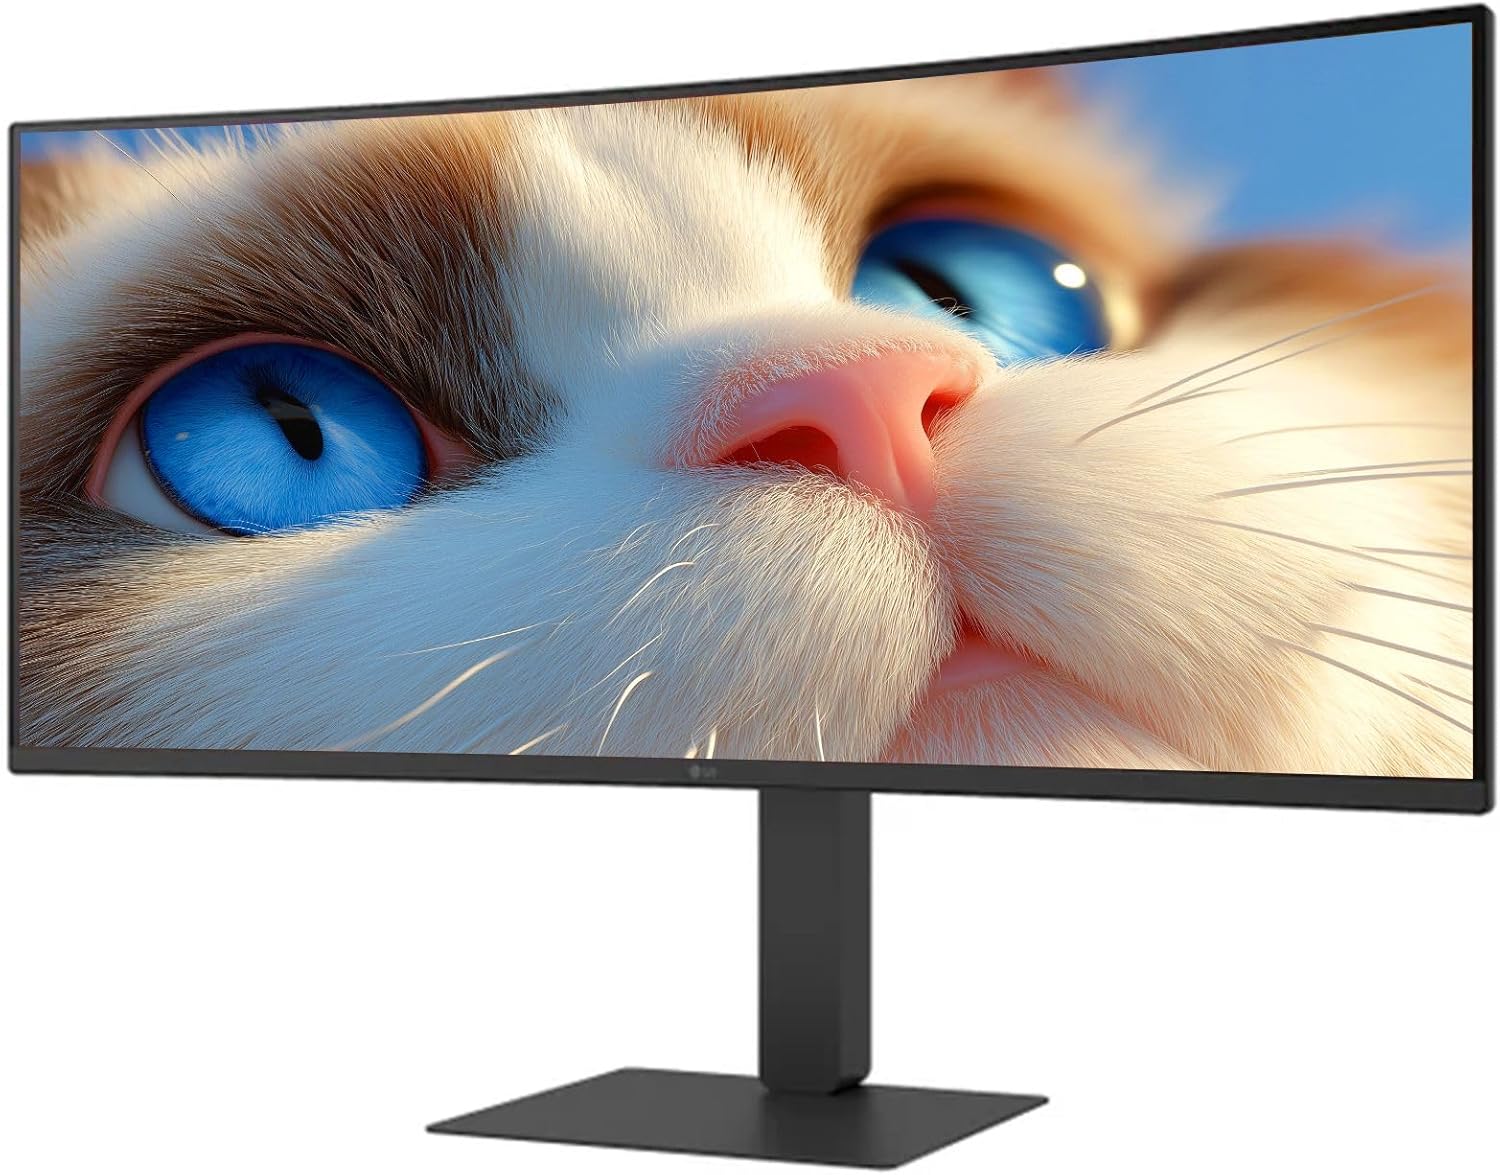
Figuur 1: Voorzijde view of the LG 34 Inch UltraWide Curved Monitor with stand.

Figuur 2: Zijkant view of the LG 34 Inch UltraWide Curved Monitor with stand.
3.2 De monitor aansluiten
Sluit de monitor aan op uw computer of andere apparaten met behulp van de juiste kabels.
- Sluit de voedingskabel aan op de voedingsingang van de monitor en vervolgens op een stopcontact.
- For video input, connect either an HDMI cable or a DisplayPort cable from your computer's graphics card to the corresponding port on the monitor.
- If your computer supports USB-C, you can use the provided USB-C cable for video, audio, and data transfer.

Afbeelding 3: Achter view of the monitor showing available ports for connectivity.
4. De monitor bedienen
4.1 In-/uitschakelen
Press the power button, usually located on the bottom center of the monitor, to turn the monitor on or off. The power indicator light will illuminate when the monitor is on.
4.2 OSD-menu (On-Screen Display)
The OSD menu allows you to adjust various monitor settings. Use the joystick button (typically located on the bottom center) to navigate the menu.
- Beeldmodus: Select from various preset modes (e.g., Custom, Reader, HDR Effect) or customize settings like brightness, contrast, and sharpness.
- Invoer: Manually select the input source (HDMI, DisplayPort, USB-C).
- Algemeen: Access settings for language, OSD transparency, and power-saving options.
4.3 De standaard aanpassen
The monitor stand offers ergonomic adjustments for your comfort:
- Hoogteverstelling: Gently push or pull the monitor up or down to your desired height.
- Kantelaanpassing: Hold both sides of the monitor and tilt it forwards or backwards.
- Draaiaanpassing: Draai de monitor naar links of rechts op de voet.
5. Onderhoud
5.1 De monitor schoonmaken
Volg deze reinigingsrichtlijnen om de levensduur en optimale prestaties van uw monitor te garanderen:
- Haal altijd de stekker van de monitor uit het stopcontact voordat u hem schoonmaakt.
- Gebruik een zachte, pluisvrije doek die lichtjes is schoongemaakt.ampschoongemaakt met water of een speciale schermreiniger.
- Spuit de reiniger niet rechtstreeks op het scherm.
- Vermijd het gebruik van schurende reinigingsmiddelen, oplosmiddelen of producten op basis van ammoniak.
6. Probleemoplossing
Als u problemen ondervindt met uw monitor, raadpleeg dan de volgende veelvoorkomende oplossingen:
- Geen stroom: Zorg ervoor dat de stroomkabel goed is aangesloten op zowel de monitor als het stopcontact. Controleer of het stopcontact werkt.
- Geen signaal: Verify that the video cable (HDMI, DisplayPort, or USB-C) is correctly connected to both the monitor and your computer. Ensure the correct input source is selected in the OSD menu.
- Flikkerend scherm: Check the video cable connection. Try adjusting the refresh rate in your computer's display settings.
- Beeldvervorming: Reset the monitor to factory settings via the OSD menu. Ensure your computer's display resolution matches the monitor's native resolution (3440 x 1440).
- Geen geluid uit de ingebouwde luidsprekers: Check the volume settings on both the monitor and your computer. Ensure the audio output is correctly routed to the monitor.
If the problem persists after trying these steps, please contact LG customer support.
7. Specificaties
| Functie | Specificatie |
|---|---|
| Merk | LG |
| Modelnummer | 195174134092 |
| Schermgrootte | 34 inch |
| Maximale resolutie | WQHD (3440 x 1440) |
| Vernieuwingsfrequentie | 120Hz |
| Reactietijd | 5ms (GTG) |
| Beeldverhouding | 21:9 |
| Kleurengamma | sRGB 99% |
| HDR-ondersteuning | HDR10 |
| Viewhoek: | 178 degrees (R/L), 178 degrees (U/D) |
| Weergaveconnectoren | 1x HDMI, 1x DisplayPort |
| Eye Relief Features | Low blue light, Flicker-free, Anti-glare, Reader Mode |
| Ingebouwde luidsprekers | Ja |
| Productafmetingen (met standaard) | 8.7"D x 32.1"B x 19.2"H |
| Productgewicht (met standaard) | 16.8 pond |
8. Garantie en ondersteuning
Your LG 34 Inch UltraWide Curved Monitor comes with a standard manufacturer's warranty. Please refer to the warranty card included in your package for detailed terms and conditions.
For technical support, service, or further inquiries, please visit the official LG website or contact their customer service hotline. Keep your purchase receipt and product serial number (located on the back of the monitor) handy when contacting support.