1. Inleiding
Bedankt voor uw aankoopasing the Ematic LED Projector. This manual provides essential information for setting up, operating, and maintaining your projector to ensure optimal performance and longevity. Please read this manual thoroughly before using the product and retain it for future reference.
2. Veiligheidsinformatie
Om brand of elektrische schokken te voorkomen, mag u dit apparaat niet blootstellen aan regen of vocht. Om elektrische schokken te voorkomen, mag u de behuizing niet openen. Laat onderhoudswerkzaamheden uitsluitend uitvoeren door gekwalificeerd personeel.
- Kijk niet rechtstreeks in de projectorlens als de lamp staat aan.
- Zorg voor voldoende ventilatie rondom de projector. Blokkeer de ventilatieopeningen niet.
- Gebruik uitsluitend de stroomadapter die bij de projector is geleverd.
- Houd de projector uit de buurt van water of andere vloeistoffen.
- Do not place the projector on an unstable surface.
- Haal de stekker van de projector uit het stopcontact tijdens onweer of wanneer deze gedurende langere tijd niet wordt gebruikt.
3. Inhoud van het pakket
- Ematic LED Projector
- Afstandsbediening
- Stroomadapter
- Gebruiksaanwijzing
- AV Cable (if included)
4. Product voorbijview
4.1 voorzijde View
Figuur 4.1: Voorzijde view of the Ematic LED Projector, highlighting the projection lens.
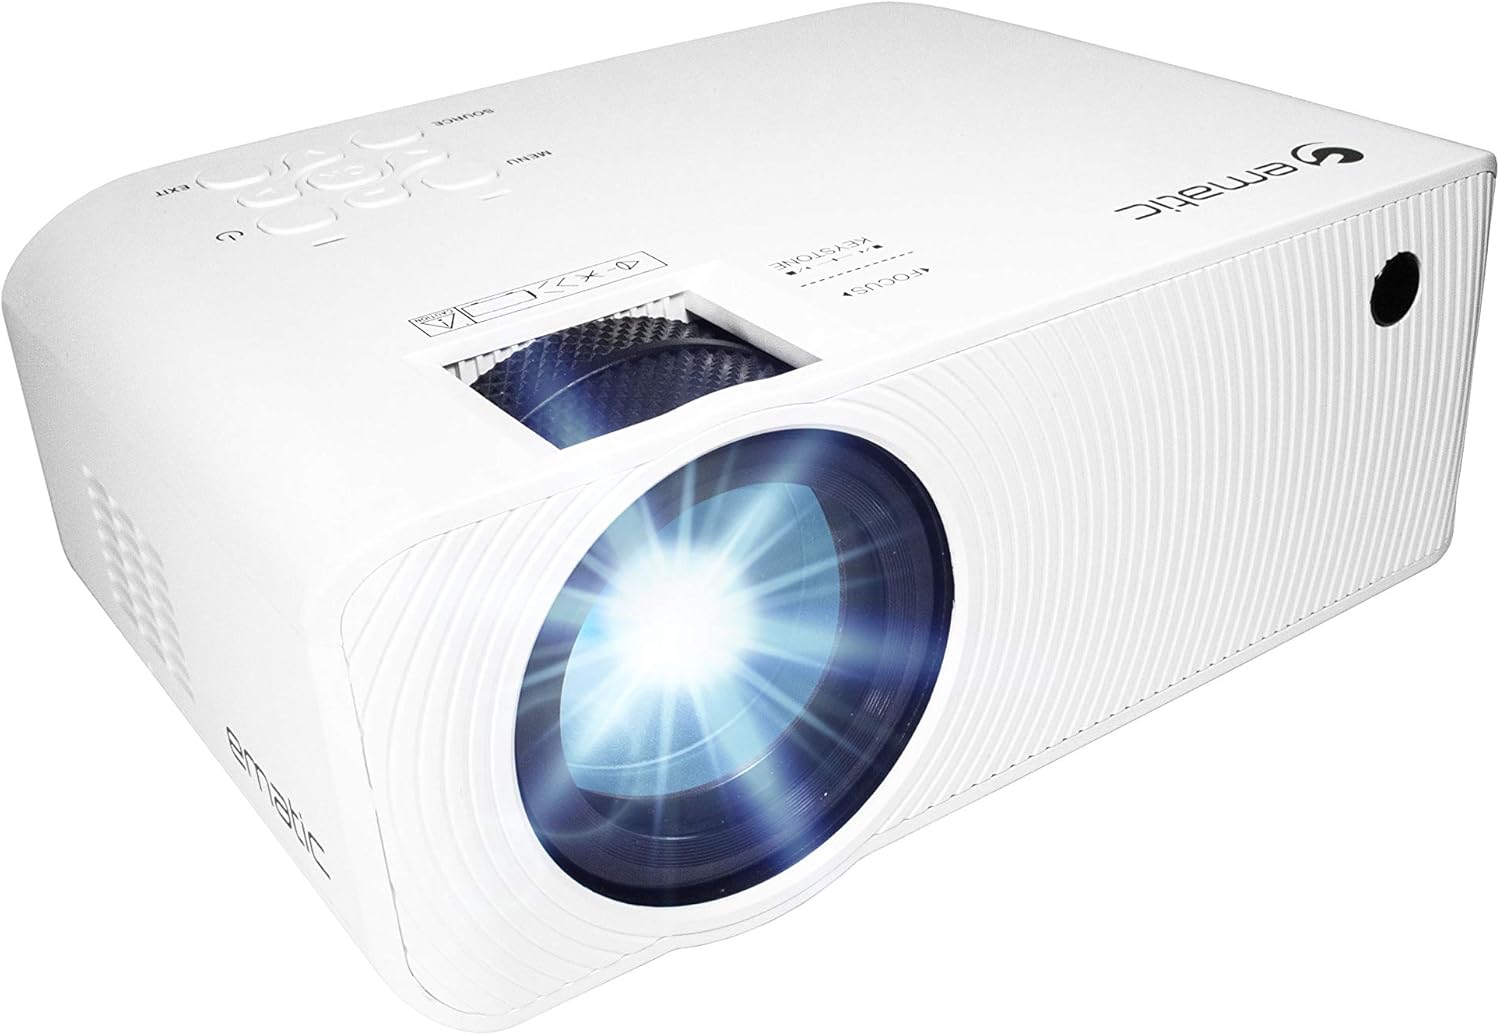
4.2 Boven View en bedieningselementen

Figuur 4.2: Boven view of the projector showing the control panel (Menu, Source, Exit, Navigation buttons) and the Focus and Keystone correction dials. A remote control is also visible.
- Scherpstelring: Past de helderheid van het beeld aan.
- Keystone-correctie: Corrigeert trapeziumvormige beeldvervorming.
- Configuratiescherm: Buttons for Menu, Source selection, Exit, and navigation.
4.3 Achter- en zijkant Views with Ports

Figure 4.3: Rear panel of the projector displaying the connectivity options: AUX audio output, AV input, MicroSD card slot, two HDMI inputs, USB port, and DC power input.

Figuur 4.4: Zijkant view of the projector, highlighting the VGA input port and the infrared (IR) receiver for the remote control.
- HULPMIDDELEN: 3.5mm audio output for external speakers or headphones.
- AV: Composiet video- en stereo-audio-ingang.
- MicroSD: Slot for MicroSD memory cards.
- HDMI 1 / HDMI 2: High-Definition Multimedia Interface inputs for digital audio/video.
- USB-poort: USB port for media playback from USB drives.
- DC IN: Stroomaansluiting voor de projector.
- VGA: Video Graphics Array input for computer connection.
5. Instellen
- Plaatsing: Plaats de projector op een stabiele, vlakke ondergrond. Zorg voor voldoende ruimte rondom de projector voor ventilatie. Voor optimale resultaten viewing, position the projector perpendicular to the projection screen or wall.
- Stroomaansluiting: Connect the supplied power adapter to the DC IN port on the projector and then plug the adapter into a power outlet.
- Eerste keer inschakelen: Druk op de aan/uit-knop op de projector of de afstandsbediening om het apparaat in te schakelen. Het indicatielampje gaat branden.
- Scherpstelling: Once the projector is on, rotate the Focus Ring (refer to Figure 4.2) until the projected image is clear and sharp.
- Keystone-correctie: If the image appears trapezoidal (wider at the top or bottom), adjust the Keystone Correction dial (refer to Figure 4.2) until the image is rectangular.
6. Gebruiksaanwijzing
- Aan/uitzetten: Press the power button on the projector or remote control. Press again to turn off.
- Selectie ingangsbron: Press the "Source" button on the projector or remote control to cycle through available input sources (HDMI 1, HDMI 2, AV, VGA, USB, MicroSD). Select the desired input.
- Menunavigatie: Press the "Menu" button to access the projector's settings. Use the navigation buttons on the projector or remote to browse options and the "OK" button to confirm selections.
- Media Playback (USB/MicroSD): Insert a USB drive or MicroSD card into the respective port. Select "USB" or "MicroSD" as the input source. The projector will display a file browser. Navigate to your desired media file (video, photo, music, text) and press "OK" to play.
- Audio-uitvoer: The projector has built-in speakers (refer to Figure 6.1). For external audio, connect headphones or external speakers to the AUX port (3.5mm audio jack).

Figure 6.1: Projector highlighting its built-in speaker functionality.
7. Connectiviteit
The Ematic LED Projector offers multiple connection options to various devices, ensuring versatility for your entertainment and presentation needs.

Figure 7.1: Multimedia device compatibility chart for the projector.

Afbeelding 7.2: Examples of projector connections to a laptop and smartphone, highlighting supported input types.
- HDMI: Connect Blu-ray players, game consoles (PS4, Xbox), streaming devices (Amazon Fire TV Stick, Chromecast), laptops, and other HDMI-enabled devices.
- USB-poort: Media afspelen files (videos, photos, music) directly from USB flash drives.
- MicroSD: Media afspelen files directly from MicroSD memory cards.
- AV: Connect older devices like DVD players or VCRs using the included AV cable.
- VGA: Connect desktop computers or older laptops.
- Audio Out (AUX): Sluit externe luidsprekers of een hoofdtelefoon aan voor een betere geluidservaring.
8. Onderhoud
- Lensreiniging: Gebruik een zachte, pluisvrije doek die speciaal is ontworpen voor optische lenzen om de projectorlens voorzichtig af te vegen. Gebruik geen schurende reinigingsmiddelen en oefen geen overmatige kracht uit.
- Stofverwijdering: Regularly clean the ventilation grilles with a soft brush or compressed air to prevent dust buildup, which can affect performance and lifespan.
- Buitenreiniging: Veeg de buitenkant van de projector af met een zachte, droge doek.amp lap. Vermijd het gebruik van agressieve chemicaliën.
- Opslag: Bewaar de projector, wanneer deze gedurende langere tijd niet wordt gebruikt, op een koele, droge plaats, bij voorkeur in de originele verpakking of een beschermende hoes, om stofophoping en beschadiging te voorkomen.
9. Probleemoplossing
| Probleem | Mogelijke oorzaak | Oplossing |
|---|---|---|
| Geen afbeelding geprojecteerd | No power; Incorrect input source; Cable not connected properly. | Check power connection; Select correct input source; Reconnect cables securely. |
| Afbeelding is wazig | Scherpstelling niet goed afgesteld; projector te ver/te dichtbij het scherm. | Adjust the Focus Ring; Adjust projection distance. |
| Afbeelding is trapeziumvormig | Keystone not adjusted; Projector not level. | Adjust the Keystone Correction dial; Ensure projector is on a flat surface. |
| Geen geluid | Volume too low; Muted; External speakers not connected or off. | Increase volume; Unmute; Check external speaker connection and power. |
| Afstandsbediening werkt niet | Batteries dead; Obstruction between remote and IR receiver. | Vervang de batterijen; verwijder obstakels; richt de afstandsbediening rechtstreeks op de infraroodontvanger van de projector. |
10. Specificaties
| Functie | Detail |
|---|---|
| Merk | Ematisch |
| Model | EMP-720 (Generic) |
| Weergaveresolutie | 1280 x 720 (origineel) |
| Connectiviteitstechnologie | HDMI, USB, AV, VGA, MicroSD, AUX |
| Speciale functie | Portable, Built-in Speakers |
| Artikelgewicht | 3.5 pond |
| Productafmetingen | 13.85 x 5 x 8.8 inch |
| Lamp Leven | Tot 20,000 uur (normale modus) |
11. Garantie en ondersteuning
For warranty information and technical support, please refer to the warranty card included with your product or visit the official Ematic webwebsite. Bewaar uw aankoopbewijs voor garantieclaims.
Ematic Customer Support: www.ematic.us/support (Exampde link)


