1. Inleiding
This manual provides comprehensive instructions for the safe and effective operation, setup, and maintenance of the MOKA SFX Single Pipe Digital CO2 Jet Machine (Model: MK-CO9). This device is designed to produce dramatic CO2 column effects for various events, including parties, stages, and DJ shows.
The CO2 jet machine is a popular choice for artists, DJs, and stage performers due to its flexibility and lightweight design, allowing for dynamic movement and creating an immersive, CO2-cooled atmosphere. It is specifically engineered for mobile DJs, nightclubs, concerts, and production companies seeking unique special smoke effects.

Figure 1: The MOKA SFX CO2 Jet Machine in action, producing multiple powerful CO2 plumes on a concert stage.
2. Producteigenschappen
The MOKA SFX Single Pipe Digital CO2 Jet Machine offers the following key features:
- Dynamic Special Effects: Capable of producing impressive CO2 column effects, enhancing the visual impact of any event.
- DMX-besturing: Fully controllable via DMX 512 signal, allowing for precise timing and integration with existing lighting and stage-systemen.
- Veelzijdige toepassing: Suitable for a wide range of events including nightclubs, concerts, DJ sets, and theatrical productions.
- High and Low Pressure Compatibility: Works seamlessly with both high-pressure and low-pressure CO2 systems.
- Duurzame constructie: Designed for professional use, ensuring reliability and longevity.
- Eenvoudige verbinding: Comes standard with a high-quality CO2 quick connector and gas hose for straightforward setup.
3. Technische specificaties
| Parameter | Waarde |
|---|---|
| Stroom | 30W |
| Controlemodus | DMX 512 |
| Spuithoogte | 8-10 meter (26-33 voet) |
| Deeltage | Wisselstroom 110V 50/60Hz |
| Eenheidsgewicht | 14.5 kg (6.6 lbs) |
| Afmetingen van de doos | 31 cm x 28 cm x 25 cm (12.2 x 11 x 9.8 inch) |
| Modelnummer | MK-CO9 |
| ASIN | B07BSDTQXG |

Figuur 2: Overview of the MOKA SFX Single Pipe Digital CO2 Jet Machine.
4. Installatie-instructies
Follow these steps to properly set up your CO2 jet machine:
- Uitpakken: Carefully remove the CO2 jet machine and all accessories from its packaging. Inspect for any signs of damage.
- Plaatsing: Position the CO2 jet machine on a stable, flat surface. Ensure the area is clear of obstructions and that the CO2 column will not spray directly onto people or sensitive equipment.
- CO2 Bottle Connection:
- Ensure the CO2 bottle is placed securely and flat on the ground. If the bottle is not stable or flat, the gas column may not be emitted correctly.
- Connect the provided gas hose to the CO2 bottle. Ensure the connection is tight and secure to prevent gas leaks.
- Connect the other end of the gas hose to the quick connector on the CO2 jet machine. Verify that the trachea connection is firmly linked.

Figure 3: Detail of the CO2 quick connector for gas hose attachment.
- DMX-aansluiting: Connect your DMX512 console to the DMX IN port on the CO2 jet machine using a standard DMX cable.
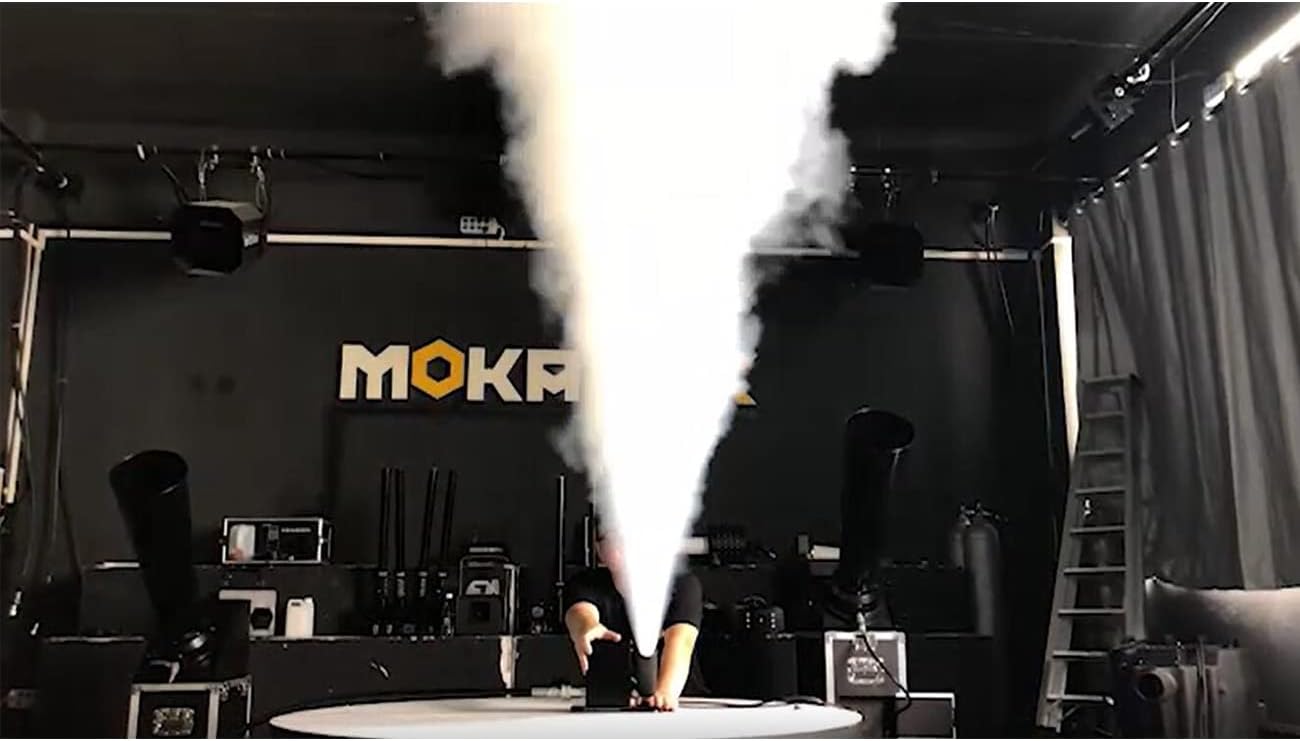
Figure 4: Rear panel connections including DMX ports and power input.
- Stroomaansluiting: Before connecting the power, ensure that all parts of the CO2 column system are securely connected and in their correct positions. Once verified, connect the power cable to the machine and then to a suitable AC 110V 50/60Hz power outlet.
5. Gebruiksaanwijzing
The MOKA SFX CO2 Jet Machine is primarily controlled via DMX512. Follow these steps for operation:
- Inschakelen: Turn on the main power switch on the CO2 jet machine. The digital display should illuminate.
- DMX Mode Selection: Press the "DMX" switch on the machine's control panel to activate DMX control mode. The machine operates with 6 DMX channels.
- DMX-adresinstelling: Use the address buttons on the control panel to set the desired DMX starting address for the unit. Refer to your DMX console manual for channel assignments.
- Activating CO2 Jet:
- From your DMX512 console, push the first switch (or fader corresponding to the assigned DMX channel) to activate a CO2 column for approximately 1 second.
- To maintain a continuous CO2 column, keep the first switch (or fader) pushed down.

Figure 5: Front control panel with DMX display and power switch.
6. Veiligheidsmaatregelen en waarschuwingen
Adherence to these safety guidelines is crucial for preventing injury and equipment damage:
- Jet Duration: The CO2 column squirt time must not exceed a prolonged duration. Excessive continuous use can lead to equipment overheating or CO2 bottle issues.
- Interval Between Jets: Ensure that the interval between two consecutive CO2 jets is not shorter than 5 seconds. This allows the system to reset and prevents rapid pressure fluctuations.
- Pre-Power Check: Before connecting the power supply, always verify that every component of the CO2 column system is securely connected and properly installed.
- CO2 Bottle Positioning: The CO2 bottle must be placed upright and kept flat on a stable surface. Failure to do so may prevent the gas column from being emitted correctly or cause the bottle to tip over.
- Trachea Connection: Confirm that the trachea (gas hose) connection is firmly linked to both the machine and the CO2 bottle. A loose connection can result in gas leaks.
- Opslag: When the machine is not in use, the nozzle and the steel bottle intake must be covered or sealed to prevent foreign objects from entering the system.
- Ventilatie: Operate the machine in a well-ventilated area to prevent CO2 accumulation, which can displace oxygen.
- Professioneel gebruik: This equipment is intended for professional use by trained personnel.
7. Onderhoud
Regular maintenance ensures the longevity and optimal performance of your CO2 jet machine:
- Schoonmaak: Periodically clean the exterior of the machine with a soft, dry cloth. Do not use abrasive cleaners or solvents.
- Mondstukinspectie: Regularly inspect the CO2 nozzle for any blockages or debris. Ensure it is clear before each use.
- Verbindingscontroles: Before and after each use, check all gas hose and DMX connections for tightness and wear. Replace any worn or damaged components immediately.
- Opslag: When not in use for extended periods, disconnect the CO2 bottle, cover the nozzle and steel bottle intake, and store the machine in a dry, cool place away from direct sunlight and extreme temperatures.
- Vervanging van zekering: If the machine fails to power on, check the fuse located on the rear panel. Replace it with a fuse of the same type and rating if blown.

Figure 6: Inspect the CO2 nozzle for cleanliness and obstructions.
8. Probleemoplossingsgids
This section addresses common issues you might encounter with your CO2 jet machine:
| Probleem | Mogelijke oorzaak | Oplossing |
|---|---|---|
| No CO2 jet emitted |
|
|
| Machine gaat niet aan |
|
|
| Inconsistent jet output |
|
|
9. Garantie en klantenondersteuning
For warranty information, technical support, or service inquiries regarding your MOKA SFX Single Pipe Digital CO2 Jet Machine, please contact MOKA SFX customer service directly.
You can visit the official MOKA SFX store on Amazon for more information and contact options:
Please have your model number (MK-CO9) and ASIN (B07BSDTQXG) ready when contacting support.


