1. Inleiding
This manual provides detailed instructions for the safe and effective operation of your Neoteck NTK028 Digital Multimeter. This device is a versatile tool designed for measuring AC/DC voltage, AC/DC current, resistance, capacitance, frequency, temperature, and performing continuity, diode, hFE, and logic tests. Please read this manual thoroughly before use and retain it for future reference.
2. Veiligheidsinformatie
Om een veilige werking te garanderen, dient u altijd de volgende veiligheidsmaatregelen in acht te nemen:
- Overschrijd de maximale invoerwaarden die voor elk meetbereik zijn gespecificeerd niet.
- Ensure test leads are properly connected and in good condition before making any measurements.
- Avoid touching exposed wiring or circuit components while measuring.
- Schakel altijd de stroomtoevoer naar het te testen circuit uit voordat u de weerstand, capaciteit of continuïteit meet.
- Wees voorzichtig bij het werken met voltagboven 30V AC RMS, 42V piek of 60V DC, aangezien deze een schokgevaar opleveren.
- The multimeter is rated for CAT II 1000V and CAT III 600V. Ensure the measurement category matches your application.
- Vervang de batterijen onmiddellijk wanneer de batterij-indicator oplicht om de meetnauwkeurigheid te behouden.
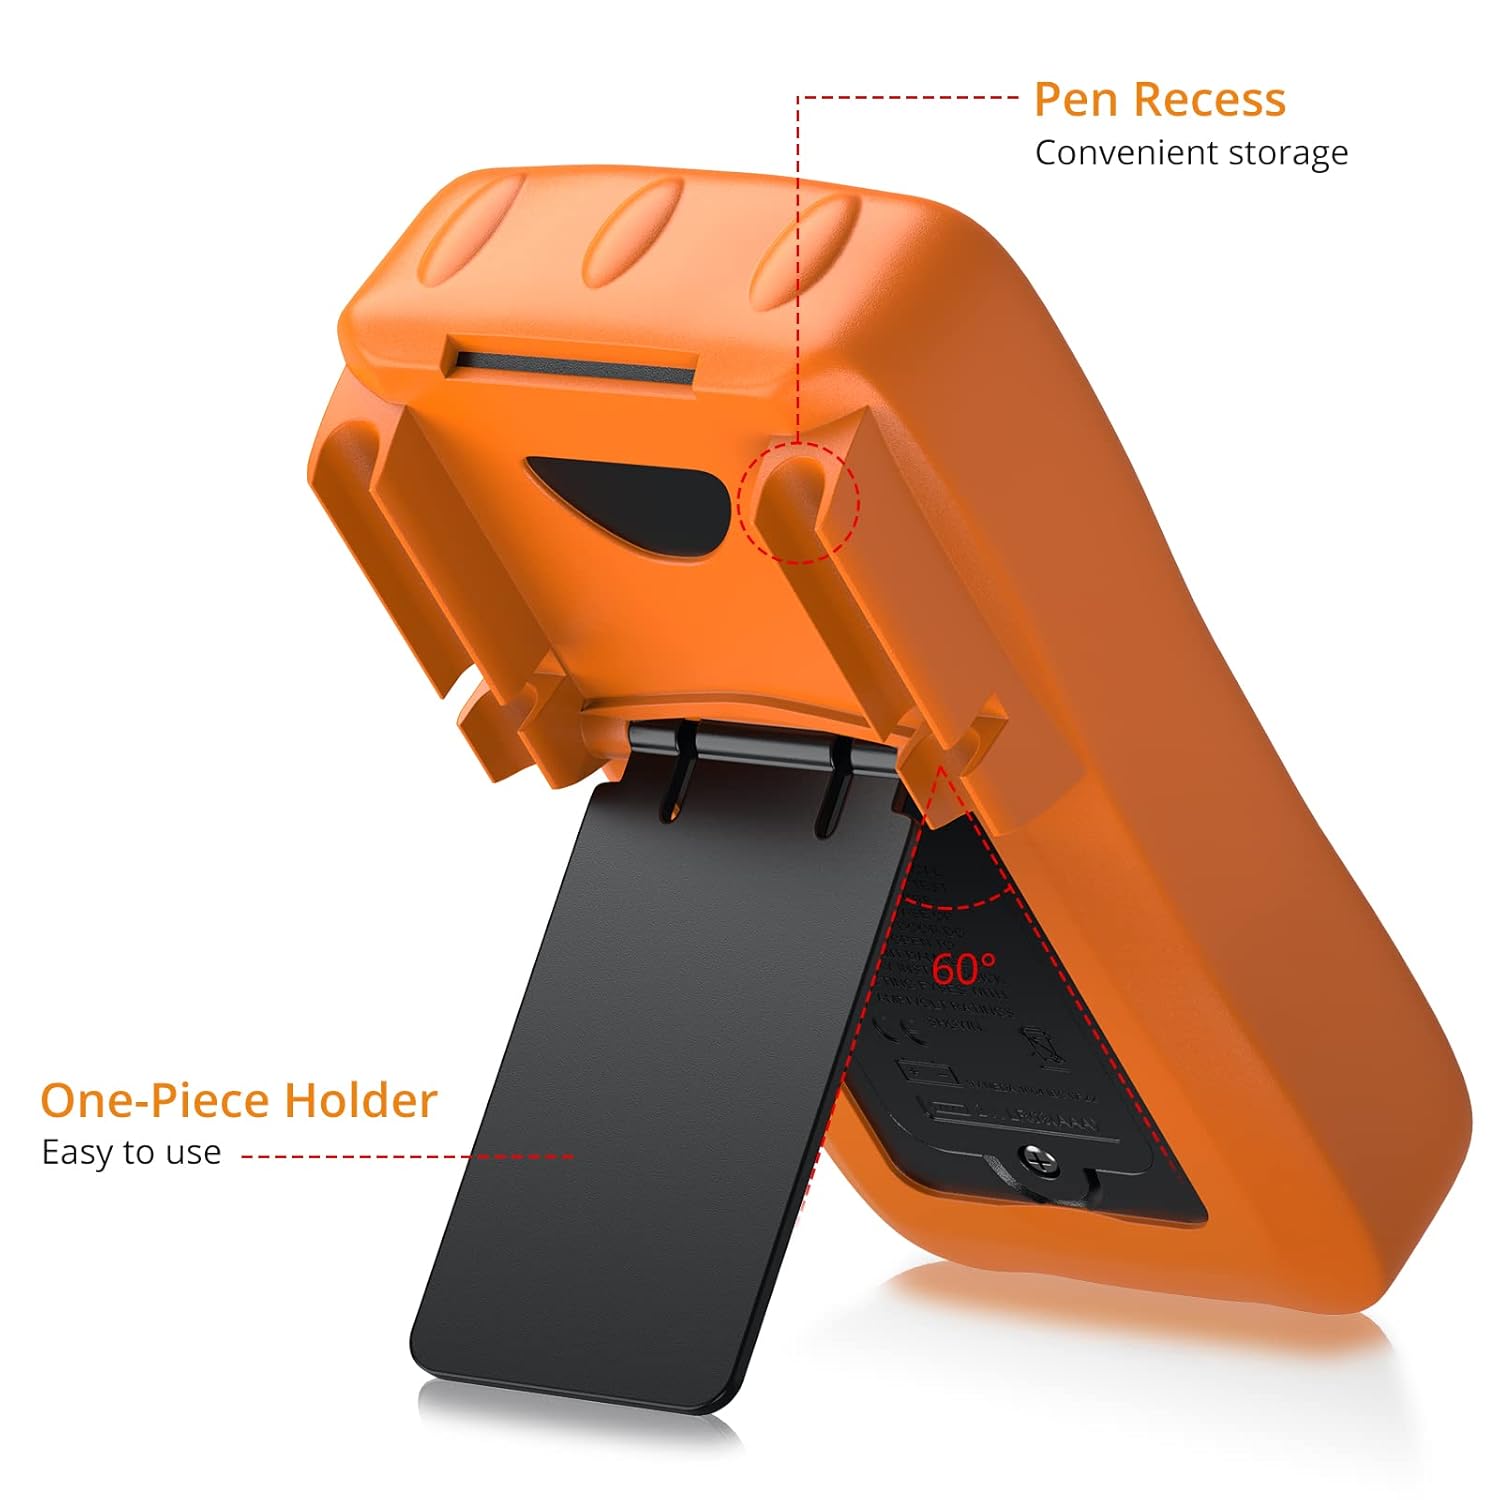
3. Product voorbijview
The Neoteck NTK028 Multimeter features a large backlit LCD display, a rotary switch for function selection, and multiple input jacks for various measurements.

3.1 Belangrijkste componenten
- LCD-scherm: Shows measurement readings, units, and indicators. Features a backlight for low-light conditions.
- Draaischakelaar: Wordt gebruikt om de gewenste meetfunctie te selecteren (bijv. Vol).tage, Current, Resistance, Temperature).
- Functieknoppen: Include AUTO/MANUAL ranging, REL (Relative Measurement), HOLD (Data Hold), and LIGHT/RANGE (Backlight/Range selection).
- Ingangsaansluitingen:
- COM: Gemeenschappelijke ingang voor alle metingen (zwarte testkabel).
- VΩHz: Invoer voor Voltage, Weerstand, Frequentie, Capaciteit, Diode, Continuïteit en Temperatuur (rode testkabel).
- uAmA: Input for microampere and milliampstroommetingen (rode testkabel).
- 10A: Input for 10 Ampstroommetingen (rode testkabel).
4. Instellen
4.1 Batterij installatie
The multimeter requires two AAA batteries for operation. To install or replace batteries:
- Zorg ervoor dat de multimeter is uitgeschakeld.
- Zoek het batterijklepje aan de achterkant van het apparaat.
- Gebruik een schroevendraaier om de schroef los te draaien waarmee het deksel vastzit.
- Carefully remove the cover and insert two AAA batteries, observing correct polarity (+/-).
- Plaats het deksel terug en zet het vast met de schroef.
4.2 Testkabels aansluiten
Sluit altijd de zwarte testkabel aan op de COM jack. Connect the red test lead to the appropriate input jack based on the measurement type:
- voor Voltage, Resistance, Capacitance, Frequency, Diode, Continuity, and Temperature: Connect the red lead to the VΩHz krik.
- For Current (uA/mA): Connect the red lead to the uAmA krik.
- For Current (10A): Connect the red lead to the 10A krik.
5. Gebruiksaanwijzing
Turn the rotary switch to the desired function. The multimeter supports both auto-ranging and manual ranging. Press the "Range" button to switch between modes.
5.1 AC/DC meten Voltage
- Zet de draaischakelaar op de V~ (AC Voltage) of V- (DC-deeltage) positie.
- Sluit het zwarte meetsnoer aan op COM en de rode test leidde tot VΩHz.
- Sluit de testprobes parallel aan op het circuit of het onderdeel dat u wilt meten.
- Lees het deeltage-waarde op het LCD-scherm.
5.2 Het meten van wissel- en gelijkstroom
- Zet de draaischakelaar op de A~ (wisselstroom) of A- (DC Current) position, selecting the appropriate range (uA, mA, or 10A).
- Sluit het zwarte meetsnoer aan op COM. Connect the red test lead to uAmA for small currents or 10A for larger currents.
- Connect the test probes in series with the circuit.
- Lees de huidige waarde af op het LCD-scherm.

5.3 Weerstand meten (Ω)
- Zet de draaischakelaar op de Ω positie.
- Sluit het zwarte meetsnoer aan op COM en de rode test leidde tot VΩHz.
- Ensure the circuit is de-energized before measuring.
- Sluit de testprobes aan op het onderdeel om de weerstand ervan te meten.
- Lees de weerstandswaarde af op het lcd-scherm.
5.4 Capaciteit meten (F)
- Zet de draaischakelaar op de F positie.
- Sluit het zwarte meetsnoer aan op COM en de rode test leidde tot VΩHz.
- Zorg ervoor dat de condensator volledig ontladen is vóór de meting om schade aan de meter te voorkomen.
- Sluit de testprobes aan op de aansluitingen van de condensator.
- Lees de capaciteitswaarde af op het LCD-display.
5.5 Meetfrequentie (Hz)
- Zet de draaischakelaar op de Hz positie.
- Sluit het zwarte meetsnoer aan op COM en de rode test leidde tot VΩHz.
- Sluit de testprobes aan op de signaalbron.
- Lees de frequentiewaarde af op het LCD-scherm.
5.6 Temperatuur meten (°C/°F)
- Zet de draaischakelaar op de °C positie.
- Connect the K-Type thermocouple to the VΩHz (positief) en COM (negative) jacks.
- Place the thermocouple probe in contact with the object or environment whose temperature you wish to measure.
- Read the temperature value on the LCD display. Press the "Select" button to switch between Celsius and Fahrenheit.

5.7 Continuïteitstest
- Zet de draaischakelaar op het continuïteitssymbool (luidsprekerpictogram).
- Sluit het zwarte meetsnoer aan op COM en de rode test leidde tot VΩHz.
- Zorg ervoor dat het circuit spanningsloos is.
- Touch the test probes to the two points of the circuit you want to check for continuity.
- Als er continuïteit is (weerstand lager dan ongeveer 50Ω), zal de zoemer afgaan.
5.8 Diodetest
- Zet de draaischakelaar op het diodesymbool.
- Sluit het zwarte meetsnoer aan op COM en de rode test leidde tot VΩHz.
- Zorg ervoor dat de diode losgekoppeld is van het circuit.
- Sluit de rode meetpen aan op de anode en de zwarte meetpen op de kathode. Op het display wordt de voorwaartse spanning weergegeven.tage laten vallen.
- Draai de meetpennen om. Een open circuit (OL) meting duidt op een goede diode.
5.9 hFE-test (transistortest)
- Zet de draaischakelaar op de hFE positie.
- Insert the transistor's emitter, base, and collector leads into the corresponding hFE test sockets (E, B, C) on the multimeter.
- Op het display wordt de hFE-waarde (gelijkstroomversterking) van de transistor weergegeven.
5.10 Logic Test (CMOS/TTL)
- Zet de draaischakelaar op de CMOS or TTL positie.
- Sluit het zwarte meetsnoer aan op COM en de rode test leidde tot VΩHz.
- Connect the red probe to the logic circuit point to be tested.
- The display will indicate the logic state (HIGH, LOW, or PULSE).
6. Onderhoud
6.1 Reinigen
Veeg de meter schoon met adamp doek en een mild schoonmaakmiddel. Gebruik geen schuurmiddelen of oplosmiddelen.
6.2 Batterij vervangen
When the battery symbol appears on the LCD, replace the batteries as described in Section 4.1. Always use two new AAA batteries.
6.3 Zekering vervangen
If the current measurement function fails, the fuse may need replacement. The multimeter features double fuse protection. To replace a fuse:
- Zorg ervoor dat de multimeter UIT staat en dat alle meetsnoeren zijn losgekoppeld.
- Remove the battery compartment cover and batteries.
- Carefully open the meter casing (refer to the internal diagram if available).
- Locate the blown fuse(s) and replace them with fuses of the same type and rating (e.g., F400mA/250V for mA range, F10A/250V for 10A range). Two spare fuses are included.
- Monteer de meter weer in elkaar en zorg ervoor dat alle schroeven goed vastzitten.


7. Probleemoplossing
- Geen beeld of zwak beeld: Controleer of de accu goed geplaatst en opgeladen is. Vervang de accu's indien nodig.
- Onjuiste metingen: Ensure correct function selection, proper test lead connection, and that the circuit is de-energized for resistance/capacitance measurements. Check for blown fuses if current measurement is inaccurate.
- "OL" (Overload) weergegeven: De gemeten waarde overschrijdt het geselecteerde bereik. Schakel over naar een hoger bereik of controleer op een onderbreking.
- Geen continuïteitssignaal: Check if the circuit resistance is above 50Ω or if the function is correctly selected.
8. Specificaties
| Merk | Neoteck |
| Modelnummer | NTK028 |
| Energiebron | Battery Powered (2 AAA batteries) |
| Weergave | 4000 Counts, Backlit LCD |
| Meettype | AC/DC-voltage, AC/DC Current, Resistance, Capacitance, Frequency, Temperature, Diode, Continuity, hFE, Logic Test |
| Temperatuurbereik | Up to 1000 Degrees Celsius (with K-Type Thermocouple) |
| Veiligheidsclassificatie | CAT II 1000V, CAT III 600V |
| Afmetingen (L x B x H) | 6.46 x 2.76 x 1.57 inch |
| Artikelgewicht | 0.01 ounces (0.29 gram) |
9. Wat zit er in de doos?
The Neoteck Multimeter package includes the following items:
- 1 x Neoteck Digital Multimeter
- 1 x draagtas
- 1 x K-Type Temperature Probe
- 1 x Standard Test Lead Set
- 1 x Test Lead Banana Plug to Alligator Clip Set
- 2 x AAA-batterijen
- 2 reservezekeringen
- 1 x Schroevendraaier

10. Garantie en ondersteuning
For any questions, technical support, or warranty inquiries regarding your Neoteck Multimeter, please contact Neoteck customer service. Refer to the product packaging or the official Neoteck webwebsite voor contactgegevens.


