1. Inleiding
The Vivitek D519 is a versatile and portable digital projector designed to deliver high-quality presentations and media experiences. Featuring 3000 lumens of brightness, XGA (1024x768) native resolution, and a 15,000:1 contrast ratio, it ensures clear and vibrant images. This manual will guide you through the setup, operation, and maintenance of your D519 projector.
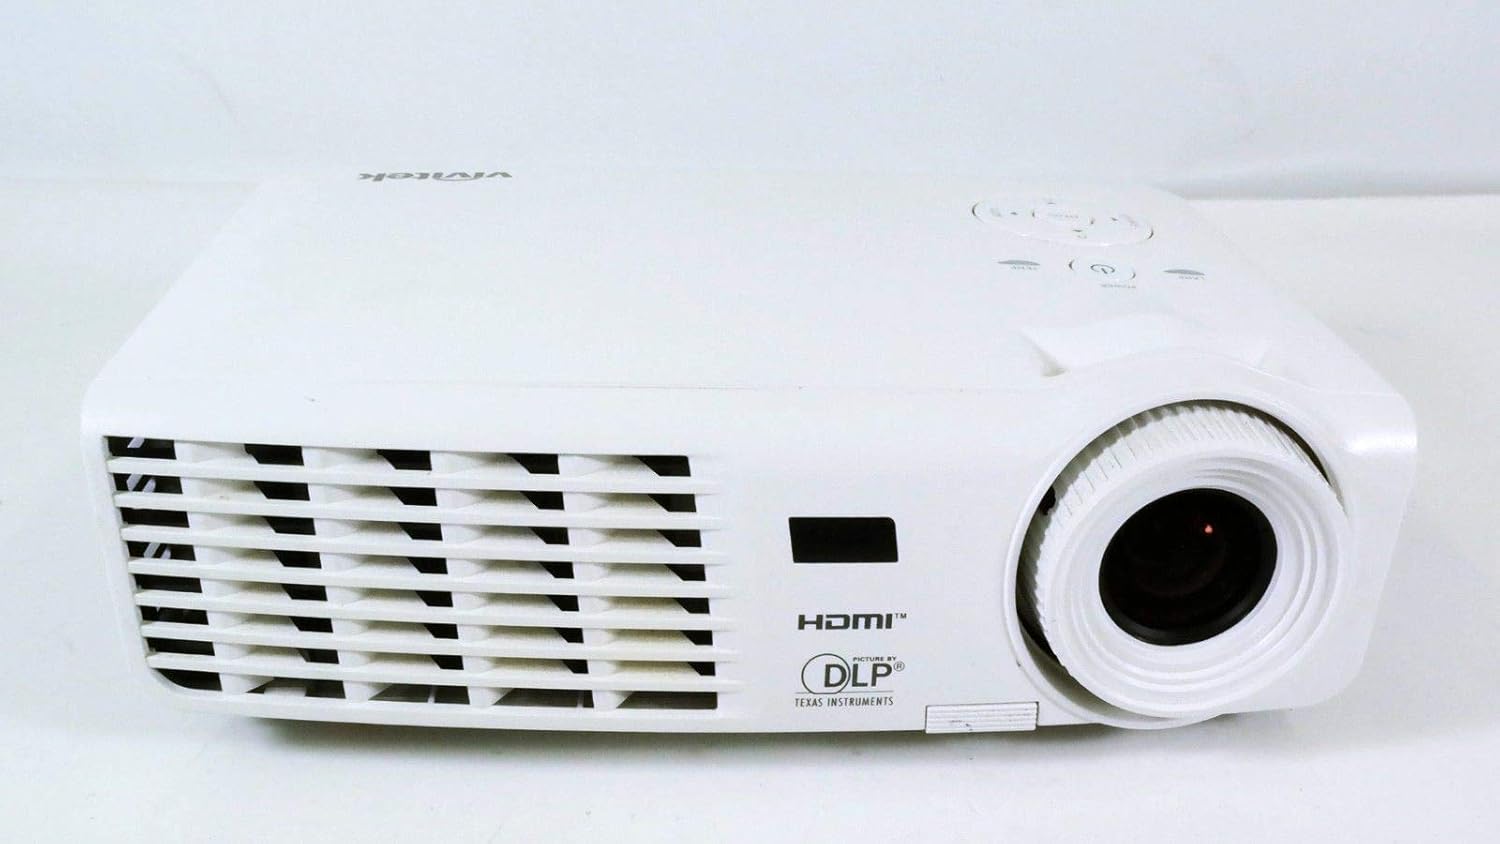
Figuur 1.1: Voorzijde view of the Vivitek D519 Projector, showing the lens and ventilation.
2. Instellen
2.1 De projector uitpakken
Haal alle onderdelen voorzichtig uit de verpakking. Controleer of alle onderstaande onderdelen aanwezig zijn:
- Vivitek D519 Projector
- AC-netsnoer
- VGA-kabel
- Afstandsbediening (met batterijen)
- Draagtas
- User's Manual (CD)
- Lensdop
- Garantiekaart
2.2 Fysieke plaatsing
Place the projector on a stable, flat surface or mount it securely. Ensure adequate ventilation around the projector to prevent overheating. Avoid placing it near heat sources or in direct sunlight.
2.3 Apparaten aansluiten
The D519 offers various connectivity options. Connect your source device (e.g., laptop, DVD player) to the appropriate input port on the projector.

Afbeelding 2.1: Achter view of the Vivitek D519 Projector, highlighting the HDMI, VGA, S-Video, and audio input ports.
- HDMI: For high-definition digital video and audio. Connect an HDMI cable from your source to the projector's HDMI port.
- VGA: For analog computer video. Connect a VGA cable from your computer to the projector's VGA port.
- Audio In: For analog audio input. Connect audio cables to the L-AUDIO-R or AUDIO IN ports as needed.
- S-video: Voor video in standaarddefinitie.
- RS-232: For projector control via a computer or control system.
2.4 Inschakelen
Connect the AC power cord to the projector's power inlet and then to a power outlet. Press the Stroom button on the projector's control panel or the remote control to turn on the projector. The power indicator light will illuminate.
3. De projector bedienen
3.1 Configuratiescherm voorbijview
Het bedieningspaneel bovenop de projector maakt basisbediening mogelijk zonder afstandsbediening.

Figuur 3.1: Boven view of the Vivitek D519 Projector, showing the control panel with power, menu, source, and navigation buttons.
- Aan/uit-knop: Zet de projector aan of uit.
- Bronknop: Cycles through available input sources (HDMI, VGA, S-Video, etc.).
- Menuknop: Hiermee opent u het OSD-menu (On-Screen Display) voor geavanceerde instellingen.
- Navigatieknoppen (omhoog/omlaag/links/rechts): Wordt gebruikt om door menuopties te navigeren en instellingen aan te passen.
- Automatische knop: Automatically adjusts the image for optimal display.
3.2 Het beeld aanpassen
Once the projector is powered on and an input source is selected, you may need to adjust the image for clarity and size.
- Scherpstelring: Draai de scherpstelring rond de lens om het beeld scherper te maken.
- Zoomring: Rotate the zoom ring to adjust the image size without moving the projector. The D519 has a 1.1:1 zoom ratio.
- Keystone-correctie: If the image appears trapezoidal, use the keystone correction feature (accessible via the OSD menu) to square the image.
3.3 Het OSD-menu (On-Screen Display) gebruiken
Druk op de Menu button on the projector or remote to access the OSD. Use the navigation buttons to browse categories such as Picture, Display, Setup, and Information. Press Binnenkomen (or the center button on the navigation pad) to select an option and adjust settings.
4. Onderhoud
4.1 literamp Levensduur en vervanging
De projector lamp has a rated life of 4000 hours in Standard mode and up to 6000 hours in Economy mode. When the lamp het einde van zijn leven bereikt, de lamp indicator light will illuminate, and a message may appear on screen. Refer to the detailed user manual (on CD) for lamp vervanging instructies.
4.2 De projector reinigen
- Lens: Gebruik een zachte, pluisvrije doek die speciaal is ontworpen voor optische lenzen. Gebruik geen schurende reinigingsmiddelen.
- Casing: Veeg de projector schoon.asing met een zachte, damp lap. Vermijd het gebruik van agressieve chemicaliën of oplosmiddelen.
- Luchtroosters: Regularly check and clean the air vents to ensure proper airflow and prevent dust buildup, which can lead to overheating. Use a soft brush or compressed air.
5. Probleemoplossing
This section addresses common issues you might encounter with your Vivitek D519 projector.
| Probleem | Mogelijke oorzaak | Oplossing |
|---|---|---|
| Geen beeld op het scherm | Power cable disconnected; Incorrect input source; Source device off. | Check power connection; Press 'Source' button to select correct input; Ensure source device is on. |
| Afbeelding is wazig | De lens is niet scherp; de projector staat te dichtbij/te ver van het scherm. | Adjust the focus ring; Adjust projector distance or use zoom ring. |
| Afbeelding is trapeziumvormig | Projector staat niet loodrecht op het scherm. | Adjust keystone correction via OSD menu. |
| Projector shuts down unexpectedly | Overheating; Lamp bijna aan het einde van het leven. | Ensure vents are clear; Allow projector to cool; Consider lamp replacement if indicator light is on. |
| Distorted image on startup | Software glitch; Connection issue. | Restart the projector; Check all cable connections; If persistent, consult Vivitek support. |
6. Specificaties
Key technical specifications for the Vivitek D519 Projector:
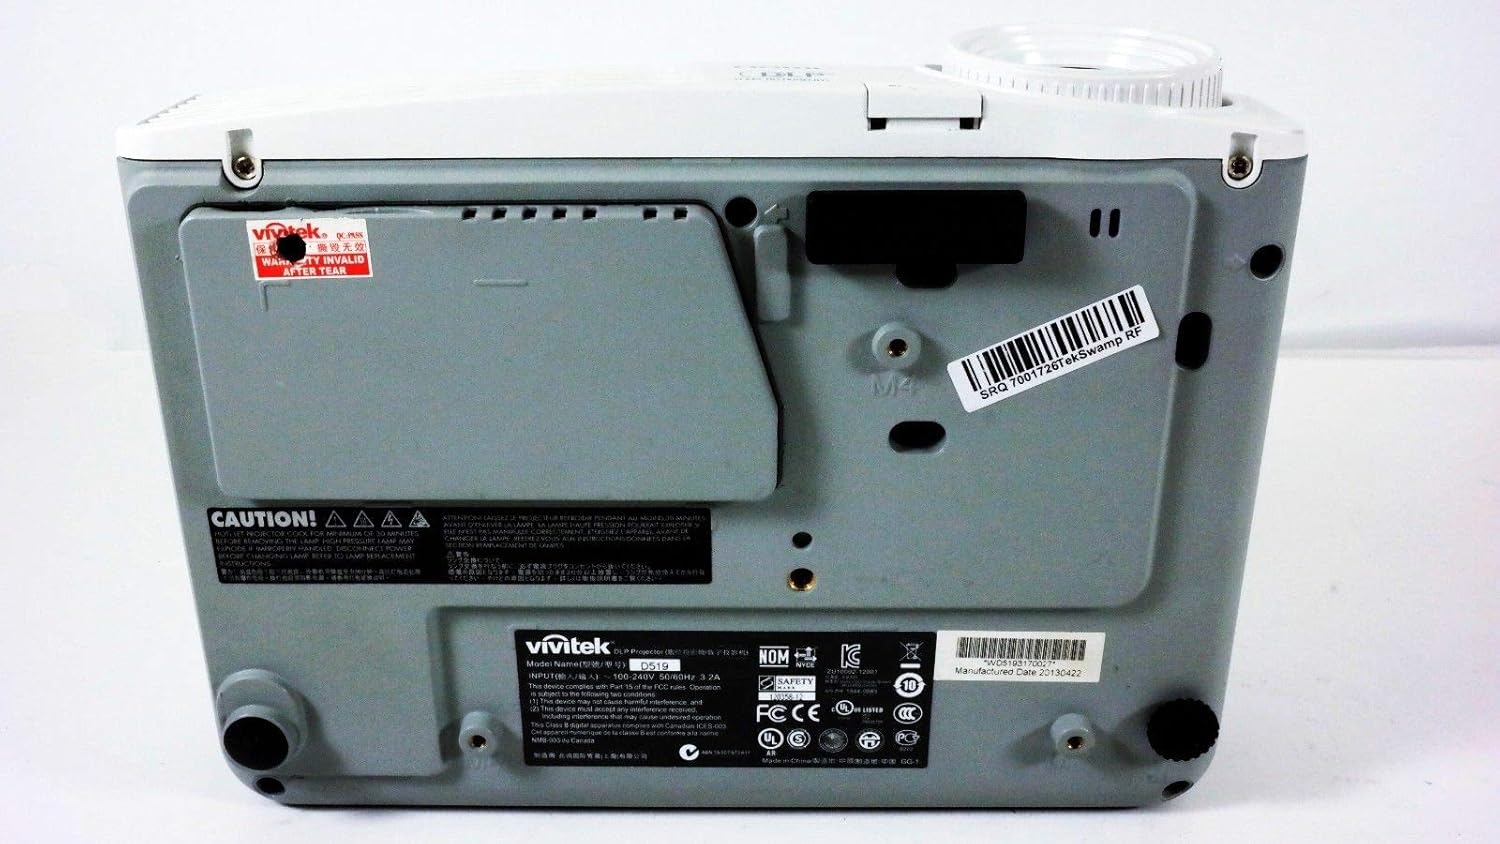
Afbeelding 6.1: Bodem view of the Vivitek D519 Projector, showing the product label with model and serial information.
| Functie | Detail |
|---|---|
| Modelnummer | DPU35-262VVUA |
| Weergavetechnologie | Single 0.55” DLP Display Technology by Texas Instruments |
| Oorspronkelijke resolutie | XGA (1024 x 768) |
| Helderheid | 3000 Lumen |
| Contrastverhouding | 15,000:1 |
| Lamp Leven | 4000 hours (Standard) / 6000 hours (Economy) |
| Zoomverhouding | 1.1:1 (Manual Zoom and Focus) |
| Connectiviteit | HDMI v1.3, VGA, S-Video, L-Audio-R, Audio In, RS-232 |
| Speciale kenmerken | HD Compatible, 3D-Ready, Screen Size compatibility: 40 - 300 inches |
| Productafmetingen | 7.5 x 10.3 x 3.1 inch |
| Artikelgewicht | 4.35 pond |
7. Garantie en ondersteuning
Your Vivitek D519 projector comes with a limited warranty. Please refer to the Warranty Card included in your product packaging for detailed terms and conditions. For technical support, service, or warranty claims, please contact Vivitek customer service through their official webwebsite of de contactgegevens die u in uw garantiedocumentatie vindt.
Wij raden u aan uw product online te registreren om updates en ondersteuning te ontvangen.


