1. Product voorbijview
The GeneralAire 1042LH Legacy Humidifier is a furnace-mounted, bypass-type humidifier designed to introduce moisture into your home's air. It operates by dispersing water evenly across a vapor pad. A portion of the heated air from your furnace passes through this water-soaked pad, absorbing moisture before being distributed throughout your living space. This process helps maintain optimal humidity levels for improved comfort and air quality.
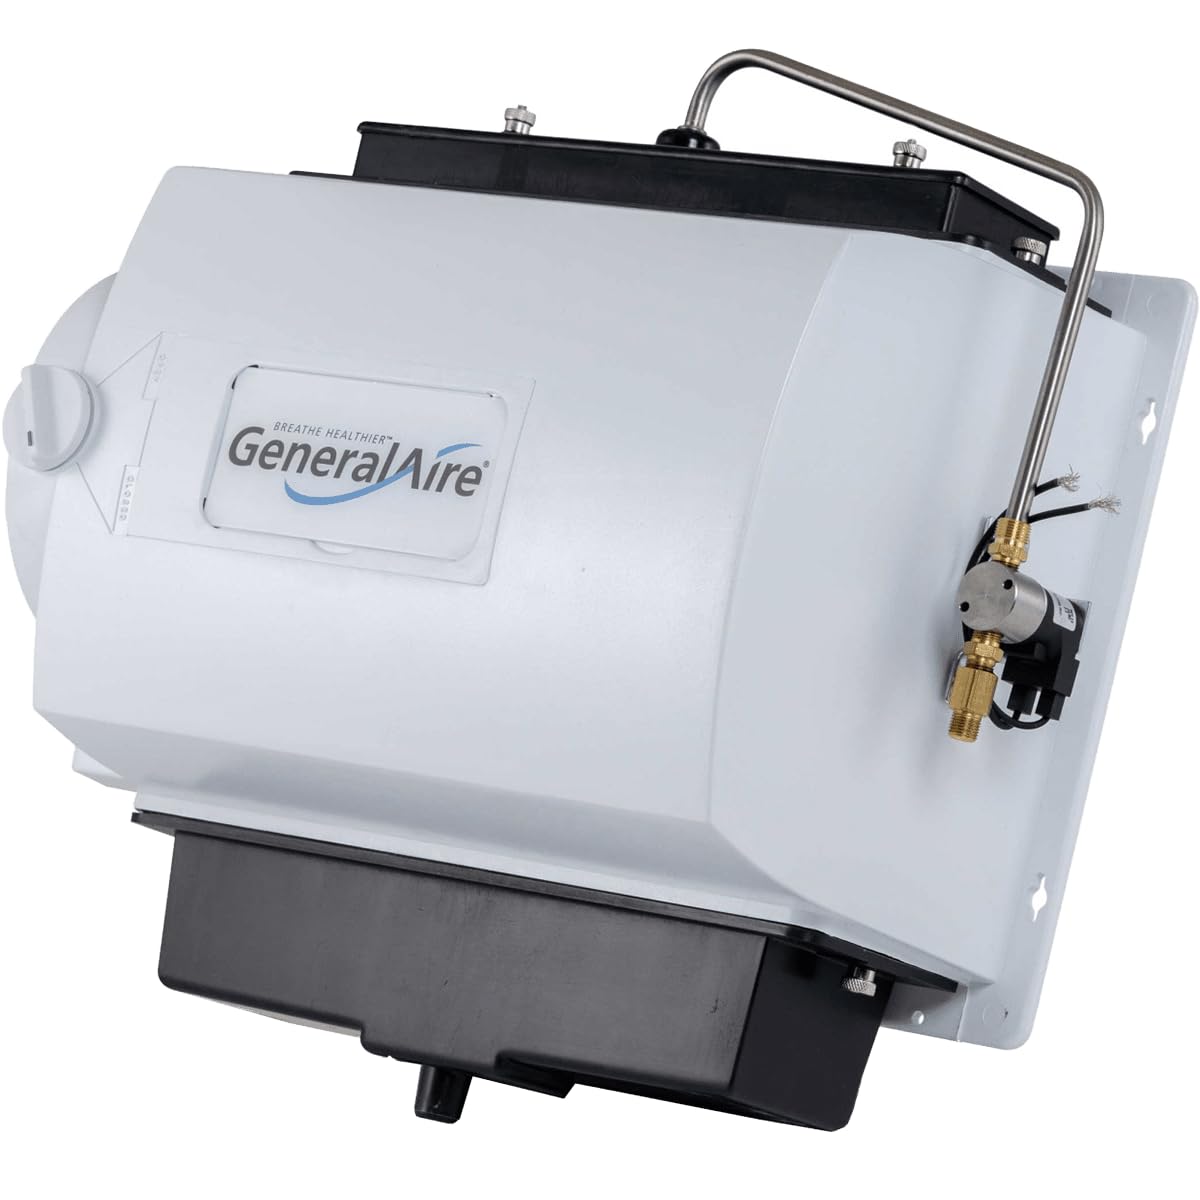
Image 1.1: The GeneralAire 1042LH Legacy Humidifier shown installed on a furnace duct. The unit is white with a black base, featuring the GeneralAire logo. Wiring and water lines are visible connecting to the unit.
Belangrijkste kenmerken:
- Furnace mounted, 24 Volt operation with included 120V transformer.
- Suitable for homes up to 2800 Sq Ft.
- Reversible design for Right-Hand (RH) or Left-Hand (LH) 6-inch duct connection.
- Humidification capacity: 17 gallons per day (based on 120°F plenum temperature).
- Plenum opening dimensions required: 9 1/2 inches (H) x 13 5/8 inches (W).
- Unit dimensions: 14 inches (H) x 15 1/8 inches (W) x 9 inches (D).
2. Inhoud van het pakket
Controleer of alle componenten aanwezig zijn voordat u met de installatie begint:
- GeneralAire 1042LH Legacy Humidifier Unit
- mhx3c manual-control duct mount Humidistat
- 120V Transformer (for 24V operation)
- Installation Hardware (refer to specific packing list for details)
- Humidifier Pad (pre-installed or separate)
3. Installatie-instructies
This humidifier is designed for furnace-mounted bypass installation. Professional installation is recommended. Ensure all power to the furnace and humidifier circuit is disconnected before proceeding.
3.1 Locatieselectie
- Select a location on the furnace plenum or return air duct that allows for the required plenum opening of 9 1/2 inches (H) x 13 5/8 inches (W).
- Ensure sufficient clearance for maintenance and access to the unit.
- The unit is reversible for either right-hand or left-hand 6-inch duct connection. Plan the bypass duct routing accordingly.
3.2 Mounting the Humidifier
- Using the provided template, mark and cut the plenum opening on the furnace duct.
- Mount the humidifier securely to the ductwork, ensuring a tight seal to prevent air leaks.
- Connect the 6-inch bypass duct from the humidifier to the return air duct.
3.3 Watertoevoeraansluiting
- Connect the humidifier to a cold water supply line using appropriate plumbing fittings.
- Install a saddle valve or a dedicated shut-off valve for the humidifier's water supply.
- Zorg ervoor dat alle verbindingen waterdicht zijn.
3.4 Elektrische bedrading
- Wire the 24V humidifier to the included 120V transformer.
- Connect the humidistat to the humidifier and the furnace control board as per the wiring diagram in the full installation guide.
- All electrical connections must comply with local codes.
Opmerking: Refer to the detailed wiring diagrams and instructions provided in the complete installation manual for your specific furnace model.
4. Bediening
The GeneralAire 1042LH operates manually via the included duct-mounted humidistat. Once installed and connected, the humidifier will activate when the humidistat senses that the humidity level in your home is below the set point and the furnace fan is operating.
4.1 De hygrostaat instellen
- Locate the manual-control duct mount humidistat.
- Turn the dial to your desired humidity level. A common starting point is 35-40% relative humidity.
- Monitor your home's humidity and adjust the humidistat as needed for comfort.
- During extremely cold weather, it may be necessary to lower the humidistat setting to prevent condensation on windows.
When the humidistat calls for humidity, water flows to the distribution tray at the top of the humidifier, saturating the humidifier pad. As warm air from the furnace passes through the wet pad, it picks up moisture and distributes it throughout your home.
5. Onderhoud
Regular maintenance ensures optimal performance and longevity of your GeneralAire 1042LH Humidifier.
5.1 Vervanging van het bevochtigingskussen
- Frequentie: Replace the humidifier pad once or twice per heating season, depending on water quality and usage.
- Recommended Pad: Use only genuine GeneralAire 990-13 replacement pads.
- Procedure:
- Sluit de watertoevoer naar de luchtbevochtiger af.
- Disconnect power to the humidifier and furnace.
- Verwijder het deksel van de luchtbevochtiger.
- Carefully slide out the old humidifier pad and discard it.
- Verwijder eventuele kalkaanslag uit de waterverdeelbak en de opvangbak van de luchtbevochtiger.
- Insert a new GeneralAire 990-13 replacement pad, ensuring it is correctly seated.
- Plaats het deksel van de luchtbevochtiger terug.
- Restore water supply and power.
5.2 Algemene reiniging
- Periodically inspect and clean the water distribution tray and drain pan to remove mineral buildup.
- Ensure the drain line is clear and free of obstructions.
- If you have hard water, more frequent cleaning and pad replacement may be necessary.
6. Probleemoplossing
This section provides solutions to common issues. For complex problems, consult a qualified HVAC technician.
| Probleem | Mogelijke oorzaak | Oplossing |
|---|---|---|
| Geen vochtigheidsafgifte |
|
|
| Waterlekkage |
|
|
| Overmatige luchtvochtigheid/condensatie |
|
|
7. Specificaties
| Functie | Detail |
|---|---|
| Merk | Algemeen Aire |
| Modelnaam | 1042LH |
| Type | Furnace Mount Bypass Humidifier |
| Deeltage | 24 Volts (with 120V transformer) |
| Bevochtigingscapaciteit | 17 Gallons per day (based on 120°F plenum temperature) |
| Dekkingsgebied | Tot 2800 vierkante meter |
| Werkingsmodus | Manual (via duct mount humidistat) |
| Plenum Opening (H x W) | 9 1/2 inch x 13 5/8 inch |
| Afmetingen unit (H x B x D) | 14 inches x 15 1/8 inches x 9 inches |
| Artikelgewicht | 12 pond |
| Kleur | Wit |
| Meegeleverde componenten | mhx3c manual-control duct mount Humidistat |
| Vervangende Pad | GeneralAire 990-13 |
8. Garantie en ondersteuning
For warranty information, technical support, or to purchase replacement parts, please refer to the official GeneralAire webwebsite of neem contact op met hun klantenservice. Bewaar uw aankoopbewijs voor garantieclaims.
Opmerking: Specific warranty terms and conditions may vary. Always consult the documentation included with your product or the manufacturer's official resources for the most current information.


