OLIXIS 1411BK2-HJ3Nsun
OLIXIS Office Desk Chair Instruction Manual
Model: 1411BK2-HJ3Nsun
Invoering
Thank you for choosing the OLIXIS Office Desk Chair. This manual provides detailed instructions for the assembly, operation, maintenance, and troubleshooting of your new chair. Please read this manual thoroughly before assembly and use to ensure proper function and safety.
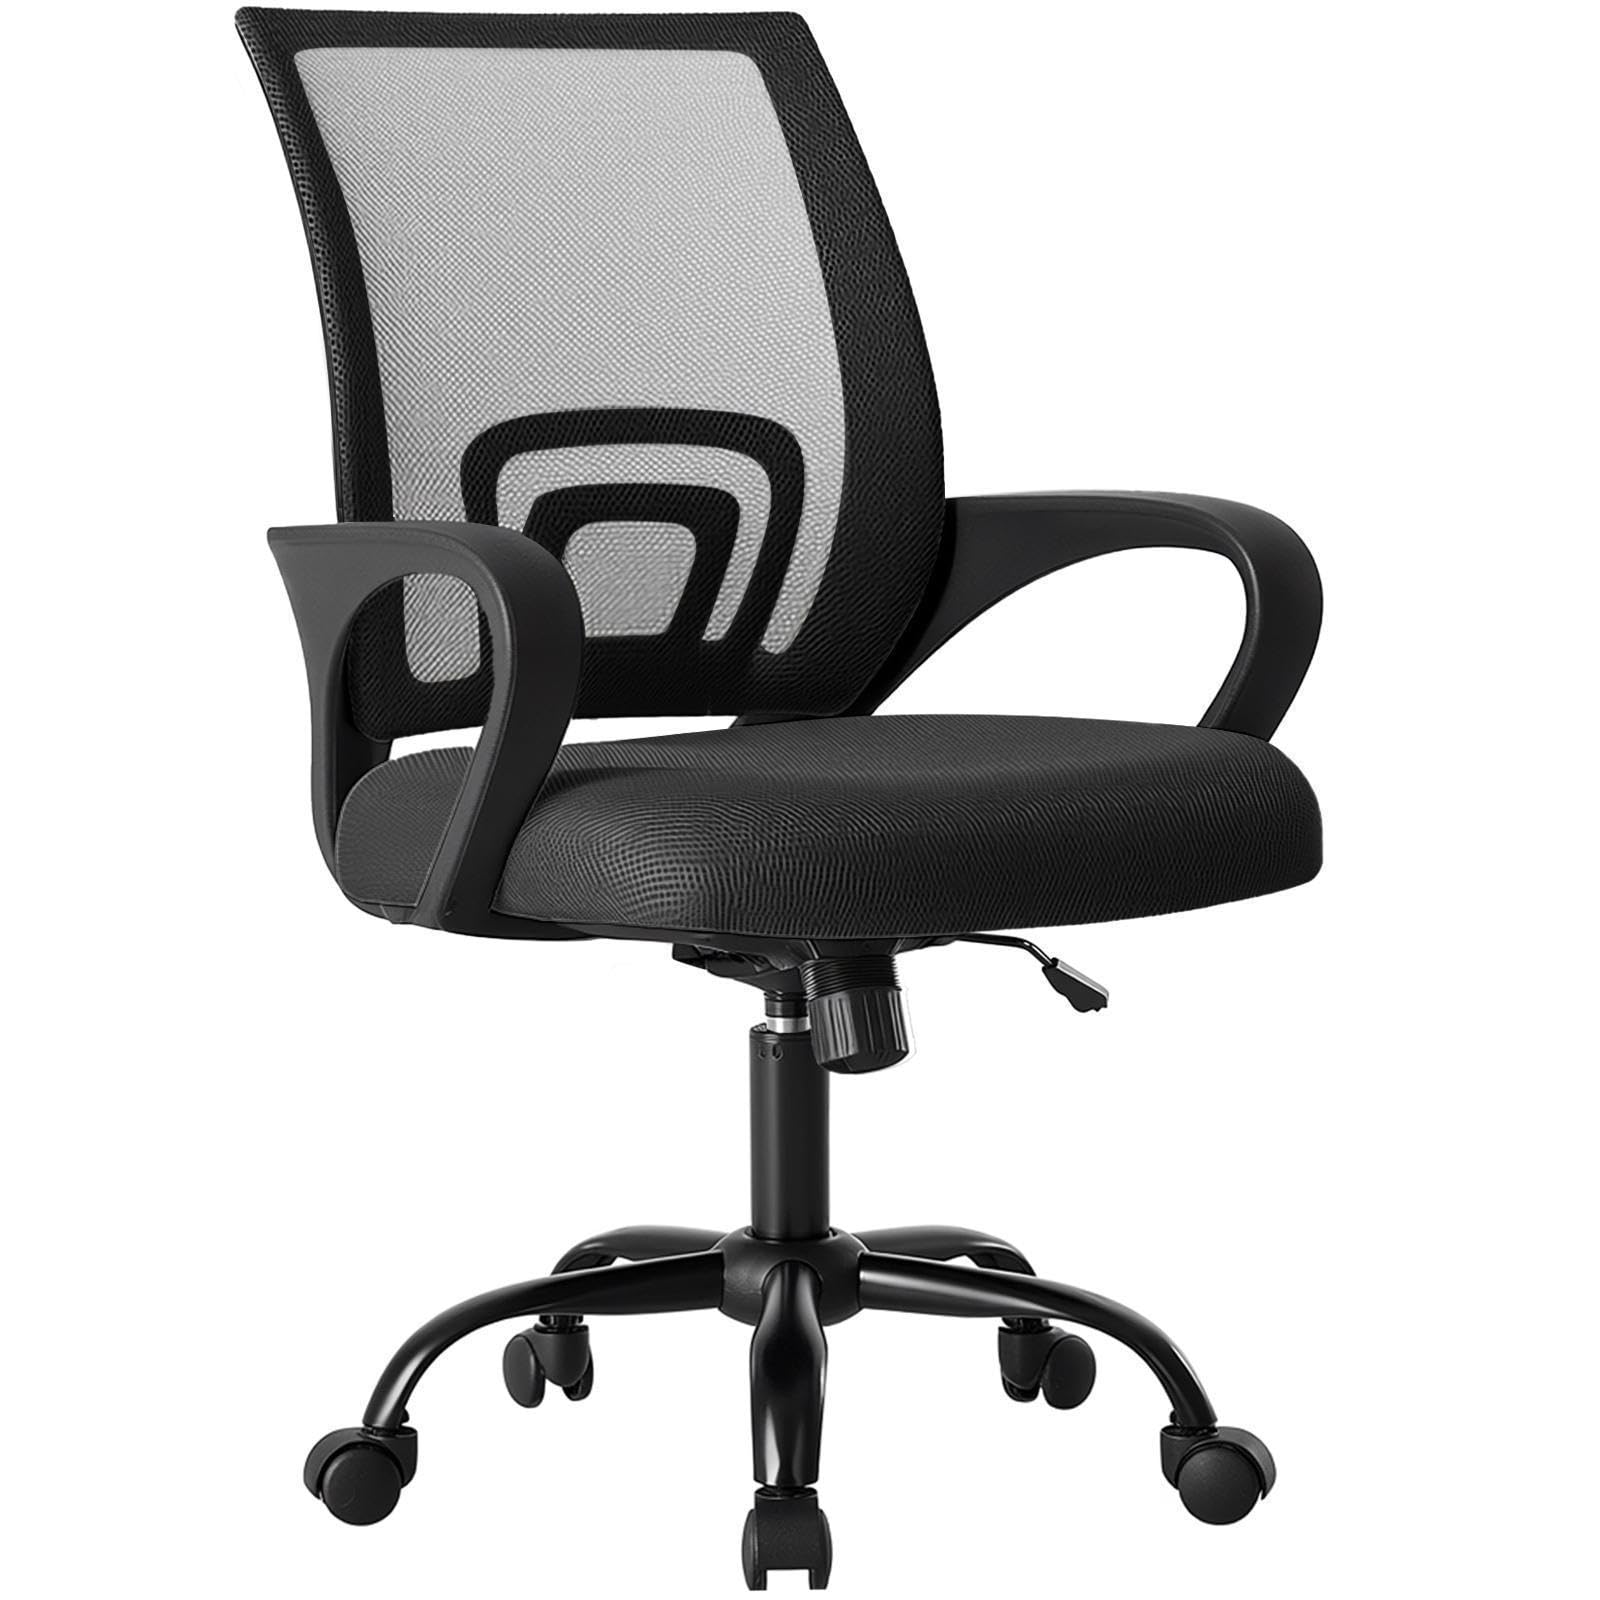
Figure 1: OLIXIS Office Desk Chair (Model 1411BK2-HJ3Nsun)
Veiligheidsinformatie
- Volg altijd de montage-instructies zorgvuldig op.
- Ga niet op de stoel staan.
- Gebruik de stoel niet als er onderdelen ontbreken, beschadigd zijn of versleten zijn.
- Ensure all bolts and screws are tightened before use. Periodically check and re-tighten as necessary.
- Overschrijd het maximale draagvermogen van 250 pond (113.4 kg) niet.
- Houd kinderen uit de buurt van bewegende onderdelen tijdens het afstellen.
- Plaats de stoel op een vlakke ondergrond om kantelen te voorkomen.
Inhoud van het pakket
Controleer vóór de montage of alle onderdelen aanwezig en onbeschadigd zijn. Neem contact op met de klantenservice als er onderdelen ontbreken of beschadigd zijn.
- Rugleuning (1)
- Zitkussen (1)
- Armrests (2, fixed to seat)
- Gasliftcilinder (1)
- Basis (1)
- Wielen (5)
- Mechanismeplaat (1)
- Screws and Allen Wrench (1 set)

Figure 2: Product dimensions and components overview.
Opstelling en montage
Follow these steps to assemble your OLIXIS Office Desk Chair. It is recommended to assemble the chair on a soft, clean surface to prevent damage.
- Bevestig de wielen aan de basis: Steek elk van de vijf wieltjes in de gaten aan het uiteinde van elke poot van de stoelbasis. Duw stevig aan tot ze vastklikken.
- Gaslift invoegen: Plaats de gasliftcilinder in het middelste gat van de gemonteerde basis.
- Bevestig de mechanismeplaat aan de stoel: Align the mechanism plate with the screw holes on the underside of the seat cushion. Ensure the front of the mechanism plate faces the front of the seat. Secure with screws using the provided Allen wrench.
- Rugleuning aan zitting bevestigen: Align the backrest with the designated attachment points on the seat cushion (usually at the rear). Secure with screws.
- Bevestig de stoelconstructie aan de gaslift: Plaats de gemonteerde zitting en rugleuning voorzichtig op de gasliftcilinder en zorg ervoor dat het middelste gat in de mechanismeplaat uitgelijnd is met de bovenkant van de gaslift. Druk stevig aan om vast te zetten.
Verify all connections are secure before using the chair.
Gebruiksaanwijzing
Your OLIXIS Office Desk Chair offers several adjustment features for personalized comfort.
1. Hoogteverstelling
Om de zithoogte aan te passen:
- Om te verhogen: While seated, lift the lever located on the right side of the chair. The seat will rise. Release the lever at the desired height.
- Om te verlagen: While seated, lift the lever located on the right side of the chair. Apply slight body weight to lower the seat. Release the lever at the desired height.
The seat height is adjustable from 14.7 inches to 17.7 inches.
2. Rocking Mode and Tilt Tension
The chair features a rocking mode with adjustable tilt tension.
- Engage/Disengage Rocking Mode: Pull the same lever used for height adjustment outwards to enable rocking. Push it inwards to lock the chair in an upright position (90 degrees).
- Kantelspanning aanpassen: Rotate the round knob located underneath the seat, at the front of the mechanism plate. Turn clockwise to increase tension (making it harder to recline) or counter-clockwise to decrease tension (making it easier to recline).
The rocking range is approximately 90 to 120 degrees.

Figure 3: Height adjustment and rocking mode controls.
3. 360° draaibaar en zwenkwielen
The chair is designed with a 360-degree swivel function and smooth-rolling casters for easy movement within your workspace.
- Draaibaar: The seat can freely rotate 360 degrees.
- Wielen: The silent casters are designed to move smoothly on various floor types, including carpets, without causing scratches.
4. Lumbar Support and Fixed Armrests
The chair features an ergonomic mid-back design with integrated lumbar support and fixed armrests for comfort and stability.
- Lendensteun: The contoured backrest provides support to the natural curve of your spine.
- Fixed Armrests: The armrests are designed to provide stable support and are not adjustable.

Figure 4: Ergonomic features including back support, lumbar support, and fixed armrests.
5. Storage Back
A convenient storage space is integrated into the back of the chair, suitable for holding items like books, newspapers, or tablets.
Onderhoud
Regular maintenance helps prolong the life and appearance of your chair.
- Schoonmaak: Schoonmaken met advertentieamp doek. Vermijd agressieve chemicaliën of schurende reinigingsmiddelen.
- Achterkant van mesh: Gently vacuum the mesh backrest to remove dust and debris. For stains, dab with a mild soap solution and a soft cloth, then wipe with a clean, damp lap.
- Wielen: Controleer de wielen regelmatig op haar of vuil dat de soepele beweging kan belemmeren. Reinig ze indien nodig.
- Hardware: Controleer regelmatig of alle schroeven en bouten goed vastzitten. Draai ze indien nodig opnieuw vast.
- Vermijd direct zonlicht: Prolonged exposure to direct sunlight can fade the fabric and mesh.

Figure 5: Breathable mesh back and high-resilience foam seat construction.
Probleemoplossing
Als u problemen ondervindt met uw stoel, raadpleeg dan de volgende veelvoorkomende problemen en oplossingen:
| Probleem | Mogelijke oorzaak | Oplossing |
|---|---|---|
| De stoel is niet in hoogte verstelbaar. | Gas lift cylinder malfunction or lever not engaged properly. | Zorg ervoor dat de hoogteverstellingshendel volledig is ingeschakeld. Als het probleem aanhoudt, moet de gasveer mogelijk worden vervangen. Neem contact op met de klantenservice. |
| De stoel is instabiel of wiebelig. | Losse schroeven of oneffen vloer. | Check and re-tighten all assembly screws. Ensure the chair is on a flat, level surface. |
| Wieltjes rollen niet soepel. | Vuil (haar, pluisjes) dat vastzit in de wieltjes. | Keer de stoel om en verwijder voorzichtig al het vuil van de zwenkwielen. |
| De stoel kraakt bij het bewegen. | Losse verbindingen of wrijving tussen onderdelen. | Re-tighten all screws. Apply a small amount of silicone lubricant to moving parts if necessary, avoiding contact with fabric. |
Specificaties
| Merk | OLIXIS |
| Modelnaam | OLIXIS Office Desk Chair |
| Modelnummer | 1411BK2-HJ3Nsun |
| Kleur | Zwart |
| Materiaal | Mesh (Back), Foam (Seat) |
| Productafmetingen (D x B x H) | 60D x 57.4B x 95H centimeter (23.6D x 22.6B x 37.4H inches) |
| Zithoogteverstellingsbereik | 14.7 inch tot 17.7 inch |
| Artikelgewicht | 19.4 pond (8.8 kg) |
| Maximaal gewichtsadvies | 250 pond (113.4 kg) |
| Achterkant Stijl | Mesh-rug |
| Arm stijl | Vast |
| Speciale kenmerken | Adjustable Height, Arm Rest, Back Support, Ergonomic, Rolling, Rocking Mode, Lumbar Support, Storage Back |
Garantie-informatie
OLIXIS products are manufactured to high-quality standards. For specific warranty terms and conditions, please refer to the warranty card included with your purchase or visit the official OLIXIS webwebsite. Bewaar uw aankoopbewijs als bewijs van aankoop voor eventuele garantieclaims.
Klantenservice
If you have any questions, require assistance with assembly, or need troubleshooting help that is not covered in this manual, please contact OLIXIS customer service. You can typically find contact information on the product packaging or the official OLIXIS webplaats.
We are committed to providing you with the best possible experience with your OLIXIS Office Desk Chair.
Ask a question about this manual
Ask about setup, troubleshooting, compatibility, parts, safety, or missing instructions. Manuals+ will review the question and use this page’s manual context to help answer it.