
OOYCYOO EC60A
OOYCYOO 60A MPPT Solar Charge Controller User Manual
Model: EC60A
1. Inleiding
This manual provides detailed instructions for the installation, operation, and maintenance of the OOYCYOO 60A MPPT Solar Charge Controller, Model EC60A. This device is designed to efficiently manage power flow from solar panels to various battery types, including 12V, 24V, 36V, and 48V systems.
Lees deze handleiding aandachtig door vóór installatie en gebruik om een goede werking en veiligheid te garanderen.
2. Belangrijkste kenmerken
- 60A MPPT Charging: Utilizes Maximum Power Point Tracking technology for efficient solar energy conversion.
- Multi-Stage Opladen: Heeft een 4-stage battery charging algorithm (Bulk Charge, Boost Charge, Float Charge, Equalization) for optimal battery health.
- Breed volumetage-ondersteuning: Automatically detects and supports 12V, 24V, 36V, and 48V battery systems.
- Hoge PV-input: Supports solar panel open circuit voltage up to 160VDC and input power up to 2800W (for 48V systems).
- Batterijcompatibiliteit: Compatible with various battery types including AGM, Gel, Flooded, and Lithium (LFP), with pre-set and user-defined charging parameters.
- Hoge efficiëntie: Tracking efficiency not less than 98.1% and peak conversion efficiency up to 98%.
- Geavanceerde bescherming: Includes PV over current/power, PV short circuit, PV reverse polarity, night reverse charging, battery reverse polarity, over voltage, over discharge, overheating, lithium battery low temperature, load short circuit, load overload, and TVS high voltage transiënten.
- LCD-scherm: Integrated blacklight LCD for monitoring system status, including KWH charge amount.
- Efficiënte koeling: Die-cast aluminum construction with built-in cooling fan for effective heat dissipation.
3. Veiligheidsinstructies
Neem tijdens de installatie en het gebruik de volgende veiligheidsmaatregelen in acht:
- Controleer of alle aansluitingen correct en stevig zijn voordat u de stroom inschakelt.
- Sluit altijd eerst de accu aan, dan het zonnepaneel en als laatste de belasting. Ontkoppel in omgekeerde volgorde.
- Demonteer of repareer de controller niet zelf. Neem voor service contact op met gekwalificeerd personeel.
- Installeer de controller op een goed geventileerde plaats, uit de buurt van brandbare materialen en direct zonlicht.
- Draag de juiste persoonlijke beschermingsmiddelen (PBM) wanneer u met elektrische systemen werkt.
- Zorg ervoor dat het systeem vol istage overschrijdt het maximale ingangsvolume van de controller niet.tage (160 VDC).
4. Product voorbijview
The OOYCYOO 60A MPPT Solar Charge Controller features a robust design with an intuitive LCD display and clearly labeled terminals for easy connection.

Figuur 4.1: Voorzijde view of the OOYCYOO 60A MPPT Solar Charge Controller, showing the LCD display, control buttons, and terminal connections.

Afbeelding 4.2: Gedetailleerd view of the controller highlighting the LCD display, control buttons (SET, A, B, C, D), 5-second reset function, and clearly marked Solar Panel, Battery, and Load terminals.
4.1. Componenten en interface
- LCD-scherm: Shows real-time system parameters such as PV input voltage, batterij voltage, load output, and charging status.
- Control Buttons (A, B, C, D, SET): Used for navigating menus, adjusting settings, and confirming selections.
- Solar Panel Terminals: Connect positive and negative leads from the solar array.
- Batterijklemmen: Connect positive and negative leads to the battery bank.
- Laadterminals: Connect positive and negative leads to DC loads.
5. Installatie en instellingen
5.1. De controller monteren
Mount the controller vertically on a wall or a stable surface in a dry, well-ventilated indoor location. Ensure adequate clearance around the unit for proper airflow and heat dissipation. Avoid direct sunlight, high temperatures, and humid environments.
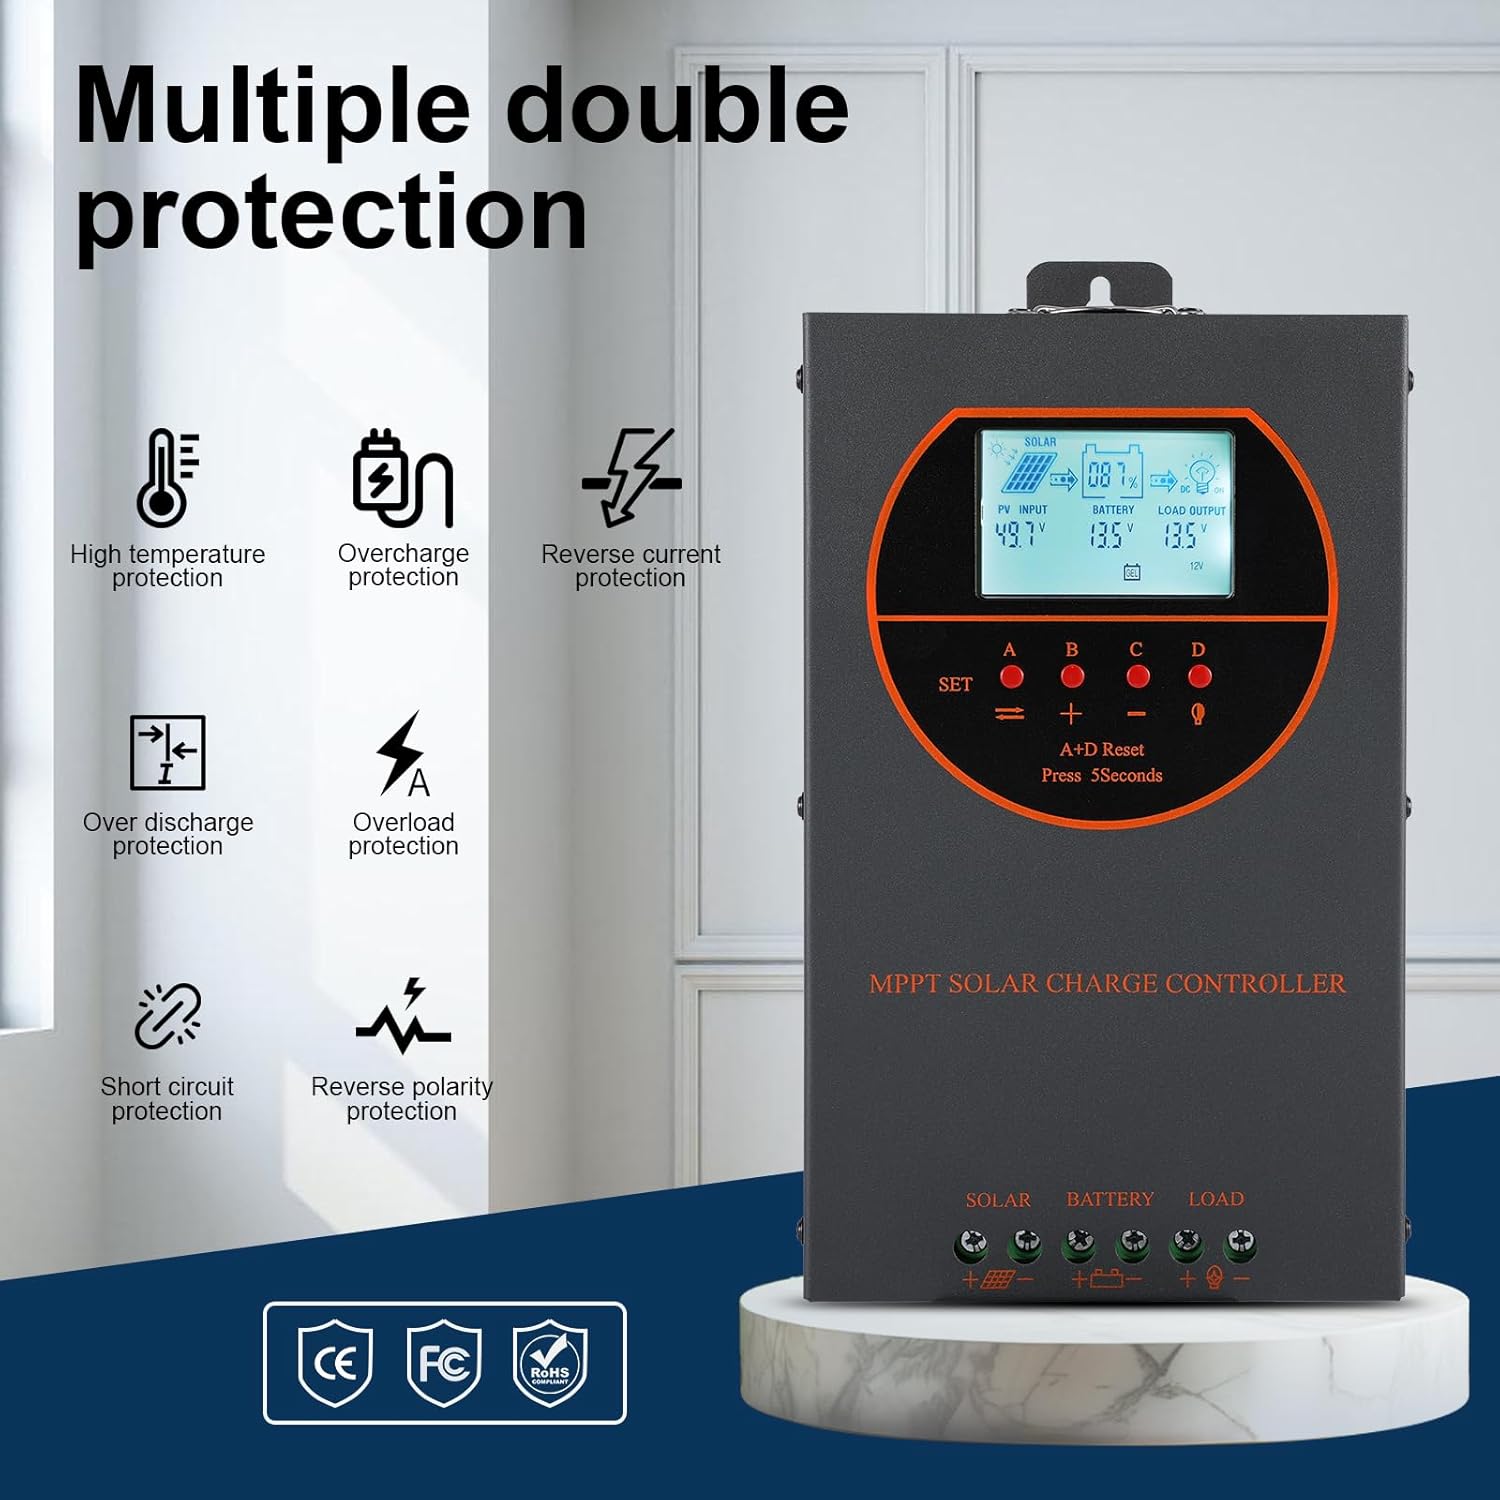
Figure 5.1: Dimensions of the OOYCYOO 60A MPPT Solar Charge Controller, showing approximate measurements of 14cm (5.5in) width, 5.5cm (2.2in) depth, and 23cm (9.1in) length.
5.2. Bedradingsvolgorde
Follow this wiring sequence carefully to prevent damage to the controller or other components:
- Sluit de batterij aan: Connect the positive and negative terminals of the battery to the corresponding battery terminals on the controller. Ensure correct polarity. The controller will automatically detect the battery voltage (12V/24V/36V/48V).
- Sluit het zonnepaneel aan: Connect the positive and negative leads from the solar panel array to the corresponding PV input terminals on the controller. Ensure correct polarity.
- Sluit de DC-belasting aan (optioneel): Connect the positive and negative leads of your DC load to the corresponding load terminals on the controller.
Belangrijk: Always connect the battery first and disconnect the solar panel first when disassembling the system.

Figure 5.2: Illustrative wiring diagram showing connections from solar panels to the controller, then to the battery, and finally to DC and AC loads via an inverter. This diagram also shows the possibility of connecting two 60A controllers in parallel for increased capacity.
5.3. Systeemvolumetage and Power Configuration
The controller automatically identifies the battery system voltage. Ensure your solar panel array's open circuit voltage (Voc) and maximum input power are within the specified limits for your battery system:
| Batterijsysteem | Maximaal PV Open Circuit Voltage (Voc) | Max. PV-ingangsvermogen |
|---|---|---|
| 12V | ≤72V | 720W |
| 24V | ≤108V | 1440W |
| 36V | ≤144V | 2100W |
| 48V | ≤160V | 2800W |

Figure 5.3: Diagram illustrating the connection of multiple PV modules in series to the controller, with a table detailing recommended system parameters for 12V, 24V, and 48V systems, including battery float voltage, onder voltage bescherming, herstel voltage, and maximum input power.
6. Bediening
6.1. LCD-display en indicatoren
The LCD display provides real-time information about the solar charging system. Key indicators include:
- PV-ingang: Toont het huidige voltage and power from the solar panels.
- Batterij: Geeft het huidige batterijvolume weer.tage en laadstatus.
- Laaduitvoer: Indicates the status of the DC load output.
- KWH: Displays the total accumulated charge in kilowatt-hours.
6.2. Selectie van het batterijtype
The controller is compatible with various battery types. You can select the appropriate battery type through the controller's settings menu to ensure optimal charging. Supported types include:
- GEL
- Algemene Ledenvergadering
- USER (user-defined parameters)
- SEL (Verzegeld)
- FLD (Overstroomd)
- LI (Lithium)
- LevensenergiePO4

Figure 6.1: Diagram illustrating the controller's strong adaptability to various battery types (GEL, AGM, USER, SEL, FLD, LI, LiFePO4) and a graph showing the 4-stage charging process: Bulk Charge, Constant Charging (Boost), and Float Charge.
6.3. Charging Algorithm
De controller maakt gebruik van een 4-stage charging algorithm to maximize battery life and performance:
- Bulklading: Delivers maximum current to rapidly charge the battery to approximately 80% capacity.
- Boostlading: Charges the battery at a higher voltage to ensure full charge and equalization.
- Drijvende lading: Houdt de batterij op een veilig niveau.tage to prevent self-discharge and overcharging.
- Egalisatie: Laadt natte accu's periodiek over om de celspanning in evenwicht te brengen.tages and prevent sulfation. (Applicable to flooded batteries only, if enabled).
7. Onderhoud
Regelmatig onderhoud zorgt voor een lange levensduur en optimale prestaties van uw zonne-laadregelaar:
- Controleer verbindingen: Controleer periodiek alle bedradingsverbindingen op vastheid en corrosie.
- Schone controller: Keep the controller clean and free from dust. Use a dry cloth to wipe the exterior. Ensure ventilation openings are not obstructed.
- Prestaties bewaken: Regularly check the LCD display for normal operating parameters. Note any unusual readings.
- Batterij-inspectie: Inspect batteries for any signs of damage, leakage, or corrosion. Clean battery terminals as needed.
8. Probleemoplossing
This section addresses common issues you might encounter with the OOYCYOO 60A MPPT Solar Charge Controller.
8.1. Veelvoorkomende problemen en oplossingen
| Probleem | Mogelijke oorzaak | Oplossing |
|---|---|---|
| Geen weergave/controller gaat niet aan | Batterij niet aangesloten of laag volumetage; omgekeerde polariteit. | Controleer de accuaansluitingen en voltage. Ensure correct polarity. Charge battery if voltage is te laag. |
| Geen opladen via zonne-energie | Solar panel not connected; reverse polarity; low sunlight; PV over-voltage/stroom. | Check solar panel connections and polarity. Ensure sufficient sunlight. Verify PV voltage and current are within limits. |
| Laden werkt niet | Load not connected; load short circuit; overload; battery low voltage. | Check load connections. Inspect for short circuits or overloads. Ensure battery has sufficient charge. |
| Oververhitting van de controller | Poor ventilation; excessive load/PV input. | Ensure adequate airflow around the controller. Reduce load or PV input if consistently overheating. |
8.2. Beschermingsfuncties
The controller includes multiple protection features to safeguard the system:
- PV overstroom/vermogen
- PV-kortsluiting
- PV omgekeerde polariteit
- Nacht achteruit opladen
- Batterij omgekeerde polariteit
- Batterij overvoltage
- Batterij over ontlading
- Battery Overheating, Controller Overheating
- Lithiumbatterij lage temperatuur
- Kortsluiting laden
- Overbelasting laden
- TVS hoog volumetage Transiënten
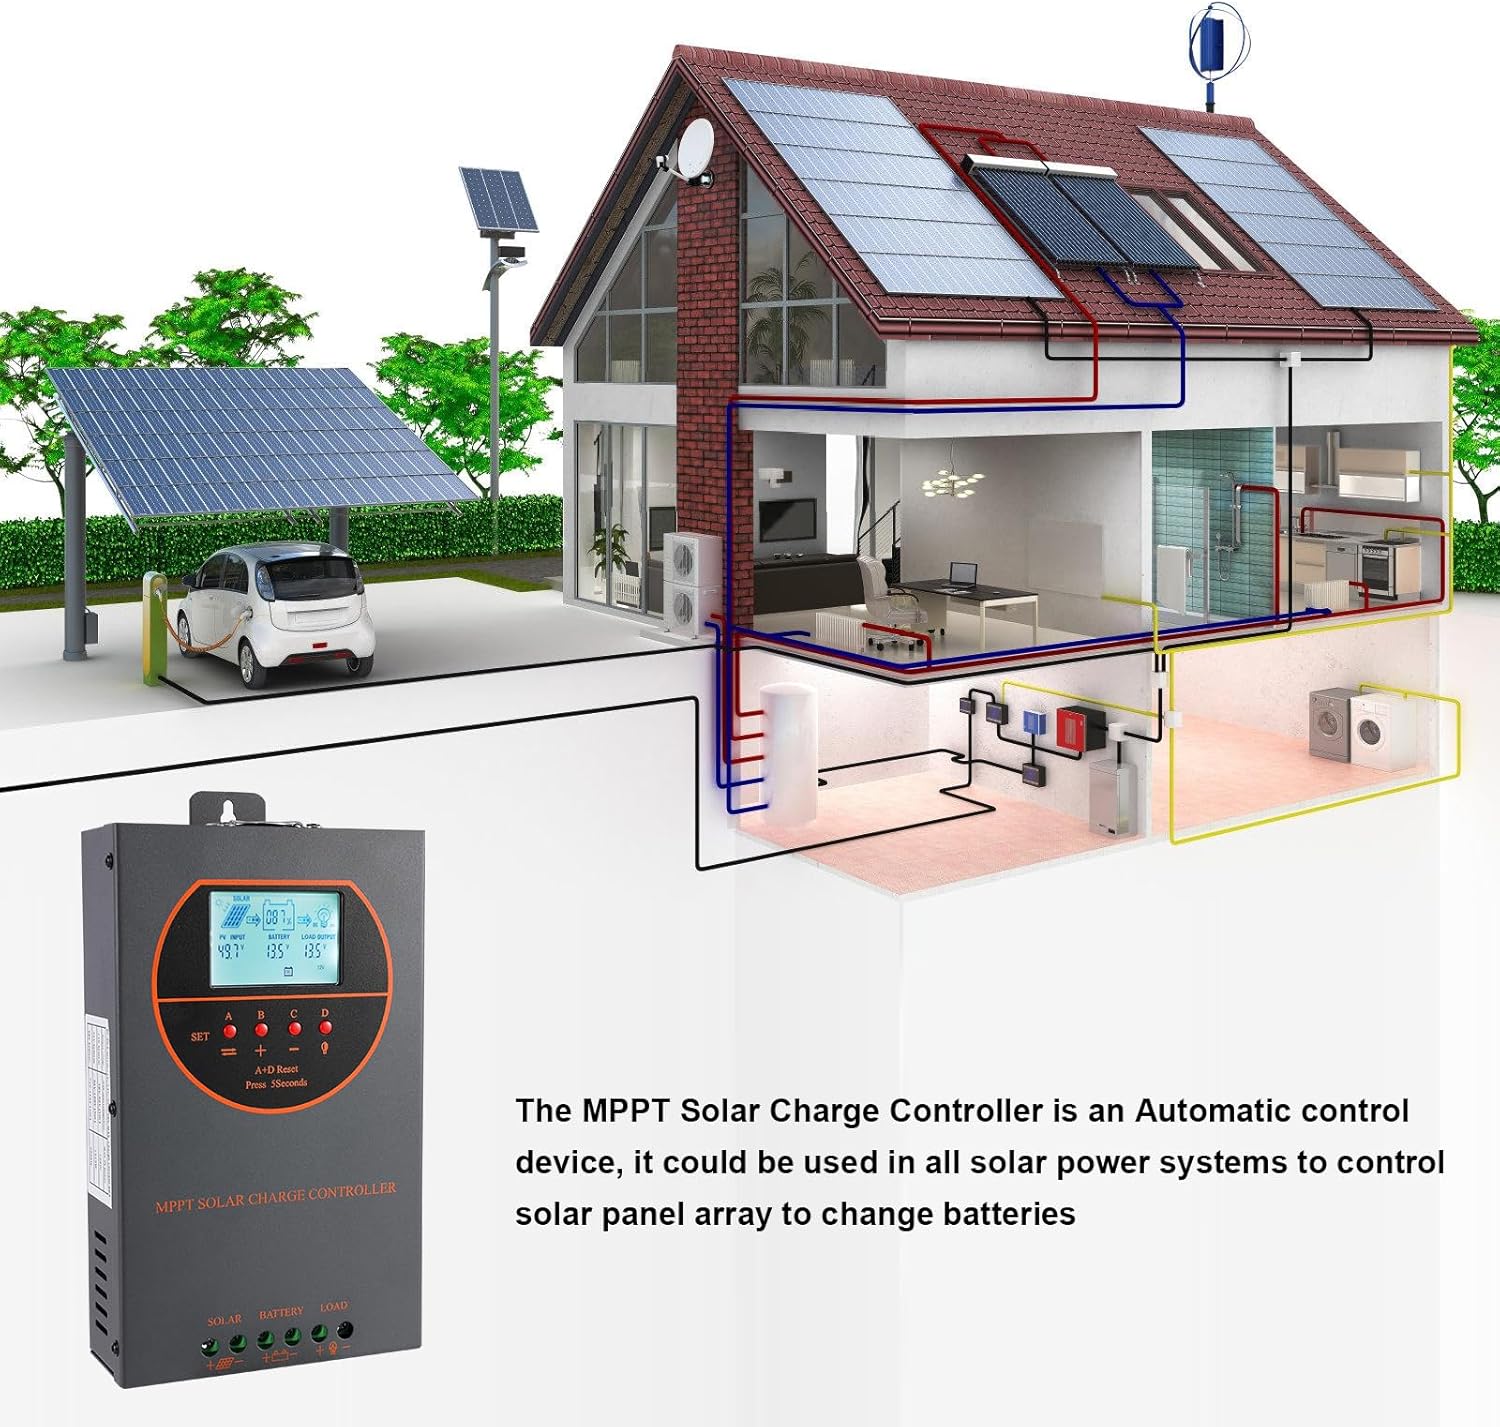
Figure 8.3: Visual representation of the multiple protection features integrated into the controller, including low voltage, overheat, short circuit, reverse protection, overload, and overcurrent protection.

Afbeelding 8.4: Intern view of the controller, highlighting key components such as copper coil transformers and capacitors, which contribute to its robust performance and protection features.
9. Technische specificaties
| Parameter | Specificatie |
|---|---|
| Nominale laadstroom | 60A |
| Systeem Nominale Voltage | 12V/24V/36V/48V DC Auto Identifying |
| Batterijvolumetage Bereik | 9V~55V |
| Maximaal PV Open Circuit Voltage | 160V DC |
| Max. PV Input Power (12V System) | 720W |
| Max. PV Input Power (24V System) | 1440W |
| Max. PV Input Power (36V System) | 2100W |
| Max. PV Input Power (48V System) | 2800W |
| Stroomaansluiting | 6-12 AWG |
| Afmetingen (L*B*H) | 11 x 6 x 2.5 inch (ongeveer 27.9 x 15.2 x 6.3 cm) |
| Gewicht | 4.07 pond (ongeveer 1.8 kg) |
| Tracking-efficiëntie | ≥98.1% |
| Maximale conversie-efficiëntie | Tot 98% |
| Koeling | Die-cast aluminum housing, built-in cooling fan |
| Ondersteunde batterijtypen | AGM, Gel, Flooded, Lithium (LFP), Sealed, User-defined |
| Materiaal | Aluminium |
| Artikelmodelnummer | EC60A |
| UPC | 750864834470 |
10. Ondersteuning en contact
For technical support, warranty claims, or further assistance, please contact OOYCYOO customer service through the retailer where the product was purchased or visit the official OOYCYOO store on Amazon:
Ask a question about this manual
Ask about setup, troubleshooting, compatibility, parts, safety, or missing instructions. Manuals+ will review the question and use this page’s manual context to help answer it.