
CHEREEKI B0FHHKMP1X
CHEREEKI Digital LED Alarm Clock User Manual
Model: B0FHHKMP1X
Invoering
Bedankt voor uw aankoopasing the CHEREEKI Digital LED Alarm Clock. This manual provides detailed instructions for setting up and operating your new alarm clock. Please read it thoroughly before use and keep it for future reference.
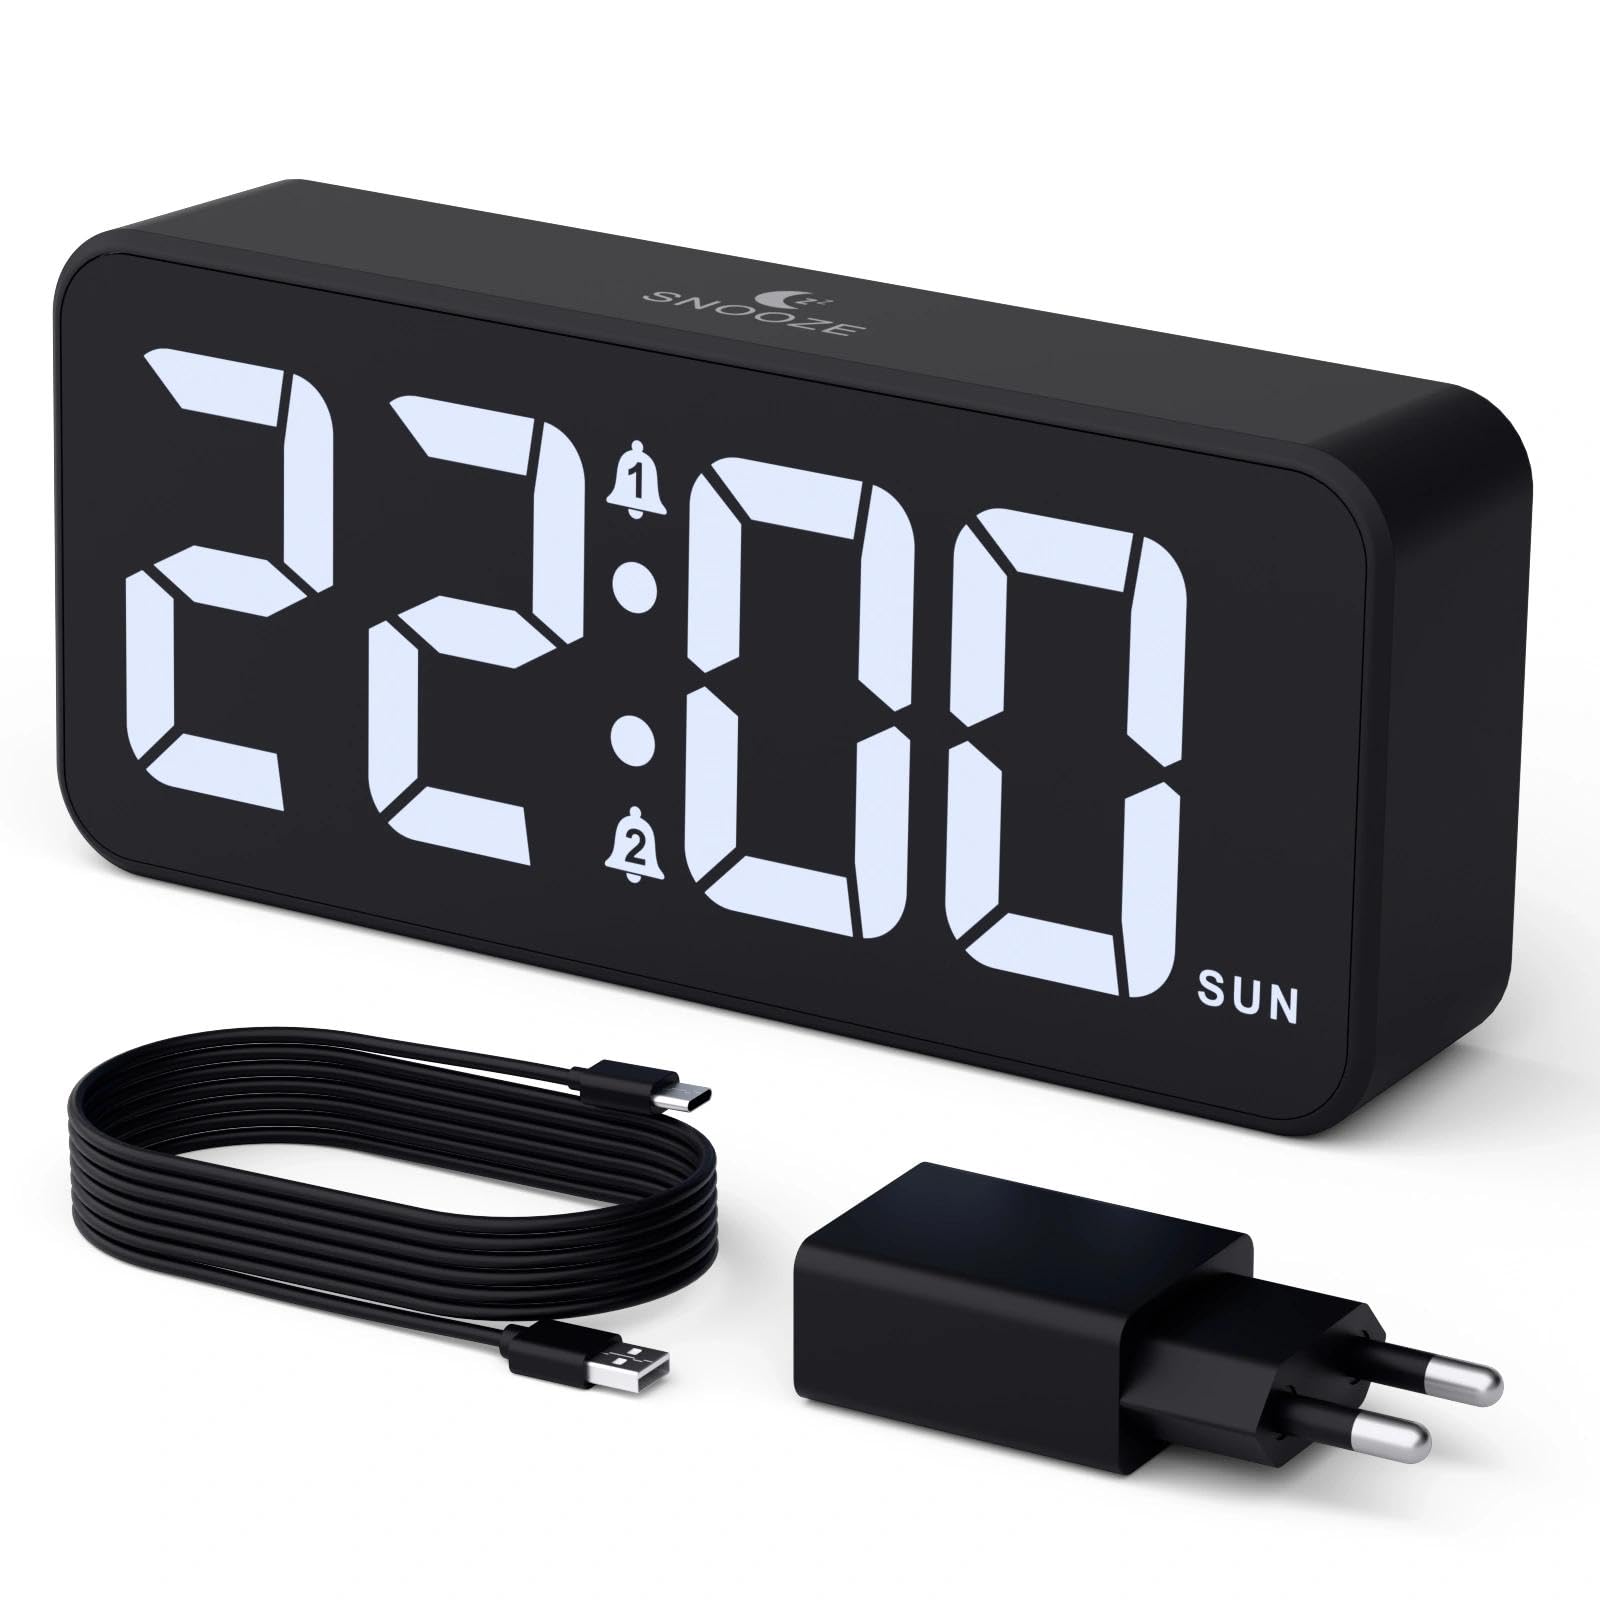
Image: The CHEREEKI Digital LED Alarm Clock, showcasing its large LED display and key features.
Veiligheidsinformatie
- Ensure the power adapter and cable are compatible with the device's voltage requirements (5V/1A or 5V/2A).
- Stel het apparaat niet bloot aan water of overmatige vochtigheid.
- Plaats het apparaat niet in de buurt van warmtebronnen of in direct zonlicht.
- Probeer het apparaat niet zelf te demonteren of te repareren. Neem contact op met de klantenservice als er problemen optreden.
- Buiten bereik van kinderen houden.
Inhoud van het pakket
- CHEREEKI Digital LED Alarm Clock
- Power Adapter (5V/1A or 5V/2A)
- USB-oplaadkabel (1.5 m)
- Gebruiksaanwijzing
- CR2032 Backup Battery (pre-installed or included)

Image: Illustration of the items included in the product package.
Productindeling en bedieningselementen

Image: Rear panel of the alarm clock with labels for all buttons and ports.
- Knop Tijd instellen: Druk om naar de tijdinstellingsmodus te gaan.
- Alarmknop 1: Press to set Alarm 1.
- Alarmknop 2: Press to set Alarm 2.
- Omhoog/omlaag-knoppen: Adjust values during setting.
- Dimmerknop: Rotate to adjust display brightness (0-100%).
- Volumeknop: Rotate to adjust alarm volume (10 levels).
- USB-uitgangspoort: Voor het opladen van externe apparaten.
- Type-C-invoerpoort: For power supply to the alarm clock.
- DST-knop: Voor de aanpassing aan de zomertijd.
- Batterijcompartiment: Houses the CR2032 backup battery.
Instellen
1. Stroomaansluiting
The alarm clock operates solely on AC power. Connect the provided USB cable to the Type-C input port on the back of the clock and plug the adapter into a standard wall outlet (5V/1A or 5V/2A). The display will light up.

Image: The alarm clock connected to a power source via its adapter.
2. Reservebatterij
A CR2032 backup battery is included to retain time and alarm settings during power outages. This battery does not power the display or alarm functions; it only preserves memory. Ensure the battery is correctly installed in the compartment on the back of the clock.

Image: Close-up of the backup battery compartment, indicating its purpose to retain settings during power loss.
Gebruiksaanwijzing
De tijd instellen
- Press the "TIME SET" button. The hour digits will flash.
- Use the "UP" or "DOWN" buttons to adjust the hour.
- Press "TIME SET" again to confirm the hour and move to minute setting. The minute digits will flash.
- Gebruik de knoppen "OMHOOG" of "OMLAAG" om de minuten aan te passen.
- Press "TIME SET" once more to confirm the minutes and exit time setting mode.
Alarmen instellen (Alarm 1 en Alarm 2)
This clock supports two independent alarms with three scheduling options.
- Press the "ALARM 1" or "ALARM 2" button. The alarm hour digits will flash.
- Use the "UP" or "DOWN" buttons to adjust the alarm hour.
- Druk nogmaals op de betreffende alarmknop om het uur te bevestigen en naar de minuteninstelling te gaan. De minutencijfers zullen knipperen.
- Use the "UP" or "DOWN" buttons to adjust the alarm minutes.
- Press the alarm button again to select the alarm schedule:
- Weekdagen: Maandag tot en met vrijdag
- Weekenden: zaterdag tot zondag
- Dagelijks: Maandag tot en met zondag
- Press the alarm button once more to confirm the schedule and exit alarm setting mode.
- To enable/disable an alarm, press the "ALARM 1" or "ALARM 2" button briefly outside of setting mode. An alarm icon will appear/disappear on the display.

Image: The alarm clock demonstrating dual alarm settings with various scheduling options.
Snooze-functie
When the alarm sounds, touch the top of the clock to activate the 5-minute snooze function. The alarm will temporarily stop and sound again after 5 minutes. To turn off the alarm completely, press any other button on the back of the clock.
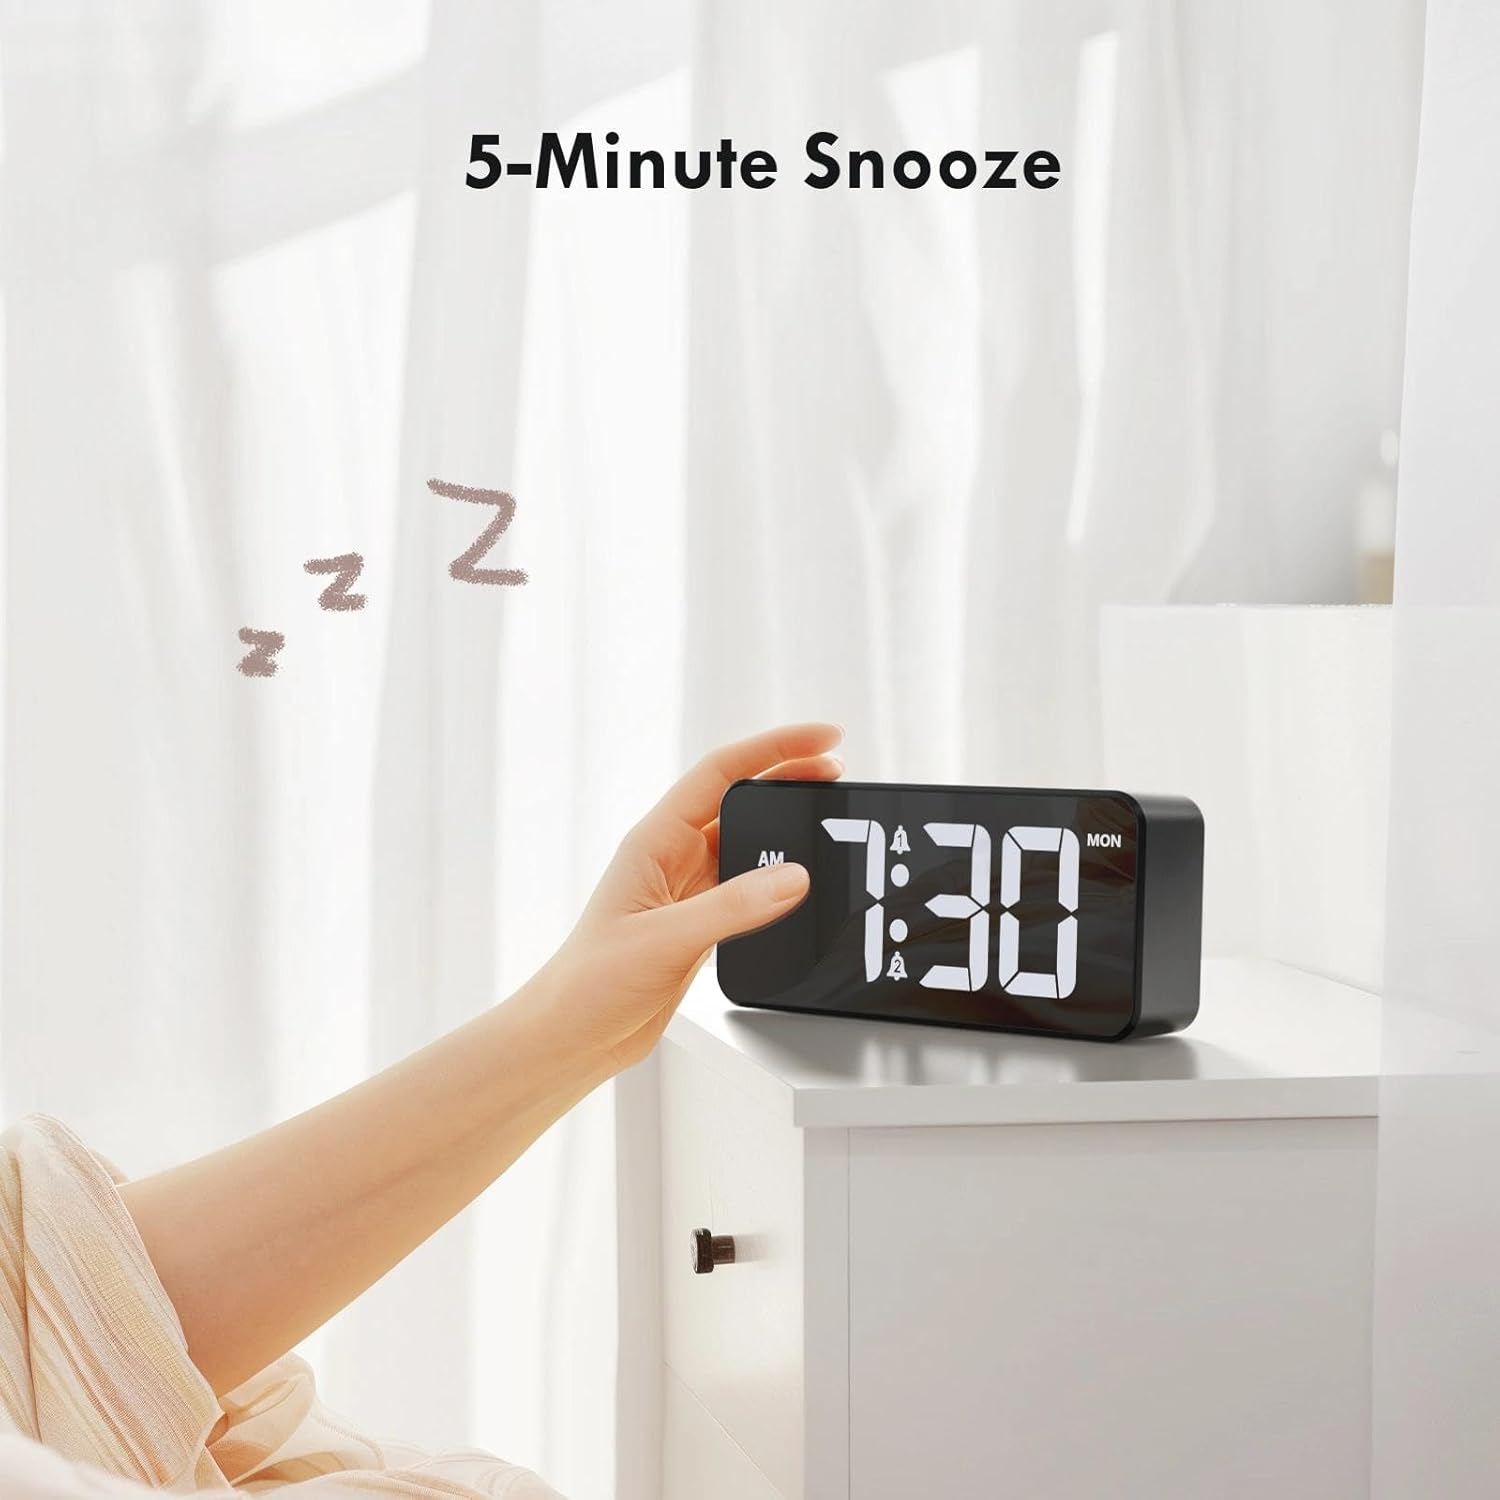
Image: A user activating the snooze function by touching the top of the alarm clock.
De helderheid van het scherm aanpassen
Rotate the "DIMMER" knob on the back of the clock to adjust the display brightness from 0% (off) to 100% (maximum brightness). This allows for comfortable viewonder alle lichtomstandigheden.

Image: Visual representation of the adjustable brightness feature and the dimmer knob.
Alarmvolume aanpassen
Rotate the "VOLUME" knob on the back of the clock to select one of the 10 available alarm volume levels. Choose a volume that suits your preference.

Image: The volume control knob and a visual scale indicating adjustable volume levels.
12/24-uursformaat
To switch between 12-hour and 24-hour time formats, press and hold the "TIME SET" button for a few seconds until the format changes. In 12-hour format, "AM" or "PM" indicators will be displayed.

Image: The alarm clock showing both 12-hour and 24-hour time display options.
USB-oplaadpoort
The USB-A output port on the back of the clock allows you to charge other devices, such as smartphones or tablets. Simply connect your device's charging cable to this port.

Image: The alarm clock charging a smartphone via its integrated USB port.
Zomertijd (DST)
To adjust for Daylight Saving Time, press the "DST" button on the back of the clock. This will advance or set back the time by one hour. Press it again to revert.
Onderhoud
- Maak het oppervlak van de klok schoon met een zachte, droge doek. Gebruik geen schurende reinigingsmiddelen of oplosmiddelen.
- Houd het apparaat vrij van stof en vuil.
- If the backup battery needs replacement, use a CR2032 coin cell battery. Ensure correct polarity.
Probleemoplossing
| Probleem | Mogelijke oorzaak | Oplossing |
|---|---|---|
| Scherm is uitgeschakeld. | Not connected to power; Dimmer set to 0%. | Ensure the clock is plugged into a working power outlet. Rotate the Dimmer knob to increase brightness. |
| Het alarm gaat niet af. | Alarm not activated; Volume set to minimum. | Press the ALARM 1/2 button to activate the alarm (icon should appear). Rotate the Volume knob to increase volume. |
| Instellingen gaan verloren na stroomuitvaltage. | De reservebatterij is leeg of ontbreekt. | Vervang de CR2032 reservebatterij. |
| USB-opladen werkt niet. | Clock not powered; Device cable faulty. | Zorg ervoor dat de wekker is ingeschakeld. Probeer een andere USB-kabel of een ander apparaat. |
Specificaties
- Merk: CHEREEKI
- Model: B0FHHKMP1X
- Kleur: Zwart
- Weergavetype: Digitale LED
- Materiaal: Acrylonitril-butadieen-styreen (ABS)
- Productafmetingen: 14.5 x 3.81 x 6.5 cm (5.7 x 1.5 x 2.5 inch)
- Artikelgewicht: 230 gram (0.5 lbs)
- Energiebron: Wired Electric (5V/1A or 5V/2A adapter)
- Reservebatterij: CR2032 (for memory retention only)
- Speciale kenmerken: Adjustable Brightness, Dual Alarm, Snooze, USB Charging Port, 12/24H Format, Adjustable Volume, Day of Week Display
Garantie en ondersteuning
This CHEREEKI Digital LED Alarm Clock comes with a Levenslange garantie. For any product inquiries, technical support, or warranty claims, please contact CHEREEKI customer service through the retailer where you purchased the product or visit the official CHEREEKI webwebsite voor contactgegevens.
Bewaar uw aankoopbewijs voor garantiedoeleinden.
Ask a question about this manual
Ask about setup, troubleshooting, compatibility, parts, safety, or missing instructions. Manuals+ will review the question and use this page’s manual context to help answer it.