ILEBYGO B0F83Q1HHT
ILEBYGO Mini Projector B0F83Q1HHT User Manual
Model: B0F83Q1HHT
1. Inleiding
Thank you for choosing the ILEBYGO Mini Projector B0F83Q1HHT. This portable projector is designed to provide a versatile entertainment experience with its Android 13 operating system, WiFi 6, Bluetooth 5.0, 1080P Full HD resolution with 4K support, 320 ANSI lumens brightness, 270-degree rotation, auto keystone correction, and autofocus. This manual provides essential information for setting up, operating, and maintaining your projector.
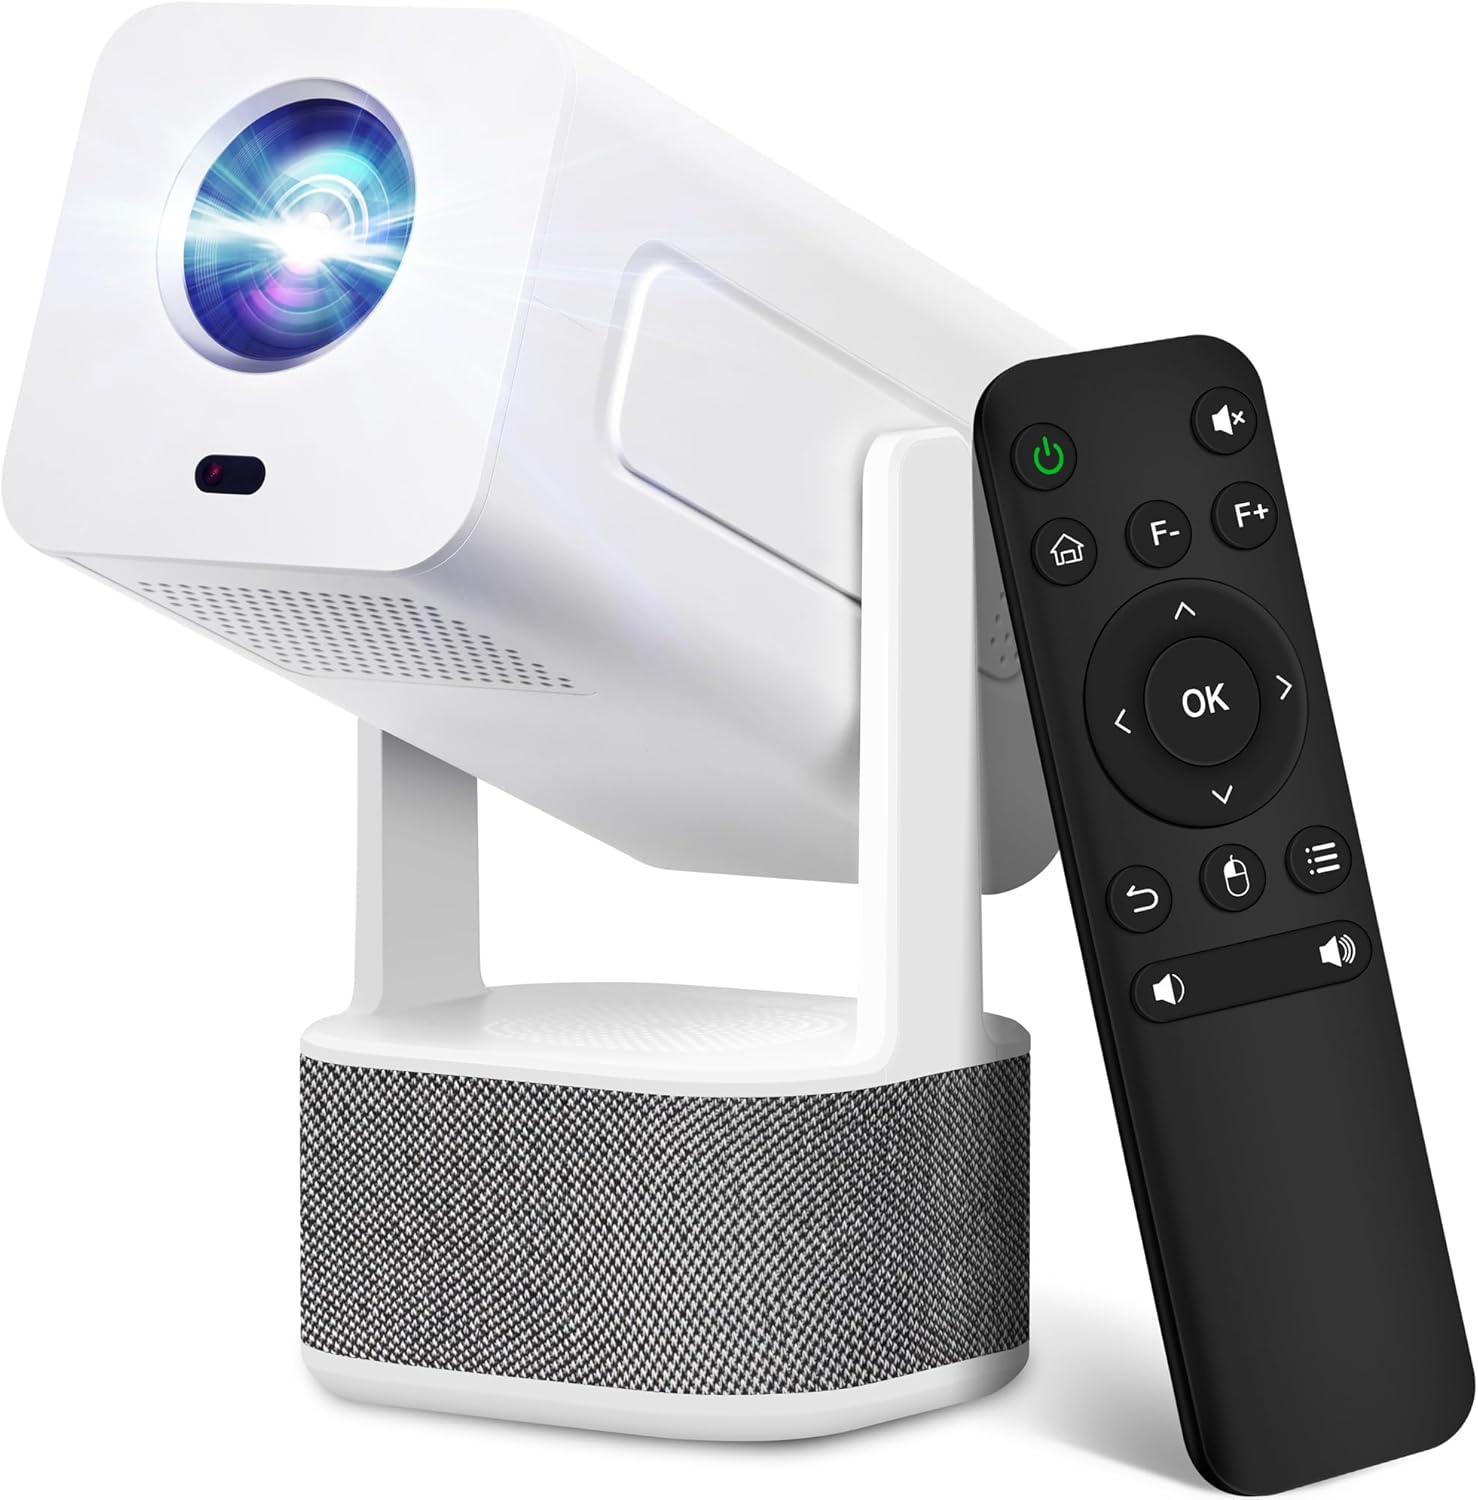
Image 1.1: ILEBYGO Mini Projector and Remote Control
The ILEBYGO Mini Projector B0F83Q1HHT offers a projection size ranging from 30 to 200 inches, making it suitable for various environments from small rooms to outdoor settings. Its dual 5W speakers deliver integrated audio, and multiple connectivity options ensure compatibility with a wide range of devices.
2. Wat zit er in de doos?
Controleer de inhoud van uw pakket. Als er artikelen ontbreken of beschadigd zijn, neem dan contact op met de klantenservice.
- 1x ILEBYGO Mini Projector
- 1x Gebruiksaanwijzing
- 1x Stroomadapter
- 1x Afstandsbediening
3. Installatiehandleiding
3.1. Inschakelen
- Sluit de voedingsadapter aan op de DC-ingang van de projector.
- Sluit de stroomadapter aan op een stopcontact.
- Druk op de aan/uit-knop op de projector of de afstandsbediening om het apparaat in te schakelen.

Image 3.1: Projector Connectivity Ports (DC, HDMI, USB, Audio)
3.2. Initial Placement and Adjustment
The projector features a 270-degree rotatable design, allowing flexible placement.
- Plaats de projector op een stabiel oppervlak.
- Adjust the projector's angle to direct the image onto your desired projection surface (wall, screen, ceiling).
- The projector will automatically perform keystone correction and autofocus to optimize the image clarity and shape.
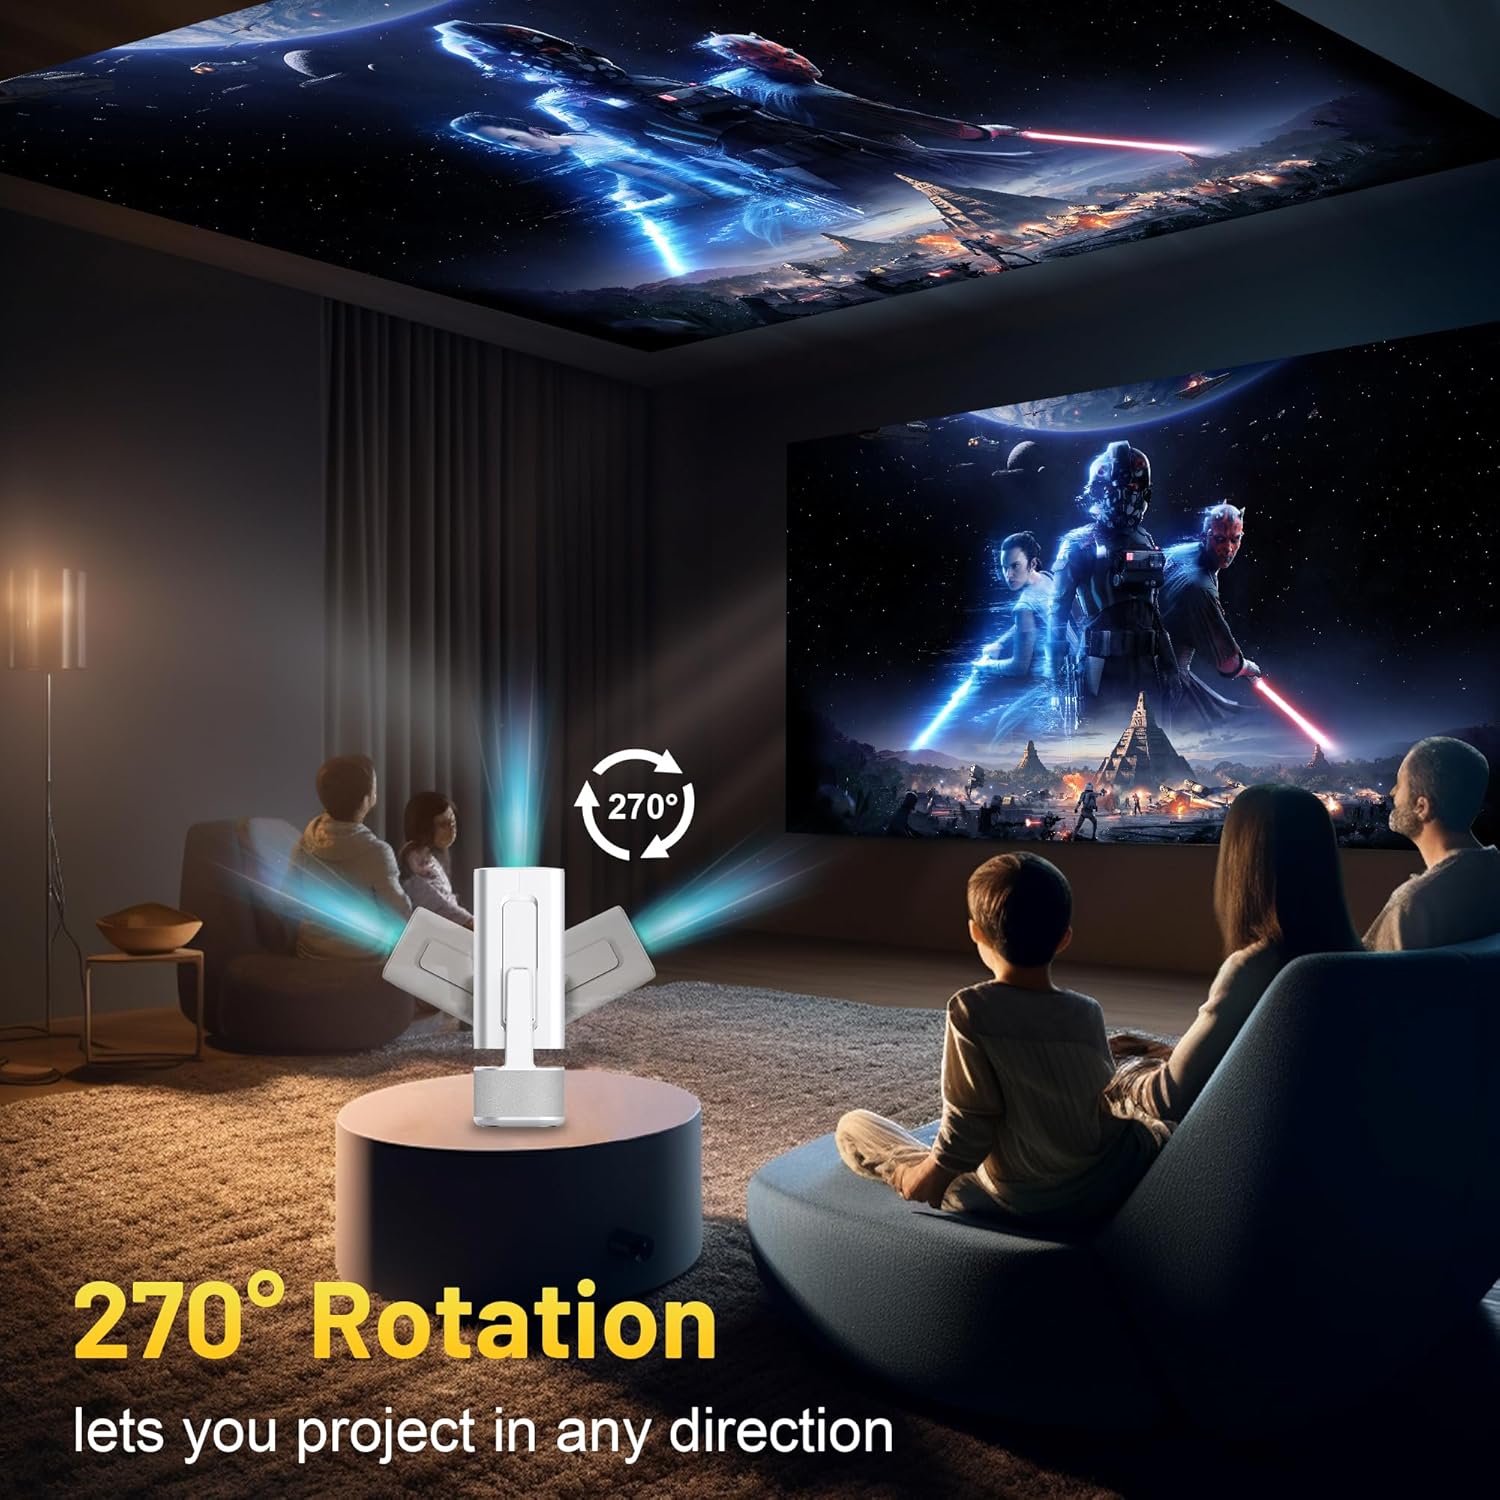
Image 3.2: 270-Degree Rotation Capability
3.3. Netwerkverbinding (WiFi)
To access online content and streaming services, connect the projector to a Wi-Fi network.
- Ga vanuit het startscherm naar 'Instellingen'.
- Selecteer 'Netwerk en internet'.
- Schakel Wi-Fi in en selecteer het gewenste netwerk uit de lijst.
- Voer het wifi-wachtwoord in als daarom wordt gevraagd en maak verbinding.

Image 3.3: Dual Band WiFi 6 and Bluetooth 5.0
3.4. Bluetooth-koppeling
Pair Bluetooth devices like external speakers or headphones for enhanced audio.
- Ga vanuit het startscherm naar 'Instellingen'.
- Selecteer 'Verbonden apparaten' of 'Bluetooth'.
- Schakel Bluetooth in.
- Zet uw Bluetooth-apparaat in de koppelingsmodus.
- Selecteer uw apparaat uit de lijst met beschikbare apparaten op het projectiescherm om te koppelen.
4. Gebruiksaanwijzing
4.1. Navigatie
Use the included remote control to navigate the projector's interface. The directional buttons, 'OK' button, 'Back' button, and 'Home' button are primary controls.
4.2. App Usage (Android 13)
The projector runs on Android 13 and comes with pre-installed streaming applications.
- From the home screen, select the desired application (e.g., Netflix, YouTube, Prime Video).
- Log in met uw accountgegevens indien nodig.
- Browse and play content as you would on any Android smart device.
- Additional apps can be downloaded from the Google Play Store.

Image 4.1: Built-in Android 13 System with Apps
4.3. Schermspiegeling/casting
Mirror content from your smartphone, tablet, or computer wirelessly.
- Zorg ervoor dat zowel de projector als uw apparaat met hetzelfde wifi-netwerk zijn verbonden.
- On the projector, select the screen mirroring/casting application (e.g., Miracast, AirPlay).
- On your mobile device, enable screen mirroring or casting and select the projector from the list of available devices.
4.4. External Device Connection (HDMI, USB)
Connect external devices such as laptops, gaming consoles, or USB drives.
- HDMI: Connect an HDMI cable from your device to the HDMI port on the projector. Select the HDMI input source from the projector's input menu.
- USB-poort: Insert a USB drive into the USB port. The projector's file manager will typically open automatically, allowing you to browse and play media files.

Image 4.2: Multi-Device Compatibility
4.5. Beeldaanpassing
The projector features automatic adjustments for convenience.
- Automatische trapeziumcorrectie: The projector automatically corrects vertical image distortion. If manual adjustment is needed, navigate to 'Settings' > 'Projection Settings' > 'Keystone Correction'.
- autofocus: The image will automatically focus when the projector is moved or powered on. Manual focus adjustment can be found in 'Settings' > 'Projection Settings' > 'Focus'.
- Zoom: Adjust the projection size from 50% to 100% without moving the projector. This setting is typically found in 'Settings' > 'Projection Settings' > 'Zoom'.

Image 4.3: Auto Keystone Correction and Autofocus
5. Onderhoud
5.1. Schoonmaken
- Lens: Gebruik een zachte, pluisvrije doek die speciaal is ontworpen voor optische lenzen. Vermijd schurende materialen of agressieve chemicaliën.
- Buitenkant: Veeg de buitenkant van de projector schoon met een zachte, droge doek. Gebruik geen vloeibare reinigingsmiddelen rechtstreeks op het apparaat.
- Ventilatie: Zorg ervoor dat de ventilatieopeningen vrij zijn van stof en obstakels om oververhitting te voorkomen.
5.2. Opslag
When not in use, store the projector in a cool, dry place away from direct sunlight and extreme temperatures. Use the original packaging or a protective case to prevent dust accumulation and physical damage.
6. Probleemoplossing
Raadpleeg de onderstaande tabel voor veelvoorkomende problemen en hun oplossingen.
| Probleem | Mogelijke oorzaak | Oplossing |
|---|---|---|
| Geen stroom | Power cable not connected; Power outlet malfunction | Controleer of de stroomkabel goed is aangesloten. Probeer een ander stopcontact. |
| Geen afbeelding | Incorrect input source; Device not connected; Projector in standby mode | Select correct input source (HDMI, USB). Ensure external device is powered on and connected. Press power button to wake projector. |
| Onscherpe afbeelding | Out of focus; Keystone not corrected | Allow autofocus to adjust. Manually adjust focus in settings if needed. Check keystone correction settings. |
| Geen geluid | Volume too low; Muted; External audio device not connected/paired | Increase volume. Unmute projector. Ensure Bluetooth audio device is paired and connected, or external speakers are properly connected via audio jack. |
| Problemen met de Wi-Fi-verbinding | Incorrect password; Network interference; Router issues | Verify Wi-Fi password. Move projector closer to router. Restart router. |
| Bluetooth-koppeling mislukt | Device not in pairing mode; Interference; Device too far | Ensure Bluetooth device is in pairing mode. Keep devices close. Turn off other Bluetooth devices to reduce interference. |
7. Specificaties
| Functie | Detail |
|---|---|
| Merk | ILEBYGO |
| Model | B0F83Q1HHT |
| Weergaveresolutie | 1920 x 1080 (Full HD), 4K Support |
| Helderheid | 320 ANSI Lumens |
| Connectiviteitstechnologie | Bluetooth 5.0, HDMI, USB, Wi-Fi 6 (2.4G+5G) |
| Besturingssysteem | Androïde 13 |
| Speciale kenmerken | Auto Keystone Correction, Autofocus, 270° Rotation, Built-in Dual 5W Speakers |
| Projectiegrootte | 30''-200'' |
| Beeldverhouding | 16:9 / 4:3 |
| Artikelgewicht | 2.72 pond |
| Pakket afmetingen | 13.54 x 5.39 x 5.2 inch |
8. Garantie en ondersteuning
The ILEBYGO Mini Projector B0F83Q1HHT comes with a standard manufacturer's warranty. Please refer to the warranty card included in your package for specific terms and conditions.
For technical support, troubleshooting assistance, or warranty claims, please contact ILEBYGO customer service through the retailer's platform or the contact information provided in your product documentation.
Ask a question about this manual
Ask about setup, troubleshooting, compatibility, parts, safety, or missing instructions. Manuals+ will review the question and use this page’s manual context to help answer it.