Invoering
This manual provides essential information for the setup, operation, and maintenance of your PowerA Enhanced Wireless Controller, featuring the unique Pikachu vs. Gengar design. This officially licensed controller is designed to enhance your gaming experience on Nintendo Switch, Nintendo Switch Lite, and Nintendo Switch (OLED Model) consoles.
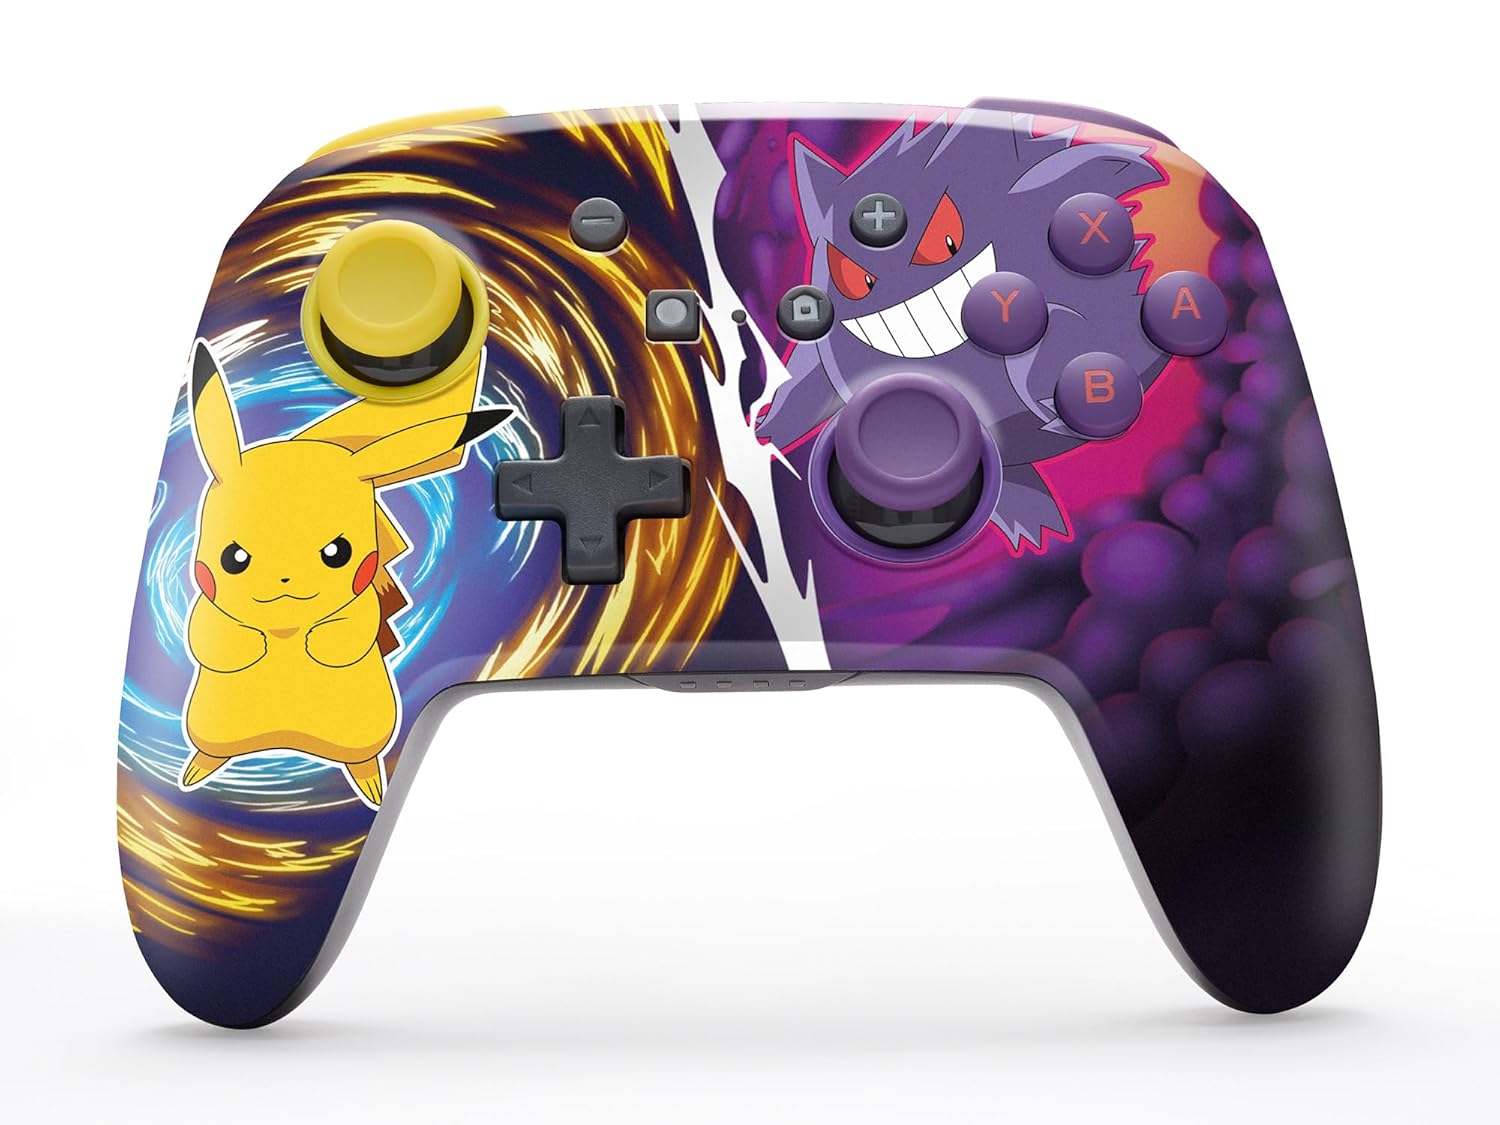
The PowerA Enhanced Wireless Controller with Pikachu vs. Gengar artwork.
Belangrijkste kenmerken
- Draadloze connectie: Utilizes Bluetooth 5.0 technology for a stable connection.
- Oplaadbare batterij: Integrated lithium-ion battery provides up to 30 hours of gameplay per charge.
- Programmeerbare geavanceerde gamingknoppen: Two programmable buttons on the back for custom control.
- Ergonomisch ontwerp: Superieure ergonomie voor comfortabele gamesessies van langere duur.
- Smooth Thumbstick Control: Embedded anti-friction rings ensure precise and fluid movement.
- Bewegingsbediening: Supports intuitive motion controls for compatible games.

Ergonomisch ontwerp voor comfortabel gamen.
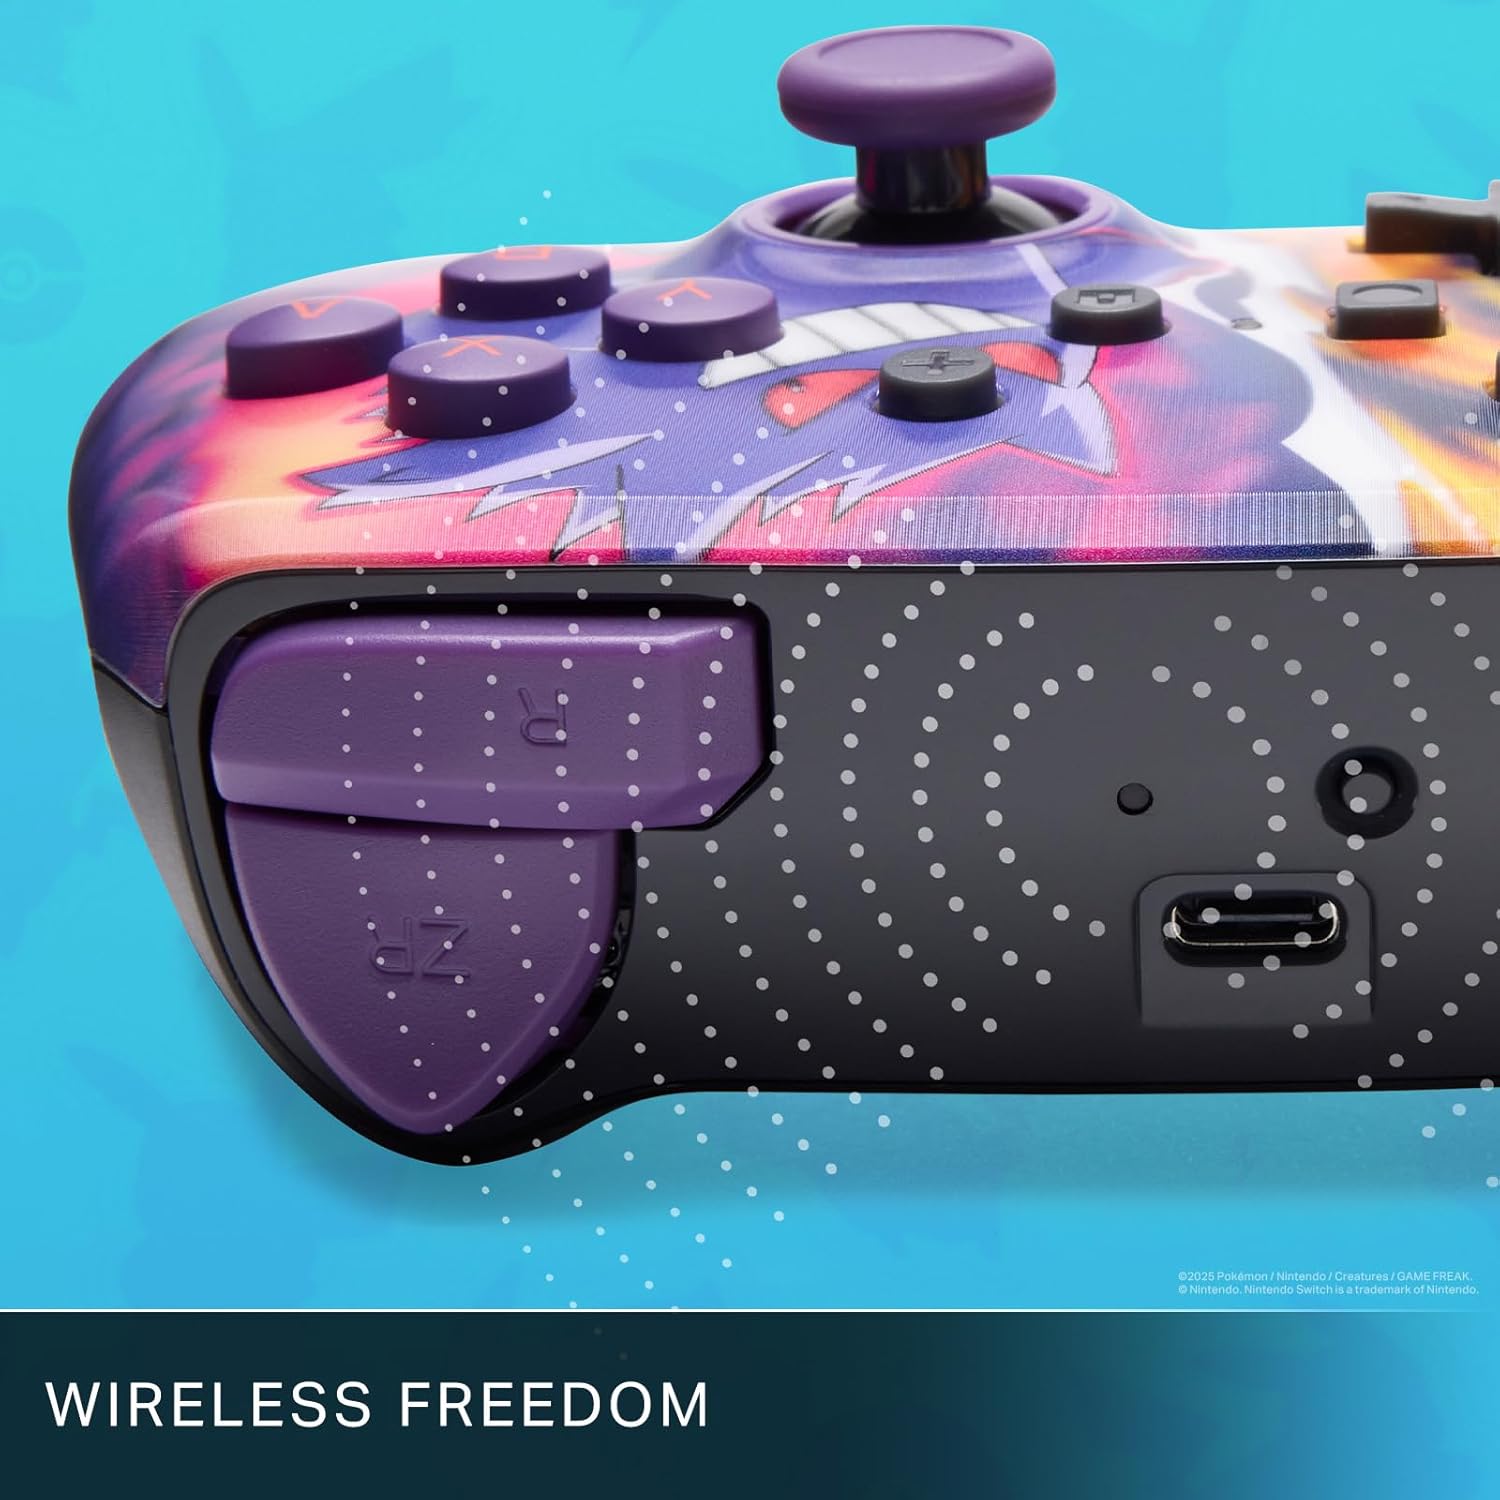
Enjoy wireless freedom with Bluetooth 5.0 technology.
Installatie en koppelen
- Zorg ervoor dat je Nintendo Switch-console is ingeschakeld en dat de systeemsoftware is bijgewerkt naar de nieuwste versie.
- Selecteer in het HOME-menu Beheerders, Dan Grip/volgorde wijzigen.
- Houd de SYNC-knop on the top edge of your PowerA Enhanced Wireless Controller for at least one second. The Player LED(s) will flash.
- Once paired, the Player LED(s) corresponding to the controller number will remain lit.
- Druk op de Een knop to confirm and exit the menu. Your controller is now ready for use.
De controller opladen
The controller features an internal 900mAh lithium-ion rechargeable battery, providing up to 30 hours of gameplay on a single charge. To charge your controller:
- Connect the included 10ft (3m) USB-C charge cable to the USB-C port on the top of the controller.
- Connect the other end of the USB-C cable to a USB power source (e.g., Nintendo Switch dock, USB wall adapter, or computer USB port).
- The LED indicator on the controller will show charging status. It will typically turn off or change color when fully charged.

Connect the USB-C cable to charge your controller.
Geavanceerde gamingknoppen
Your PowerA Enhanced Wireless Controller includes two mappable Advanced Gaming Buttons (AGBs) on the back, allowing you to assign specific button functions for quick access during gameplay.
Programming AGBs:
- Druk op de Programmaknop on the back of the controller. The Program LED will flash, indicating programming mode.
- Press the button you wish to map (A/B/X/Y/L/R/ZL/ZR/Left Stick Click/Right Stick Click/D-Pad). The Program LED will flash rapidly.
- Press the Advanced Gaming Button (AGB L or AGB R) you want to assign the function to. The Program LED will stop flashing, indicating the AGB is now programmed.
Resetting AGBs:
To reset all Advanced Gaming Buttons to their default (no function) state, press and hold the Programmaknop for five seconds. The Program LED will flash slowly, then turn off, confirming the reset.
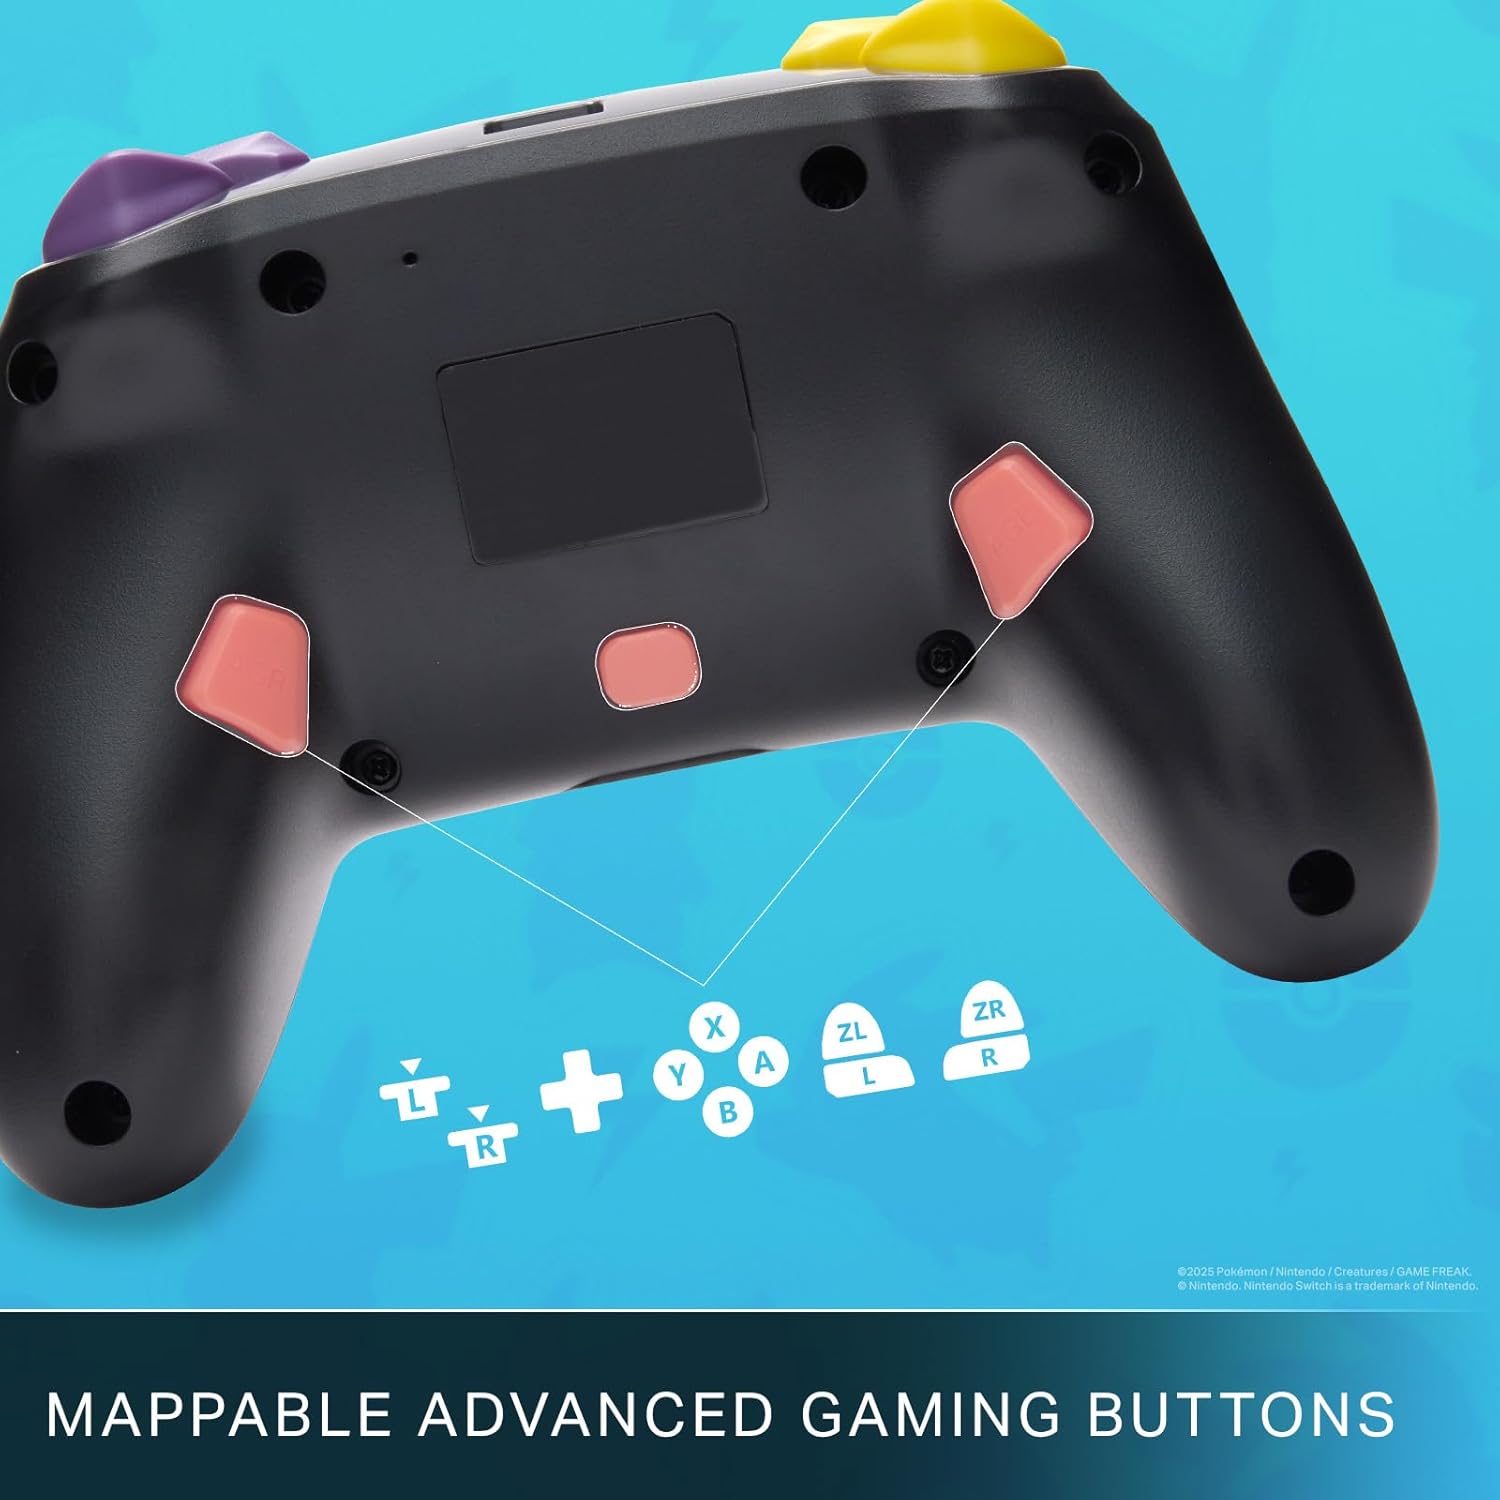
Mappable Advanced Gaming Buttons for personalized control.
Verenigbaarheid
This PowerA Enhanced Wireless Controller is compatible with the following Nintendo consoles:
- Nintendo-schakelaar
- Nintendo Switch Lite
- Nintendo Switch (OLED Model)
- Nintendo Switch 2 (Note: C button not available)

The controller is compatible with Nintendo Switch 2, though the C button functionality is not available.
Specificaties
| Functie | Detail |
|---|---|
| Compatibele apparaten | Nintendo-schakelaar |
| Controller-type | Spelcomputer |
| Connectiviteitstechnologie | Bluetooth, USB |
| Extra functies | Ergonomic, Wireless |
| Aantal knoppen | 12 |
| Hardwareplatform | Spelcomputer |
| Energiebron | Werkt op batterijen (oplaadbare lithium-ion) |
| Compatibele videogameconsolemodellen | Nintendo-Schakelaar, Nintendo-Schakelaar Lite |
| Artikelgewicht | 0.68 pond |
| Artikelafmetingen | 6.02 x 4.41 x 2.48 inch |
| Kleur | Pikachu vs Gengar |
| Modelnaam | Pikachu vs. Gengar |
| Modelnummer | NSGP0420-01R |
Verzorging en onderhoud
- Keep the controller dry. Avoid exposure to moisture or extreme temperatures.
- Reinig de controller met een zachte, droge doek. Gebruik geen agressieve chemicaliën of schurende materialen.
- Bewaar de controller op een veilige plaats wanneer deze niet in gebruik is om schade te voorkomen.
Probleemoplossing
Controller maakt geen verbinding:
- Zorg ervoor dat de controller volledig is opgeladen.
- Verify the controller is within the Bluetooth range of your Nintendo Switch console.
- Attempt to re-pair the controller following the "Setup and Pairing" instructions.
Niet-reagerende knoppen/joysticks:
- Controleer of er fysieke obstakels of vuil rond de knoppen of joysticks aanwezig zijn.
- Perform a hard reset by holding the SYNC button for 10 seconds, then attempt to re-pair.
- Ensure the controller's firmware is up to date (check PowerA's official website voor updates).
Garantie en ondersteuning
This PowerA Enhanced Wireless Controller comes with a Twee jaar beperkte garantie. For detailed warranty information, product support, and troubleshooting assistance, please visit the official PowerA support webwebsite: