Displays2go DF043TLB2
Displays2go Advertising Multimedia Kiosk (DF043TLB2) User Manual
Model: DF043TLB2 | Brand: Displays2go
1. Inleiding
This manual provides comprehensive instructions for the setup, operation, and maintenance of your Displays2go Advertising Multimedia Kiosk, model DF043TLB2. This 43-inch multi-touch kiosk is designed for displaying interactive digital content in various public and commercial environments. Please read this manual thoroughly before use to ensure proper functionality and safety.
2. Veiligheidsinformatie
- Ensure the kiosk is placed on a stable, level surface to prevent tipping.
- Stel het apparaat niet bloot aan vocht, regen of extreme temperaturen.
- Gebruik uitsluitend de meegeleverde stroomadapter.
- Houd ventilatieopeningen vrij om oververhitting te voorkomen.
- Probeer het apparaat niet zelf te openen of te repareren. Laat alle onderhoudswerkzaamheden over aan gekwalificeerd personeel.
- Schakel de stroom uit voordat u het apparaat schoonmaakt of verplaatst.
3. Inhoud van het pakket
Controleer of alle artikelen in het pakket aanwezig zijn:
- Displays2go Advertising Multimedia Kiosk (DF043TLB2)
- Stroomkabel
- Four Locking Casters (pre-installed or to be installed)
- Gebruikershandleiding (dit document)
4. Installatie-instructies
4.1. Uitpakken en plaatsen
Carefully remove the kiosk from its packaging. Place the unit on a flat, stable surface. Ensure adequate space around the kiosk for ventilation and access.

Figuur 1: Voorzijde view of the Displays2go Advertising Multimedia Kiosk.

Figuur 2: Zijkant view of the kiosk displaying content.

Afbeelding 3: Achter view of the kiosk, showing ventilation and access panel.
Video 1: Een 360-graden view of the 43-inch Floor Standing Poster, showcasing its physical design and features from all angles.
4.2. Caster Installation (if not pre-installed)
If the four locking casters are not pre-installed, carefully tilt the kiosk and attach each caster to the designated mounting points on the base. Ensure they are securely fastened. Lock the casters once the kiosk is in its final position to prevent unintended movement.
4.3. Stroomaansluiting
- Locate the power input port on the back of the kiosk.
- Connect the provided power cable to the kiosk and then to a standard electrical outlet.
- Flip the power switch to the "ON" position. The kiosk will begin to boot up.

Afbeelding 4: Gedetailleerd view of the kiosk's connectivity ports and power switch.
5. Gebruiksaanwijzing
5.1. Initial Boot-Up and Android 11 OS
Upon powering on, the kiosk will boot into the Android 11 operating system. The initial setup may require you to configure basic settings such as language, Wi-Fi connection, and time zone. Follow the on-screen prompts.
Video 2: Product Showcase of the Displays2go Digital Poster, highlighting various features and applications. This video provides a general overview of the kiosk's capabilities, including its touch functionality and design.
5.2. Using the Multi-Touch Screen
The kiosk features a 10-point IR touchscreen, allowing for interactive gestures such as tapping, swiping, and multi-finger operations. Navigate the Android interface and interactive applications by touching the screen directly.
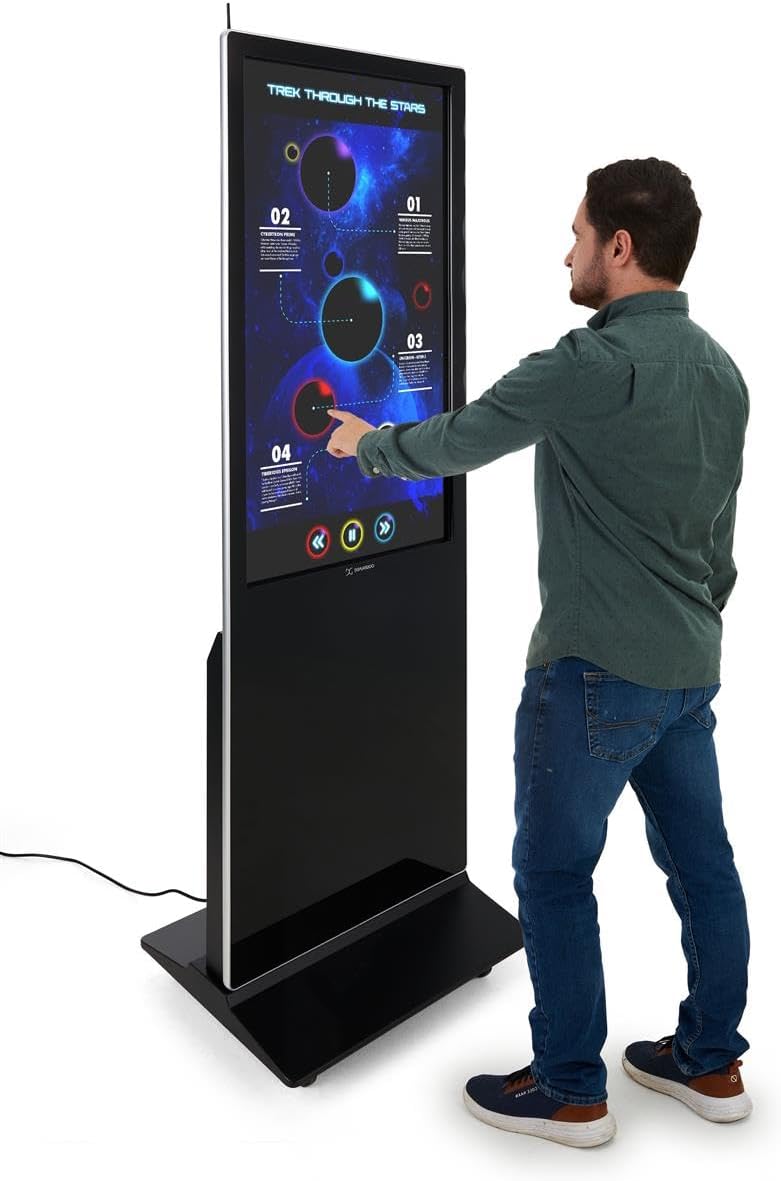
Figure 5: A user interacting with the multi-touch screen of the kiosk.
5.3. Content Upload and Management
There are several methods to upload and manage content on your kiosk:
- USB-plug-and-play: Connect a USB drive to one of the three available USB ports. The kiosk will detect the drive, allowing you to transfer media files (images, videos, documents) directly to the internal storage.
- Cloud Storage/CMS: Connect the kiosk to your network via Wi-Fi or Ethernet (LAN port). You can then access your personal cloud storage accounts or integrate with a connected content management system (CMS) for remote content updates.
5.4. Using the DiViEX Slideshow App
The kiosk comes with the DiViEX slideshow app pre-installed. This application allows you to create and manage captivating slideshows with various borders, aspect ratios, and theme sharing capabilities. Refer to the in-app help or the DiViEX documentation for detailed usage instructions.
Video 3: Demonstration of the DiViEX Slideshow App. This video illustrates how to use the pre-installed application to create and customize digital content for display on the kiosk.
5.5. Audio-uitgang
The kiosk is equipped with dual 8W speakers for audio output. Adjust the volume through the Android operating system settings or within the media playback application.
6. Onderhoud
6.1. Cleaning the Screen and Casing
- Koppel altijd de stroomkabel los voordat u gaat schoonmaken.
- Gebruik een zachte, pluisvrije doek die lichtjes is schoongemaakt.ampMaak het scherm schoon met water of een niet-schurend schermreinigingsmiddel.
- Voor de casinGebruik een zachte, droge doek. Vermijd agressieve chemicaliën of schurende materialen.
6.2. Software-updates
Periodically check for system updates through the Android settings menu to ensure optimal performance and security. Ensure the kiosk is connected to the internet during updates.
7. Probleemoplossing
| Probleem | Mogelijke oorzaak | Oplossing |
|---|---|---|
| Kiosk does not power on. | Power cable disconnected; power switch off; no power from outlet. | Controleer de aansluiting van de stroomkabel; zorg dat de aan/uit-schakelaar op AAN staat; test het stopcontact met een ander apparaat. |
| Touchscreen reageert niet. | Software glitch; screen dirty; external interference. | Restart the kiosk; clean the screen; ensure no objects are blocking the IR sensors. |
| No content displayed. | No media loaded; incorrect app selected; network issue for streaming content. | Media verifiëren files are present; ensure the correct application (e.g., DiViEX) is running; check network connection. |
| Geen geluid. | Volume too low; audio muted; application audio settings. | Increase volume in Android settings; unmute audio; check audio settings within the playing application. |
8. Specificaties
| Functie | Detail |
|---|---|
| Model | DF043TLB2 |
| Schermgrootte | 43 inch |
| Oplossing | 1920 x 1080 (1080p HD) |
| Touch-technologie | 10pt IR Touchscreen |
| Besturingssysteem | Androïde 11 |
| Interne opslag | 32GB |
| RAM | 4GB |
| USB-poorten | 3 |
| Sprekers | Dubbele 8W |
| Beeldverhouding | 1.78:1 |
| Beeldcontrastverhouding | 1200:1 |
| Productafmetingen (B x H x D) | 24.4 x 56 x 9 inch |
| Fabrikant | Weergaven2go |
9. Garantie en ondersteuning
For warranty information and technical support, please refer to the Displays2go official webwebsite of neem contact op met hun klantenservice. Bewaar uw aankoopbewijs voor garantieclaims.
Displays2go Contact Information:
- Webwebsite: www.displays2go.com
- Telefoon: 1-844-221-3393
Ask a question about this manual
Ask about setup, troubleshooting, compatibility, parts, safety, or missing instructions. Manuals+ will review the question and use this page’s manual context to help answer it.