1. Inleiding
Bedankt voor uw aankoopasing the Acbaeta Q12 Pro 4K Digital Camera. This manual provides essential information for the safe and effective use of your new camera. Please read this manual thoroughly before using the camera and keep it for future reference.
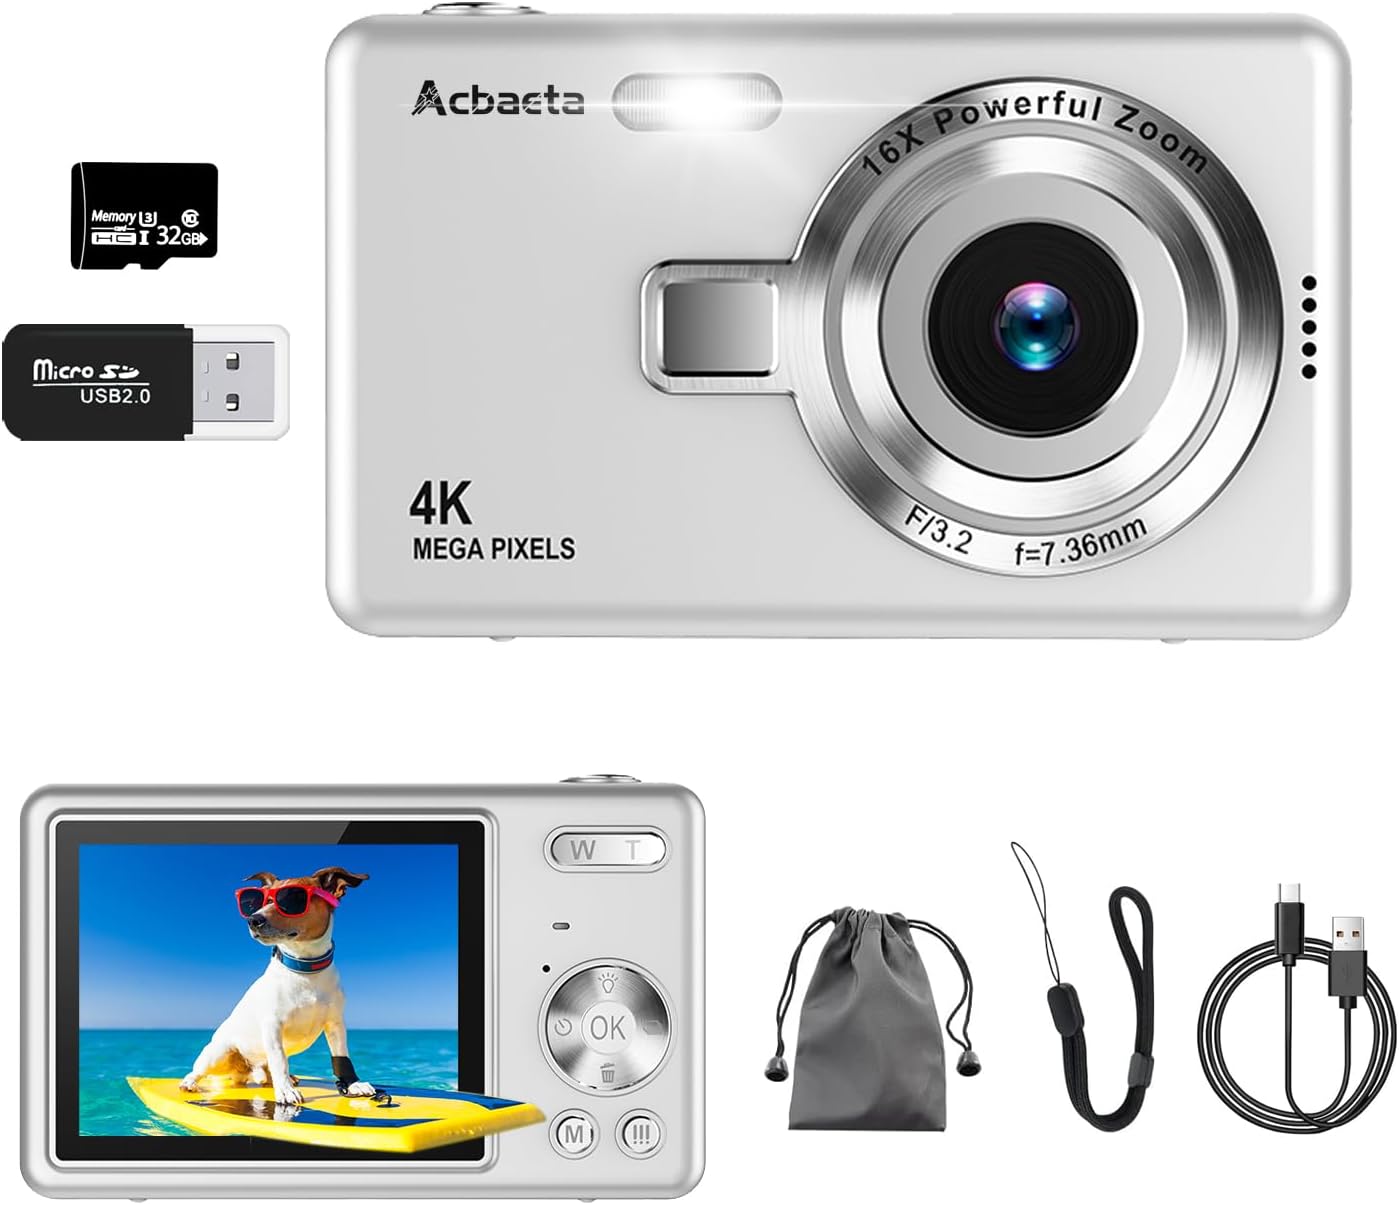
Figure 1.1: Acbaeta Q12 Pro 4K Digital Camera and Accessories
This image displays the Acbaeta Q12 Pro 4K Digital Camera in silver, along with its standard accessories: a 32GB Micro SD card, a USB 2.0 card reader, a USB charging cable, a wrist strap, a carrying pouch, and the user manual.
Belangrijkste kenmerken:
- 4K UHD Video Recording & 50MP Photo Shooting
- Advanced AF Autofocus System
- 16x digitale zoom
- Built-in Anti-Shake Function
- Webcam-functionaliteit
- Compact en lichtgewicht ontwerp
- Oplaadbare batterij met grote capaciteit
2. Product voorbijview
Maak uzelf vertrouwd met de onderdelen en bedieningselementen van de camera.

Afbeelding 2.1: Camerafunctiesview
This image highlights the main features of the Acbaeta Q12 Pro camera, including 4K UHD video, 50MP photo, continuous shooting, various filters, 16x digital zoom, timing, autofocus, and auxiliary light.
Inhoud van het pakket:
- Acbaeta Q12 Pro Digital Camera
- 32GB Micro SD-kaart
- USB 2.0-kaartlezer
- USB Type-C kabel
- Polsbandje
- Draagtas
- User Manual (Japanese and English)
3. Instellen
3.1 De batterij opladen:
- Connect the camera to a USB power adapter (not included) or a computer using the provided USB Type-C cable.
- Het oplaadindicatielampje gaat branden.
- Zodra de batterij volledig is opgeladen, zal het indicatielampje veranderen of uitgaan.
3.2 Inserting the Micro SD Card:
The camera supports Micro SD cards up to 128GB. A 32GB high-speed Micro SD card is included.
- Zoek de sleuf voor de microSD-kaart aan de zijkant van de camera.
- Insert the Micro SD card with the gold contacts facing the front of the camera until it clicks into place.
- Om de kaart te verwijderen, drukt u de kaart voorzichtig naar binnen totdat deze eruit springt.
Important: Format the Micro SD card before first use to ensure proper functionality and prevent data corruption. Refer to Section 4.5 for formatting instructions.
4. Gebruiksaanwijzing
4.1 Aan/uit:
- Om het apparaat in te schakelen, houdt u de aan/uit-knop ingedrukt totdat het scherm oplicht.
- Om het apparaat uit te schakelen, houdt u de aan/uit-knop ingedrukt totdat het scherm uitgaat.
4.2 Photo Shooting (50MP):
The camera captures photos at a maximum resolution of 50 million pixels.

Figure 4.1: Supported Resolutions
This image illustrates the camera's video resolution capabilities (4K, 2.7K, 1080P) and image pixel options (50MP, 36MP, 24MP).
- Ensure the camera is in Photo mode (usually indicated by an icon on the screen).
- Frame your shot using the 2.7-inch display.
- Lightly press the shutter button to activate autofocus. The focus frame will appear.
- Once focused, press the shutter button completely down to take the photo.
4.3 Video Recording (4K UHD):
The camera supports 4K UHD video recording.
- Schakel de camera over naar de videomodus.
- Press the shutter button to start recording. A recording indicator (e.g., red dot, timer) will appear on the screen.
- Druk nogmaals op de ontspanknop om de opname te stoppen.
4.4 Digital Zoom (16x):
The camera features up to 16x digital zoom.
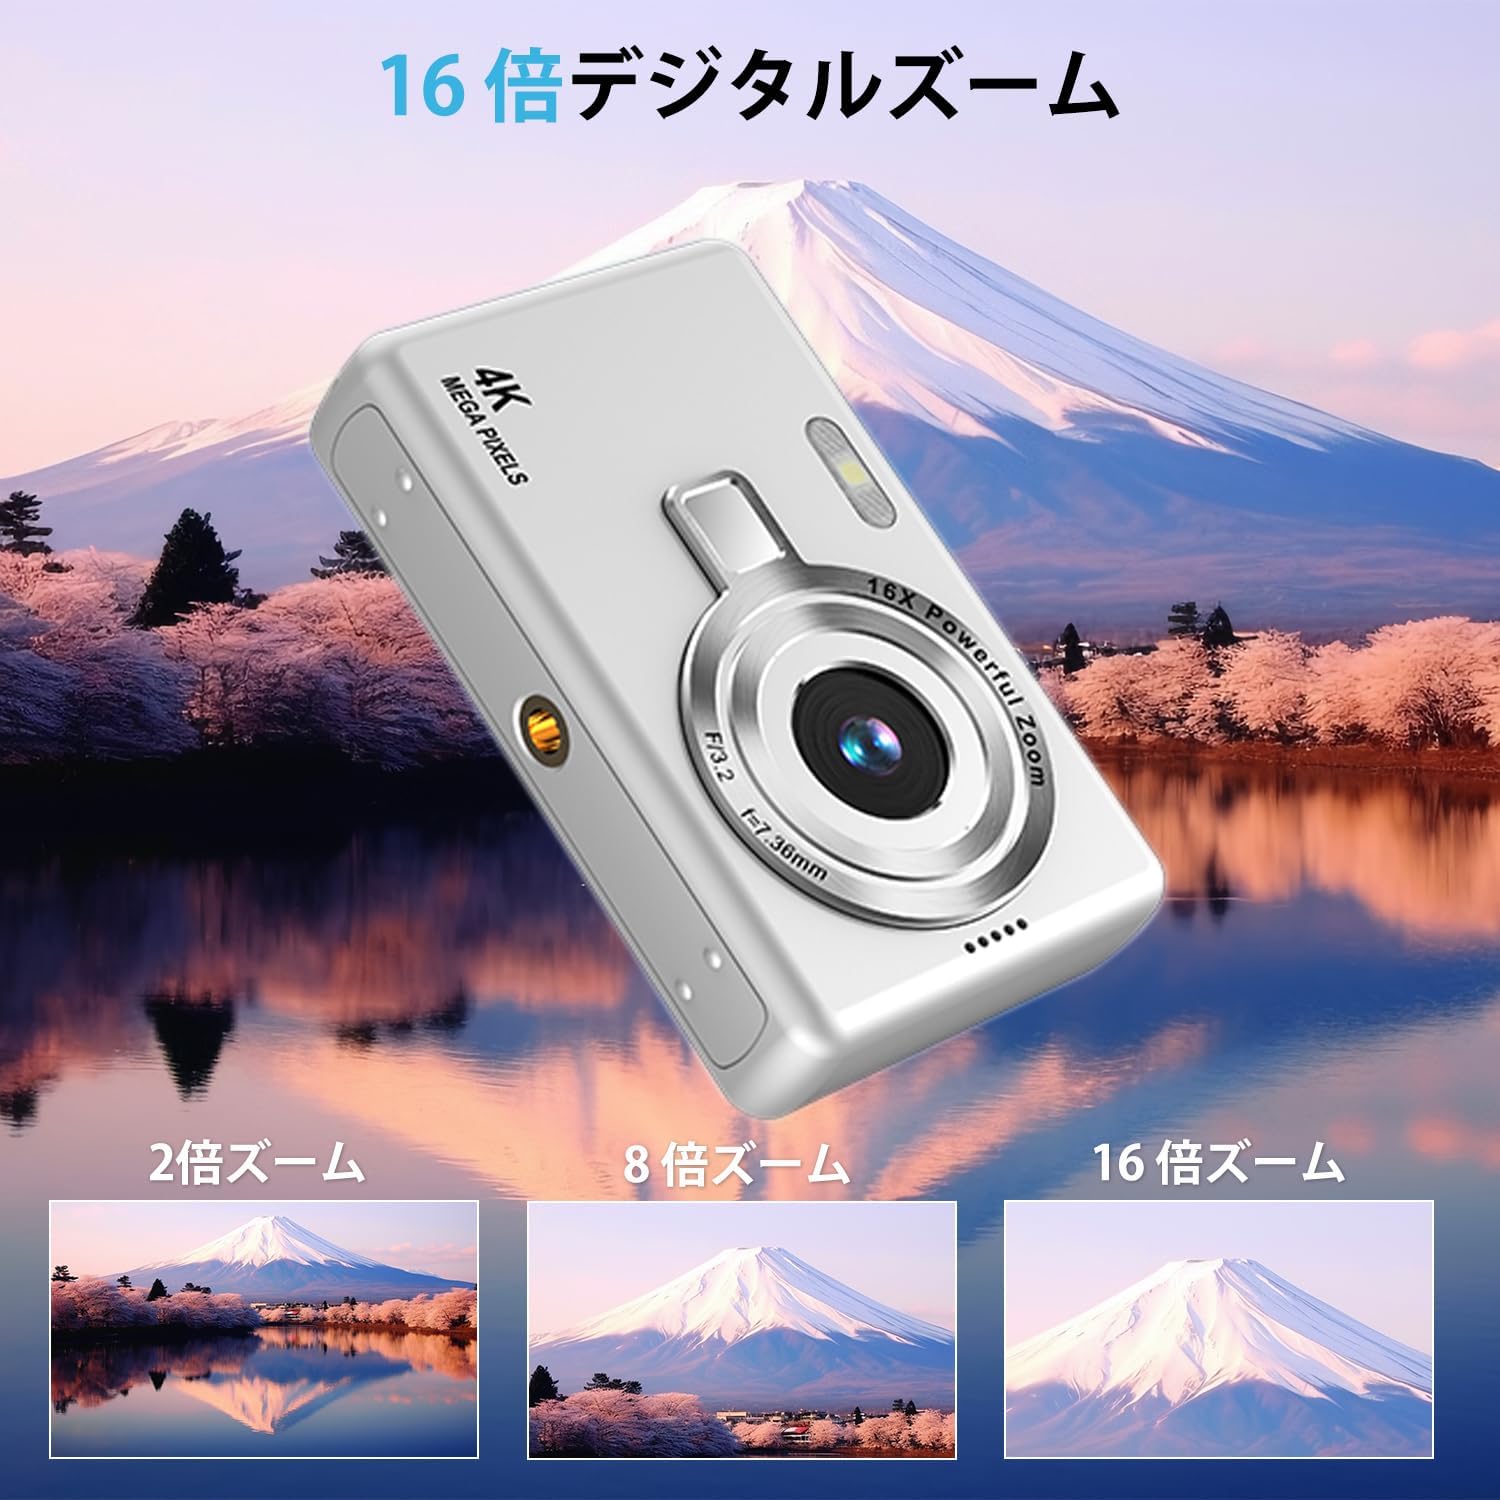
Figure 4.2: Digital Zoom Capability
This image illustrates the camera's 16x digital zoom, showing examples of 2x, 8x, and 16x magnification on a distant landscape with Mount Fuji.
- Use the W (Wide) button to zoom out and the T (Telephoto) button to zoom in.
- Adjust the zoom level to frame your subject as desired.
4.5 Autofocus and Anti-Shake:
The camera is equipped with AF autofocus and an anti-shake function for clearer images.

Figure 4.3: Autofocus and Anti-Shake in Action
This image demonstrates the AI autofocus, showing a green focus box around a child's face, and the enhanced anti-shake function, comparing a blurry image with a clear, stabilized one.
- Autofocus activates with a half-press of the shutter button.
- The anti-shake function is built-in to help stabilize images, especially in uneven environments.
4.6 Other Shooting Modes and Features:
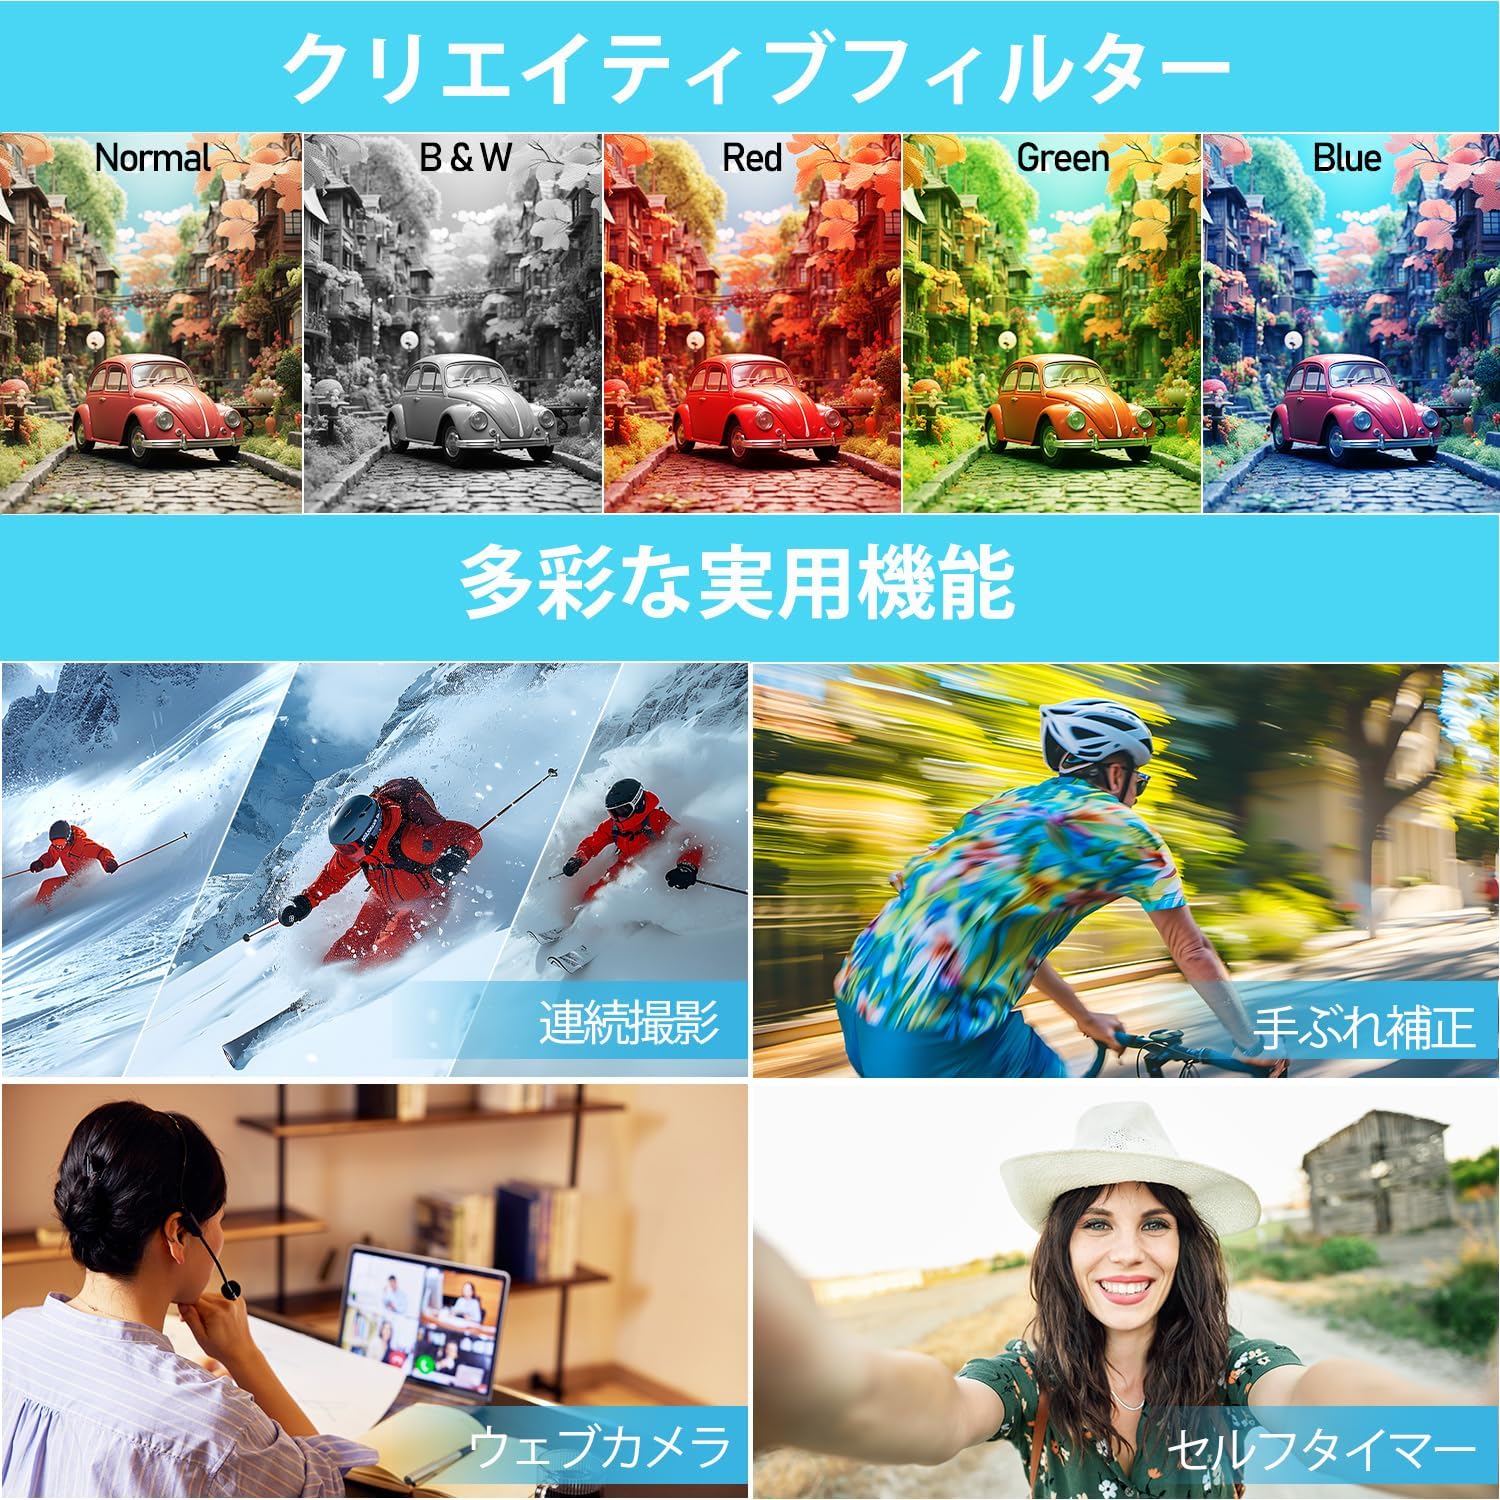
Figure 4.4: Diverse Practical Functions
This image showcases various practical functions of the camera, including different creative filters (Normal, B&W, Red, Green, Blue), continuous shooting, anti-shake, webcam mode, and self-timer.
- Continu fotograferen: Capture a series of photos rapidly.
- Zelfontspanner: Set a delay of 2s, 5s, or 10s before taking a photo.
- Ingebouwde flitser: Use the flash for low-light conditions.
- Photo Filters: Apply various creative filters (Normal, Black & White, Red, Green, Blue) to your photos.
- Datum Stamp: Add the date to your photos.
4.7 Webcam-functionaliteit:
De camera kan worden gebruikt als een webcam for video calls and live streaming.
- Sluit de camera aan op uw computer met behulp van de meegeleverde USB Type-C-kabel.
- Selecteer 'Webcam Mode' on the camera screen (if prompted).
- Uw computer zou de camera als een moeten herkennen. webcam. You can then use it with video conferencing software or live streaming platforms.
4.8 Formatting the SD Card:
Formatting the SD card erases all data and prepares it for optimal use with the camera.
- Navigate to the camera's 'Settings' menu.
- Locate the 'Format' option (or similar, e.g., 'Format SD Card').
- Confirm your selection to proceed with formatting.
Warning: Formatting will permanently delete all data on the SD card. Back up any important files voordat u verder gaat.
5. Onderhoud
5.1 De camera reinigen:
- Gebruik een zachte, droge doek om de camerabehuizing schoon te maken.
- Gebruik voor de lens een lensreinigingsdoekje en een speciale lensreinigingsvloeistof. Raak de lens niet met uw vingers aan.
- Gebruik geen agressieve chemicaliën of schurende materialen.
5.2 Opslag:
- Bewaar de camera op een koele, droge plaats, uit de buurt van direct zonlicht en extreme temperaturen.
- Als u het apparaat voor een langere periode opbergt, verwijder dan de batterij om lekkage te voorkomen.
- Use the provided carrying pouch to protect the camera from dust and scratches.
6. Probleemoplossing
In dit gedeelte worden veelvoorkomende problemen besproken. Als het probleem aanhoudt, neem dan contact op met de klantenservice.
| Probleem | Mogelijke oorzaak | Oplossing |
|---|---|---|
| De camera gaat niet aan. | Batterij is leeg. | Laad de batterij volledig op. |
| De camera gaat niet aan. | Batterij niet correct geplaatst. | Reinsert the battery correctly. |
| Kan geen foto's/video's maken. | SD-kaart is vol. | Verwijder onnodig fileof vervang de SD-kaart. |
| Kan geen foto's/video's maken. | SD card is not formatted or corrupted. | Format the SD card (backup data first). |
| De beelden zijn wazig. | Autofocus failed or subject too close/far. | Ensure proper lighting and distance. Half-press shutter to re-focus. |
| De beelden zijn wazig. | Camera shake. | Hold the camera steady or use a tripod. Ensure anti-shake is enabled. |
| Webcam not recognized. | Incorrect connection or driver issue. | Zorg ervoor dat de camera in webcam mode. Try a different USB port or cable. Restart computer. |
7. Specificaties
| Functie | Specificatie |
|---|---|
| Merk | Acbaeta |
| Modelnaam | Q12 Pro |
| Modelnummer van het product | Q12 Pro |
| Jaar | 2025 |
| Schermgrootte | 2.7 inch |
| Zoom Magnification (Digital) | 16x |
| F-number (Wide-angle side) | 3.2 voet |
| Focuspunten | Fase Detectie |
| Viewzoeker type | Elektronisch |
| Lensconstructie | Macro |
| Lensvatting | Raammontage |
| Connectiviteit | USB |
| Beeldstabilisatie | Ingebouwd |
| Meegeleverde accessoires | Camerabehuizing en accessoires |
| Opnamefunctie: | Auto |
| Motortype | Digitale zoom |
| Kleur | Star Silver |
| Compatibele apparaten | Smartphones, pc's |
| Batterijen inbegrepen | Nee (oplaadbare batterij is intern) |
| Pakket afmetingen | 12.6x8.8x6.4cm |
| Artikelgewicht | 210 gram |
| Beeldverhouding | 1.29:1 |
| Fotosensortechnologie | CMOS |
| Ondersteund File Formaten | JPEG / AVI |
| Maximale diafragma | 3.2 voet |
| Meterbeschrijving | Centrumgerichte meting |
| Webcam Max Image Resolution | 50 MP |
8. Garantie en ondersteuning
8.1 Manufacturer Warranty:
The Acbaeta Q12 Pro Digital Camera comes with an 18-month manufacturer warranty from the date of purchase. This warranty covers defects in materials and workmanship under normal use.
8.2 Klantenservice:
If you encounter any issues or have questions regarding your product, please contact Acbaeta customer service. We are committed to assisting you 24 hours a day, 365 days a year.
- When contacting support, please provide your order number for faster assistance.
- For general inquiries or technical support, please refer to the official email address provided in your product packaging or on the brand's official webplaats.
Acbaeta is dedicated to providing high-quality digital imaging products and excellent customer service.