Invoering
This manual provides essential information for the safe and efficient operation, maintenance, and troubleshooting of your CONENTOOL 12V Cordless Drill Driver Kit. Please read this manual thoroughly before first use and keep it for future reference.
The CONENTOOL 12V Cordless Drill Driver is designed for drilling into wood, plastic, metal, and other materials, as well as for driving and removing screws. It features a powerful 35 N.m max torque, 25+1 torque settings, and two variable speeds for versatile applications.

Image: The CONENTOOL 12V Cordless Drill Driver Kit, including the drill, two batteries, charger, and a case filled with various drill bits and screwdriver bits.
Belangrijke veiligheidsinstructies
Volg altijd de basisveiligheidsmaatregelen bij het gebruik van elektrisch gereedschap om het risico op brand, elektrische schokken en persoonlijk letsel te beperken.
- Draag geschikte persoonlijke beschermingsmiddelen (PBM's), zoals een veiligheidsbril, handschoenen en gehoorbescherming.
- Houd uw werkgebied schoon en goed verlicht. Rommelige of donkere gebieden nodigen uit tot ongelukken.
- Gebruik geen elektrisch gereedschap in een explosieve omgeving, zoals in de aanwezigheid van ontvlambare vloeistoffen, gassen of stof.
- Zorg ervoor dat het gereedschap is uitgeschakeld voordat u aanpassingen doorvoert, accessoires verwisselt of het gereedschap opbergt.
- Gebruik het juiste gereedschap voor uw toepassing. Forceer het gereedschap niet.
- Bewaar niet-gebruikte gereedschappen buiten het bereik van kinderen en andere ongetrainde personen.
Productcomponenten en -functies
Familiarize yourself with the various parts and features of your CONENTOOL Cordless Drill Driver.

Image: A detailed diagram of the CONENTOOL drill driver highlighting its key components: 3/8" keyless chuck, 25+1 adjustable clutch, LED light, variable speed switch, forward and reverse button, 2 variable speeds, and 2000 mAh lithium battery.
- 3/8" sleutelloze boorkop: For quick and easy bit changes. Features an all-metal automatic spindle lock.
- 25+1 Adjustable Clutch: Allows precise torque settings for various applications, preventing overtightening or stripping screws.
- LED-lamp: Verlicht de werkplek voor beter zicht in donkere ruimtes.
- Variabele snelheidsschakelaar: Biedt nauwkeurige controle over de boor- en aandrijfsnelheid.
- Forward and Reverse Button: Easily switch between drilling/driving and unscrewing.
- 2 variabele snelheden: Low speed (0-450 RPM) for screwing, high speed (0-1650 RPM) for drilling.
- 2000 mAh Lithium Battery: Offers long-lasting power and reliable performance.
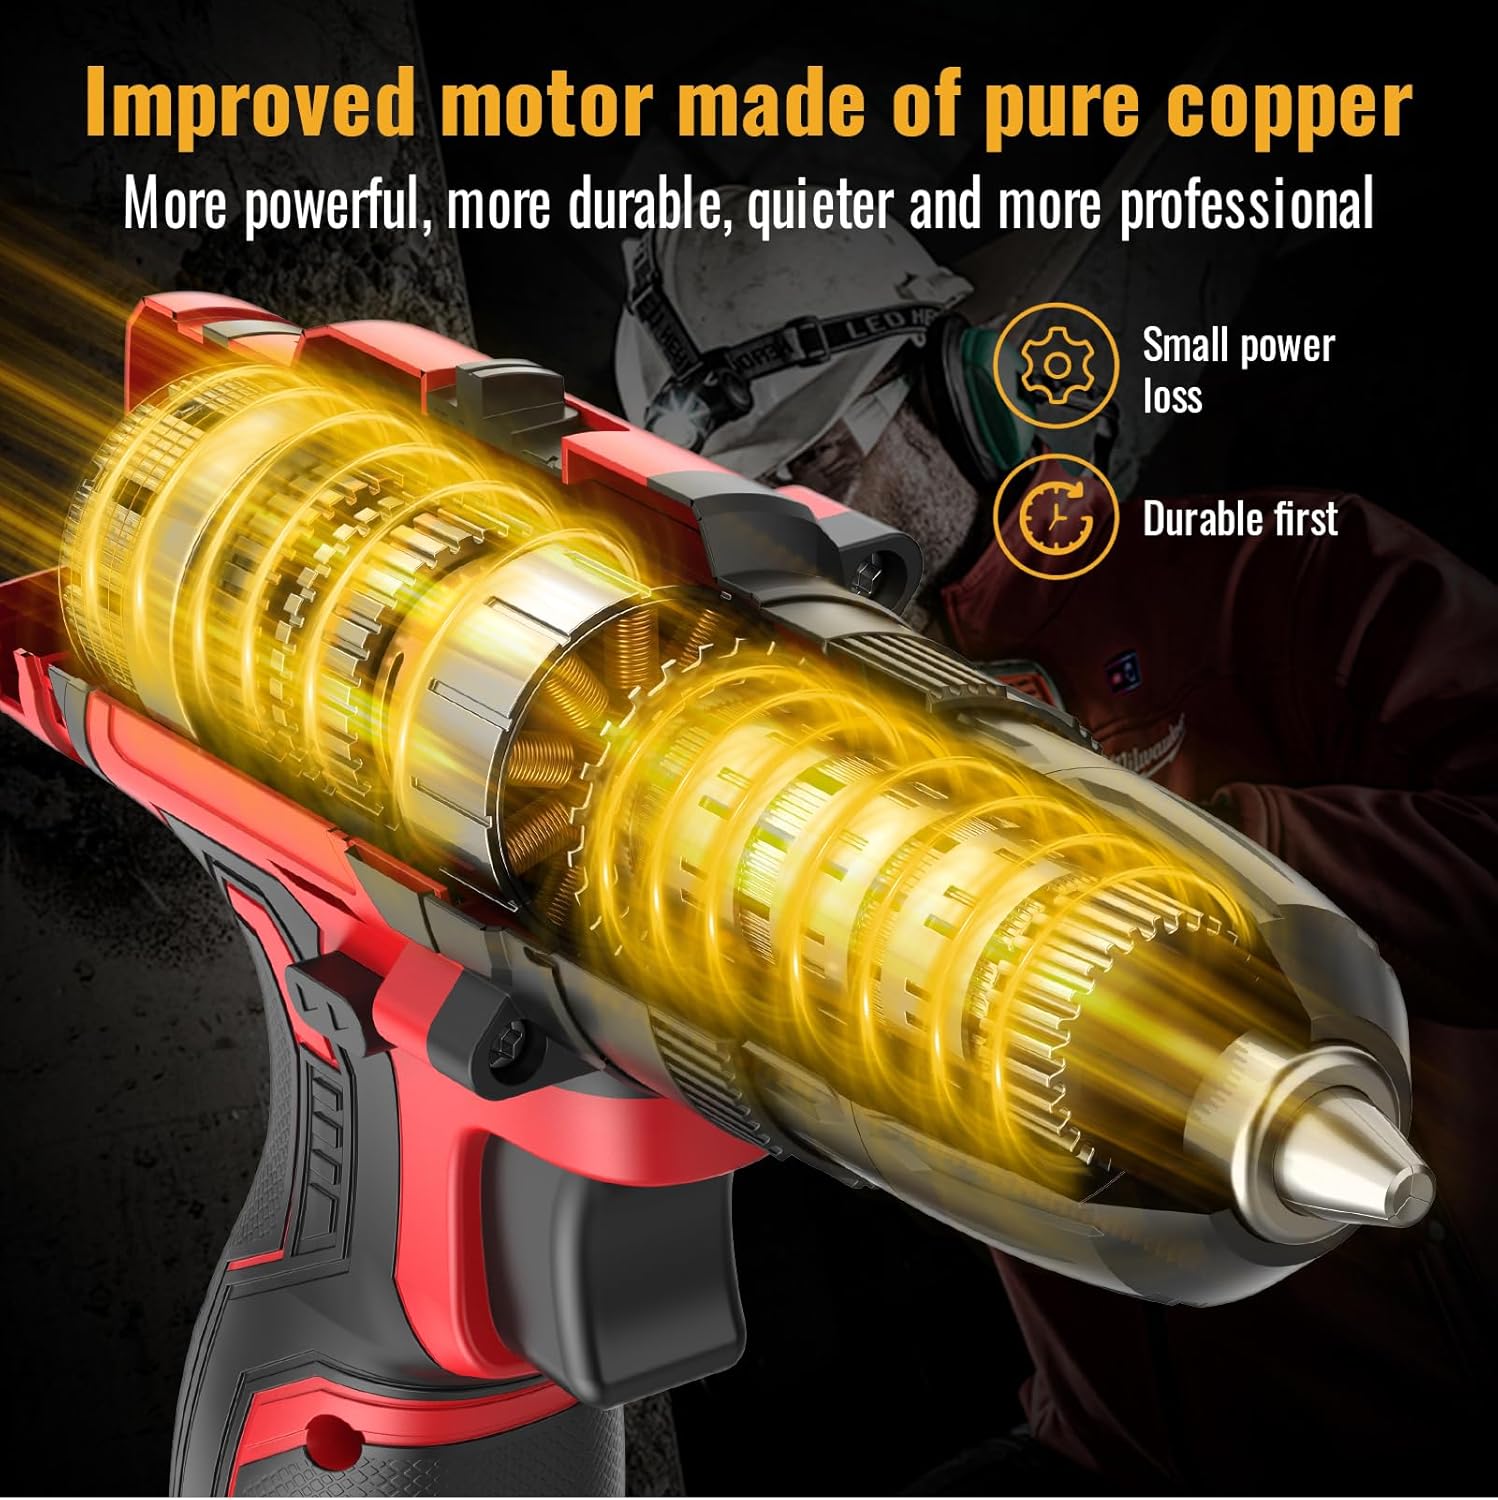
Afbeelding: Een interne view of the drill, highlighting the improved motor made of pure copper, designed for more power, durability, and quieter operation with small power loss.

Image: A graph illustrating the extended working hours provided by the 2x 2.0AH large capacity batteries compared to other batteries, showing a slower discharge rate over time.
Instellen
De batterij opladen
- Sluit de oplader aan op een standaard stopcontact.
- Schuif de accu op de lader totdat deze vastklikt.
- Allow the battery to charge fully before first use. The indicator light on the charger will change when charging is complete.
- Always disconnect the charger from the power supply and remove the battery once fully charged.
De batterij plaatsen/verwijderen
- Installatie: Lijn het accupakket uit met de basis van de boorkop en schuif het erin totdat het stevig vastklikt.
- To remove: Press the battery release button (usually located on the side of the battery pack) and slide the battery out.
Installing/Removing Drill Bits or Screwdriver Bits

Image: A close-up showing the operation of the 3/8" (10mm) self-locking drill chuck, demonstrating how to open and close it to insert or remove bits.
- Zorg ervoor dat de boormachine is uitgeschakeld en dat de vooruit-/achteruitschakelaar in de middelste (vergrendelde) stand staat.
- Draai de klauw tegen de klok in om de kaken te openen.
- Steek de gewenste boor of schroevendraaierbit volledig in de boorkop.
- Draai de spankop met de klok mee om de klemmen stevig om de boor te bevestigen. Zorg ervoor dat de boor gecentreerd en stevig vastgeklemd is.
- Om te verwijderen: Draai de boorkop tegen de klok in om de klemmen los te maken en trek de boor eruit.
Gebruiksaanwijzing
Snelheid selecteren
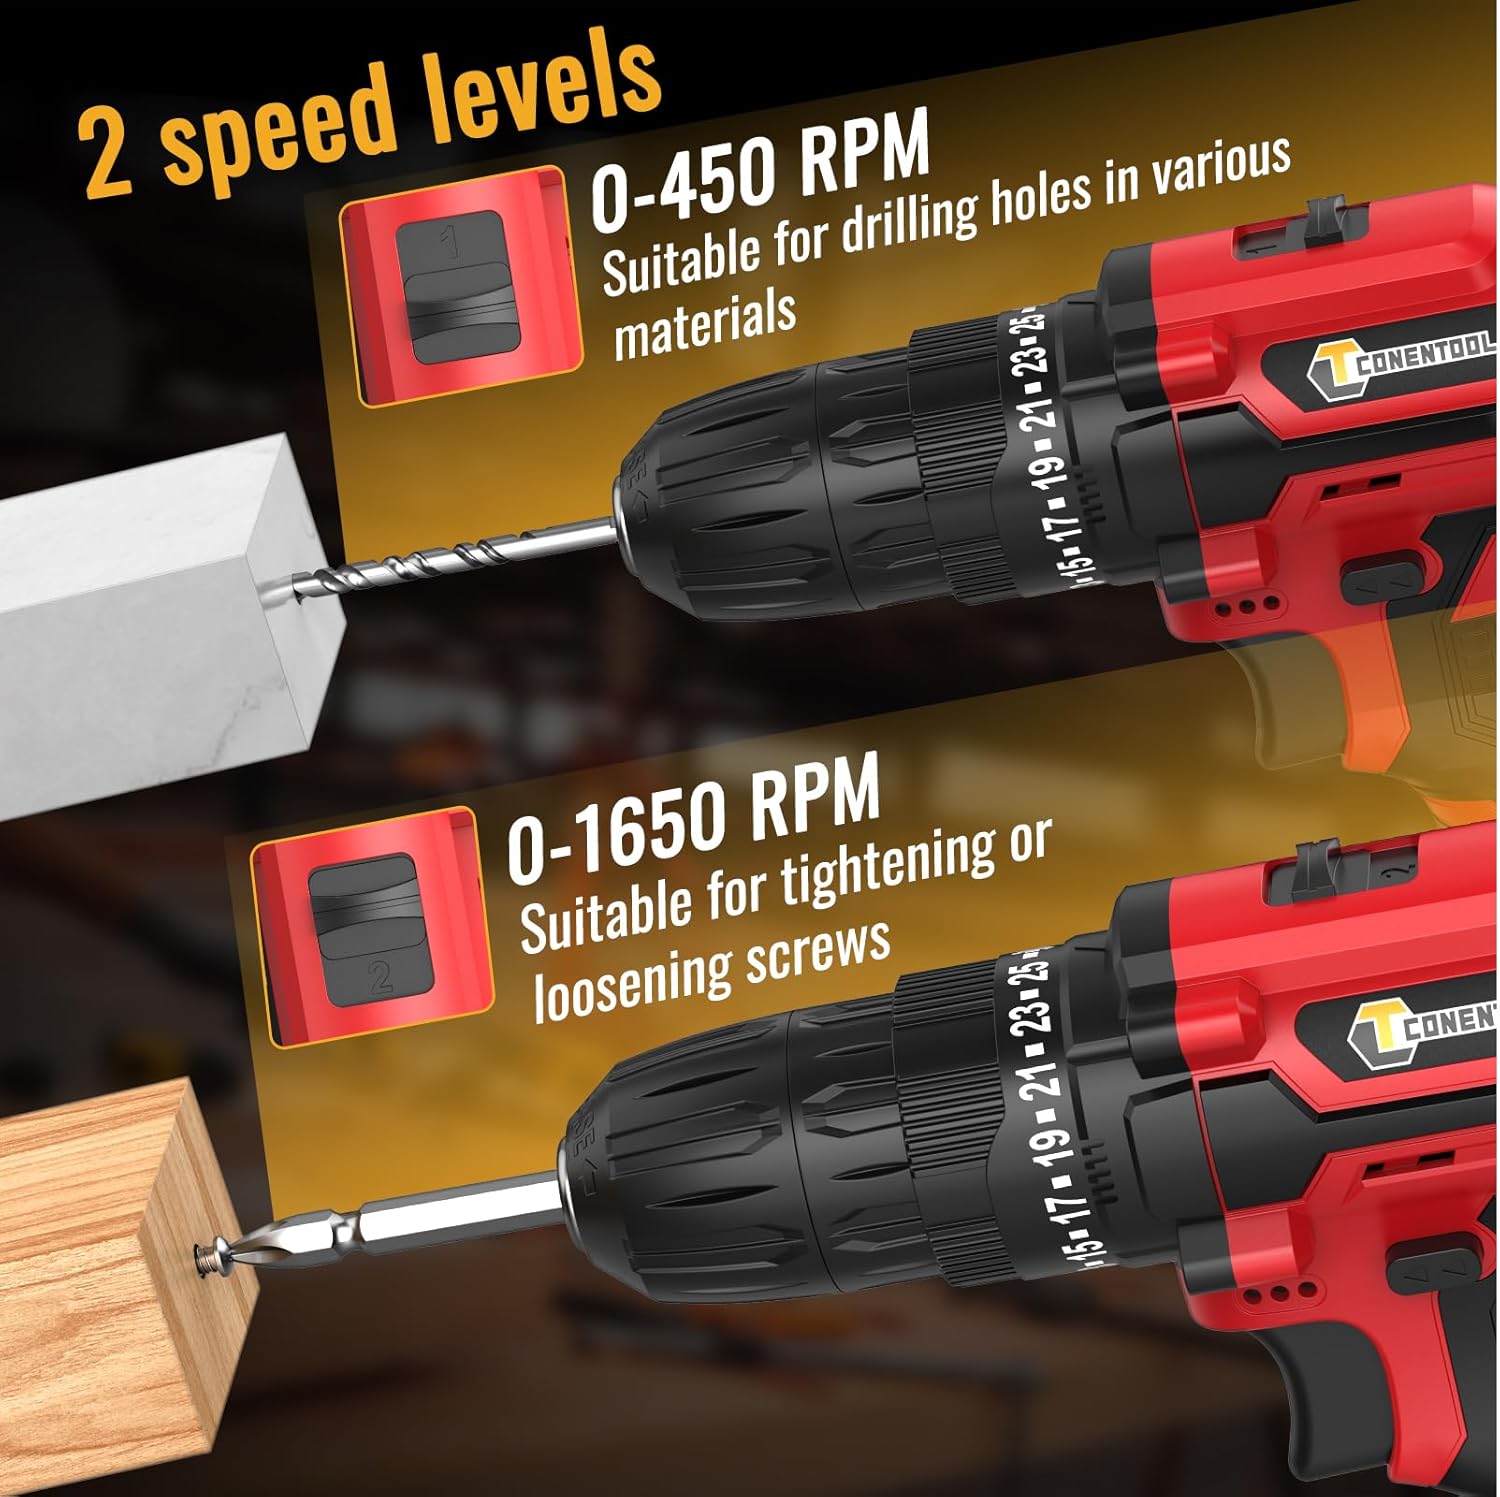
Image: A visual representation of the two-speed levels: 0-450 RPM for drilling holes in various materials (Speed 1) and 0-1650 RPM for tightening or loosening screws (Speed 2).
- Speed 1 (Low, 0-450 RPM): Ideal for driving screws, larger diameter drilling, or applications requiring higher torque.
- Speed 2 (High, 0-1650 RPM): Suitable for smaller diameter drilling and applications requiring faster speed.
- Adjust the speed by sliding the gear selector switch located on top of the drill.
Adjusting Torque (Clutch Setting)

Image: A chart illustrating the drill's multifunctional capabilities, showing increasing torque/power levels suitable for screws, wood, ceramics, brick, concrete, and steel, with distinct settings for drilling and screwdriving.
- The torque adjustment ring is located behind the chuck. Rotate it to select the desired torque setting from 1 to 25.
- The higher the number, the greater the torque. Start with a lower setting and increase as needed to prevent overtightening or damaging the workpiece.
- Use the drill symbol setting for drilling applications, which provides maximum torque without clutch engagement.
Vooruit/achteruit werking
- Push the forward/reverse selector switch (located above the trigger) to the left for forward rotation (drilling/driving screws).
- Schuif de schakelaar naar rechts om de draairichting om te keren (schroeven verwijderen).
- For safety, place the switch in the center position to lock the trigger and prevent accidental starting.
Het bedienen van de boor
- Zorg ervoor dat het juiste bit is geïnstalleerd en dat de accu is opgeladen.
- Selecteer de juiste snelheids- en koppelinstelling voor uw taak.
- Position the drill bit on the workpiece.
- Press the trigger to start the drill. The LED light will illuminate the work area.
- Oefen constante, gelijkmatige druk uit. Forceer de boor niet.
- Laat de trekker los om de boor te stoppen.
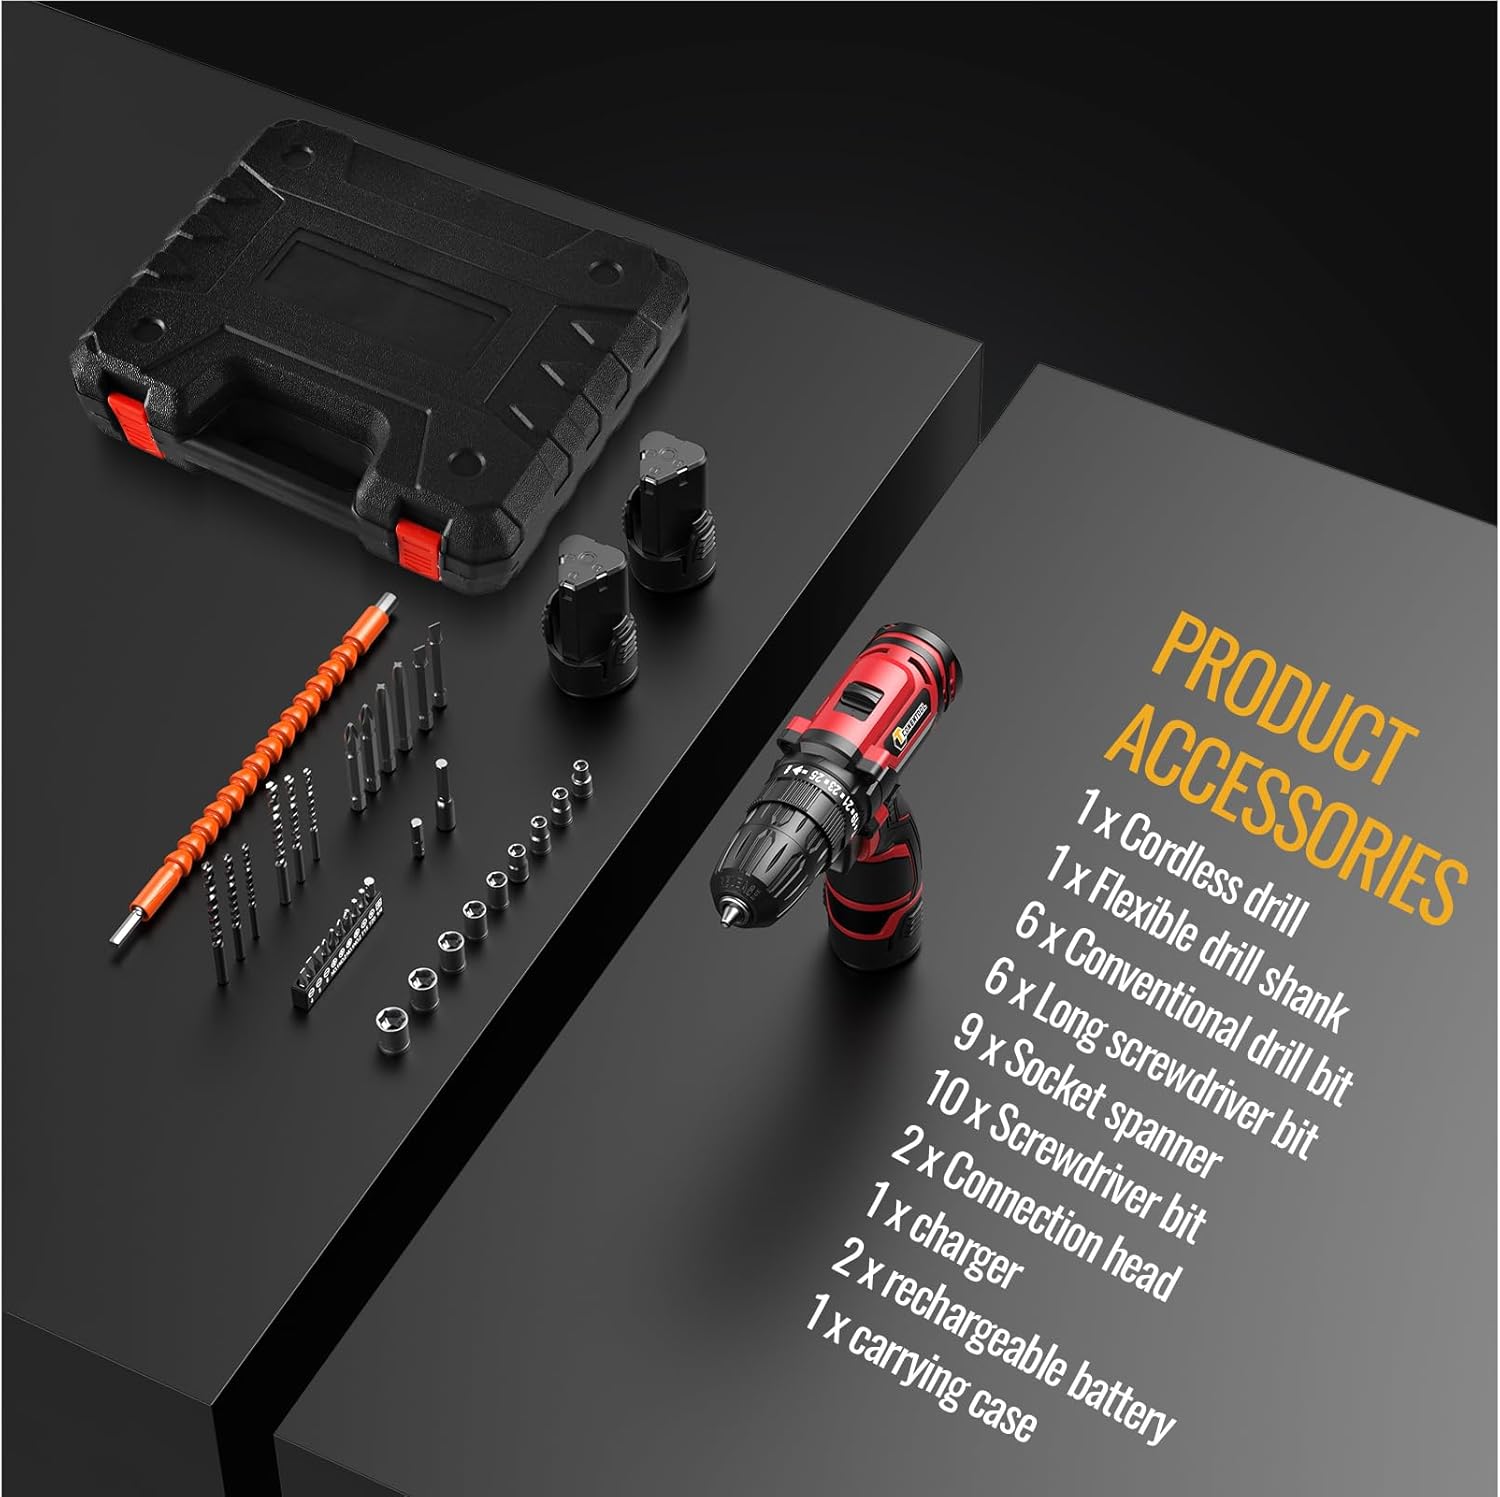
Image: A user demonstrating the versatility of the CONENTOOL drill, shown both drilling into wood and driving a screw into a wall, illustrating its practical application.
Onderhoud
Algemene schoonmaak
- Koppel altijd de accu los voordat u het apparaat schoonmaakt.
- Veeg het gereedschap af met een schone, damp lap. Gebruik geen agressieve chemicaliën of schurende schoonmaakmiddelen.
- Houd de ventilatieopeningen vrij van stof en vuil om oververhitting te voorkomen. Gebruik indien nodig perslucht.
Batterijverzorging
- Bewaar batterijen op een koele, droge plaats, uit de buurt van direct zonlicht en extreme temperaturen.
- Bewaar batterijen niet gedurende langere tijd in ontladen toestand. Laad ze regelmatig op als ze niet in gebruik zijn.
- Sluit de accupolen niet kort.
Onderhoud van accessoires
- Clean drill bits and screwdriver bits after use.
- Store accessories in the provided carrying case to prevent damage and loss.
Probleemoplossing
| Probleem | Mogelijke oorzaak | Oplossing |
|---|---|---|
| Boormachine start niet | Accu niet opgeladen of niet correct geplaatst. Vooruit-/achteruitschakelaar in de middelste (vergrendelde) stand. | Charge battery fully. Reinstall battery securely. Move forward/reverse switch to desired direction. |
| Vermogensverlies tijdens bedrijf | Batterij is bijna leeg. Overbelastingsbeveiliging geactiveerd. | Laad de accu op. Verlaag de druk of gebruik een hogere koppelinstelling. |
| Het onderdeel wiebelt of valt eruit. | Chuck not tightened properly. Bit shank is damaged. | Draai de boorkop stevig vast. Vervang het beschadigde boortje. |
| Oververhitting | Continu intensief gebruik. Geblokkeerde ventilatie. | Laat het gereedschap afkoelen. Maak de ventilatieopeningen vrij. |
Specificaties
| Functie | Detail |
|---|---|
| Modelnummer | CR-314 |
| Deeltage | 12 Volt |
| Max Torque | 35Nm |
| Onbelaste snelheid (laag) | 0-450 toeren per minuut |
| Onbelaste snelheid (hoog) | 0-1650 toeren per minuut |
| Koppelingsinstellingen | 25+1 |
| Chuck-maat | 3/8" (10 mm) Sleutelloos |
| Batterijtype | Lithium-ion |
| Batterijcapaciteit | 2000 mAh (2x included) |
| Gewicht | 2.13 kg (met batterij) |
| Afmetingen (L x B x H) | 31x25x9cm |
Meegeleverde accessoires

Image: A display of all accessories included in the kit, such as the cordless drill, flexible drill shank, various drill bits, screwdriver bits, socket spanner, connection head, charger, rechargeable batteries, and carrying case.
- 1 x Cordless Drill
- 1 x Flexible Drill Shank
- 6 x Conventional Drill Bits
- 6 x lange schroevendraaierbits
- 9 x Socket Spanners
- 10 x schroevendraaier Bits
- 2 x Connection Heads
- 1 x Oplader
- 2 x Rechargeable Batteries (2000 mAh each)
- 1 x draagtas
Garantie en ondersteuning
CONENTOOL is committed to providing high-quality products. For any questions regarding your product, please refer to the seller's contact information or Amazon's customer service.
While specific warranty details are not provided in this manual, most products come with a standard manufacturer's warranty against defects in materials and workmanship. Please retain your proof of purchase for any warranty claims.
For further assistance or technical support, please contact the seller Zhen Hui Xiang EU through the Amazon platform.