
Invoering
This instruction manual provides essential information for the safe and efficient operation, setup, and maintenance of your TOTAL 20V Cordless Paint Spray Gun P20S (Model TSGLI2001). Please read this manual thoroughly before using the product and retain it for future reference. Proper understanding and adherence to these instructions will ensure optimal performance and extend the lifespan of your tool.
Belangrijke veiligheidsmededeling: Always use this electric tool away from water or open flames. Ensure the battery is correctly charged and handled. Avoid exposure to or inhalation of paint fumes and always use appropriate protective equipment such as gloves and safety glasses.
Product voorbijview en componenten
The TOTAL 20V Cordless Paint Spray Gun P20S is designed for precise paint application on various surfaces. It operates wirelessly with a 20V P20S battery (sold separately) and features adjustable spray pressure and volume for versatile use.

Figuur 1: Hoofd view of the TOTAL 20V Cordless Paint Spray Gun P20S.
Meegeleverde componenten:
- 1 Cordless Paint Spray Gun
- 1 Viscosity Measuring Funnel
- 1 Maintenance Needle
Opmerking: The 20V P20S battery and charger are not included and must be purchased separately. These are compatible with all TOTAL P20S range tools.

Figuur 2: Zijkant view of the spray gun, highlighting the battery slot.
Specificaties
| Merk | TOTAAL |
| Modelnaam/nummer | TSGLI2001 |
| Energiebron | Battery Powered (20V P20S) |
| Tankinhoud | 800 ml |
| Maximale viscositeit | 40 DIN |
| Spuitvolume | Up to 60 ml/min |
| Spuitdruk | 0.1 - 0.2 bar |
| Artikelgewicht | 1.1 kg |
| Aanbevolen toepassingen | Painting interior and exterior surfaces, furniture, fences, and other objects. |
Instellen
1. Batterij installatie
- Ensure the spray gun is turned off.
- Align the 20V P20S battery (sold separately) with the battery slot at the base of the handle.
- Schuif de batterij in de sleuf totdat deze vastklikt.
- Om de batterij te verwijderen, drukt u op de ontgrendelingsknop op de batterij en schuift u deze eruit.
2. Verfvoorbereiding
- Before filling, ensure your paint is suitable for spray application. Water-based paints may require thinning.
- Use the provided viscosity measuring funnel to check the paint's viscosity. The maximum supported viscosity is 40 DIN. If the paint is too thick, thin it according to the paint manufacturer's instructions.
- Roer de verf goed door.
3. Het reservoir vullen
- Unscrew the paint reservoir from the spray gun body.
- Carefully pour the prepared paint into the 800ml reservoir. Do not overfill.
- Screw the reservoir back onto the spray gun body, ensuring it is tightly sealed to prevent leaks.
4. Nozzle and Air Cap Assembly
- Ensure the nozzle and air cap are clean and correctly assembled.
- The air cap can be rotated to adjust the spray pattern (horizontal, vertical, or circular). Select the appropriate pattern for your task.

Figuur 3: Close-up view of the adjustable nozzle and air cap.
Gebruiksaanwijzing
1. In-/uitschakelen
Press the power button located on the top of the spray gun to turn it on or off.
2. Adjusting Spray Pressure and Volume
- The spray gun offers adjustable pressure between 0.1 and 0.2 bar. Use the pressure adjustment dial (if present, typically near the trigger) to fine-tune the pressure for different paint types and desired finishes.
- The paint flow volume can be adjusted up to 60 ml per minute. This is usually controlled by a knob or trigger adjustment to regulate the amount of paint sprayed.
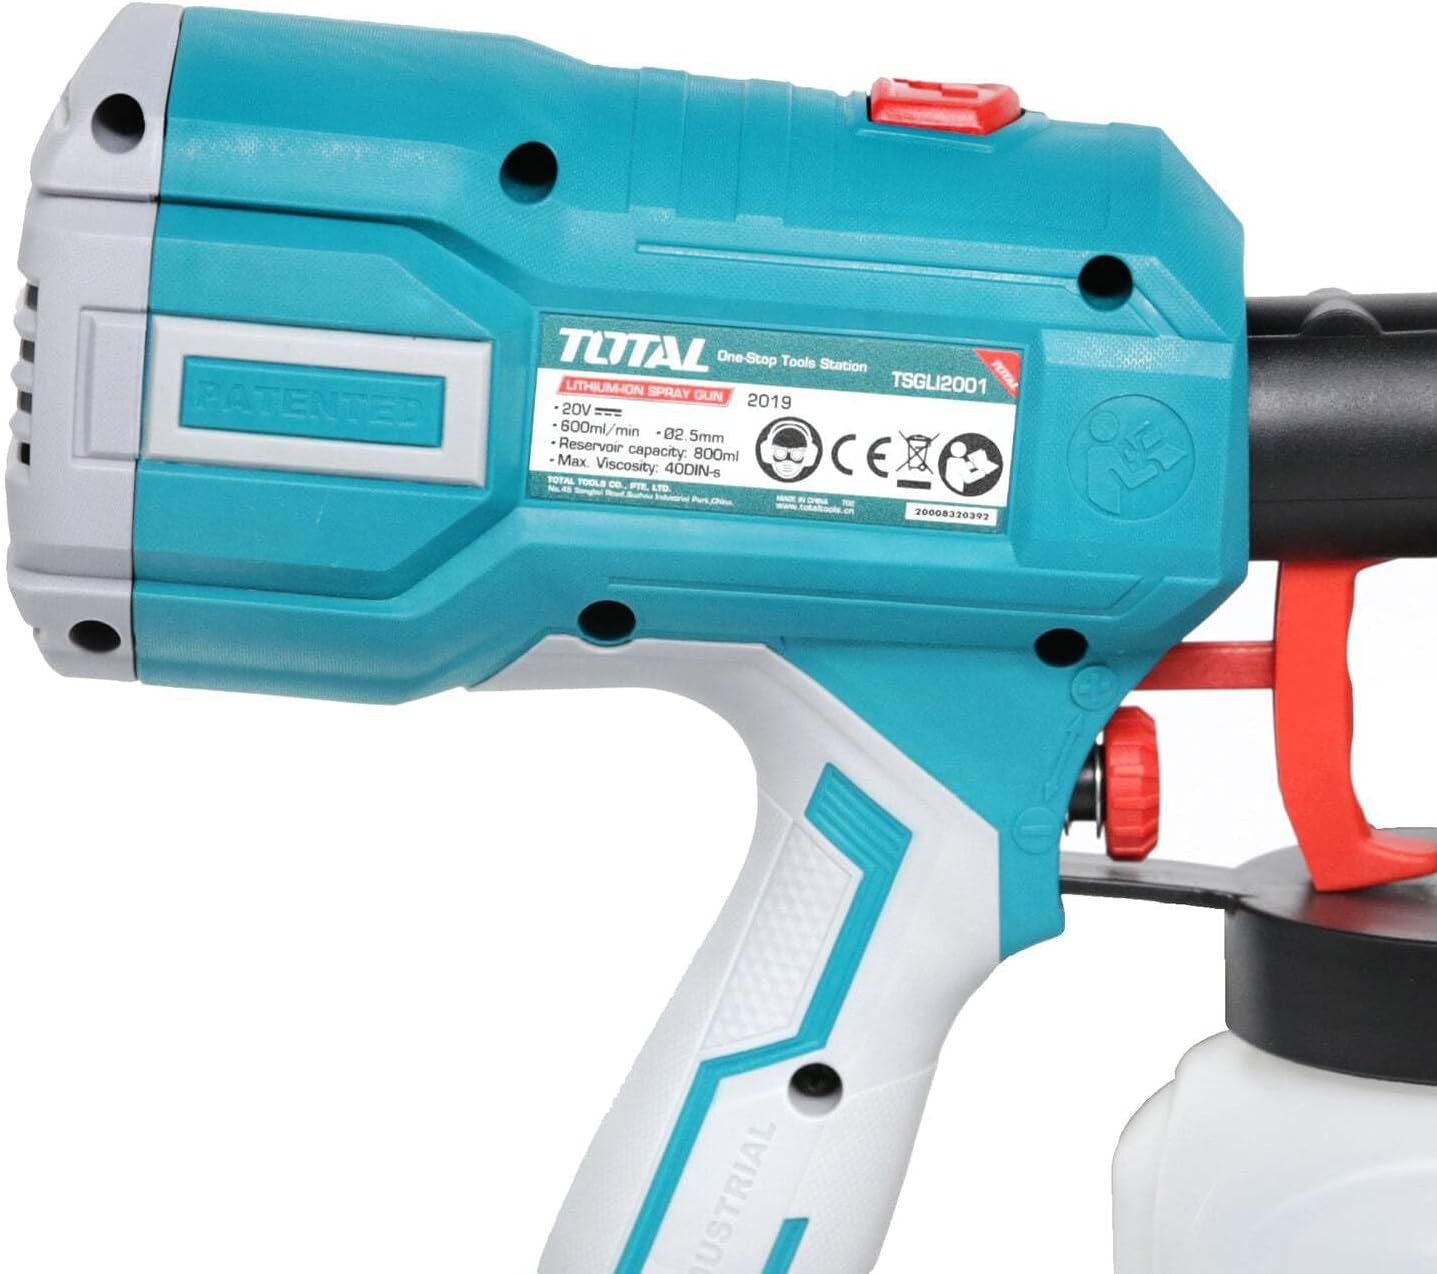
Figuur 4: Zijkant view illustrating the location of controls for adjustment.
3. Spuittechniek
- Testspray: Always perform a test spray on a piece of scrap material to check the spray pattern and flow before applying to your main project. Adjust settings as needed.
- Afstand: Hold the spray gun approximately 6-12 inches (15-30 cm) from the surface, depending on the desired coverage and paint type.
- Beweging: Move the spray gun in smooth, even strokes, keeping a consistent distance and speed. Overlap each pass by about 50% to ensure even coverage.
- Triggercontrole: Press the trigger fully to start spraying and release it at the end of each stroke. Avoid tilting the gun excessively, as this can affect paint flow.
- Meerdere lagen: Apply multiple thin coats rather than one thick coat to achieve a better finish and prevent drips. Allow adequate drying time between coats.
Onderhoud
Regular cleaning and maintenance are crucial for the longevity and optimal performance of your paint spray gun.
1. Reinigen na elk gebruik
- Leeg reservoir: Empty any remaining paint from the reservoir.
- Spoelen: Fill the reservoir with an appropriate cleaning solution (water for water-based paints, mineral spirits or paint thinner for oil-based paints).
- Sprayreiniger: Spray the cleaning solution through the gun until it runs clear.
- Demonteren en schoonmaken: Disassemble the nozzle, air cap, and reservoir. Clean all components thoroughly with the cleaning solution and the provided maintenance needle to remove any paint residue. Pay special attention to small openings and channels.
- Droogvegen: Wipe all parts dry with a clean cloth.
- Opnieuw monteren: Reassemble the spray gun once all parts are dry.
2. Opslag
- Store the clean and dry spray gun in a cool, dry place, away from direct sunlight and extreme temperatures.
- Zorg ervoor dat de accu uit het gereedschap is verwijderd voordat u het opbergt.
Probleemoplossing
If you encounter issues with your paint spray gun, refer to the following common problems and solutions:
| Probleem | Mogelijke oorzaak | Oplossing |
|---|---|---|
| Uneven spray pattern or sputtering | Clogged nozzle or air cap; paint too thick; low paint level. | Clean nozzle and air cap; thin paint to correct viscosity; refill reservoir. |
| Geen verfvloeiing | Nozzle completely blocked; suction tube blocked; reservoir empty. | Thoroughly clean all paint-contacting parts; refill reservoir. |
| Verf druipt of loopt uit | Applying too much paint; holding gun too close; paint too thin. | Apply thinner coats; increase distance from surface; adjust paint viscosity. |
| De motor loopt wel, maar er komt geen sproeier uit. | Air intake blocked; paint reservoir not sealed properly. | Check and clear air intake; ensure reservoir is tightly sealed. |
| Gereedschap gaat niet aan | Battery not charged; battery not properly inserted. | Charge the battery; ensure battery is securely clicked into place. |
Veiligheidsinformatie
Always observe the following safety precautions when operating the TOTAL 20V Cordless Paint Spray Gun P20S:
- Persoonlijke beschermingsmiddelen (PBM): Always wear safety glasses, gloves, and a respirator or mask to protect against paint fumes and overspray.
- Werkgebied: Ensure the work area is well-ventilated to prevent the buildup of flammable vapors and to minimize inhalation of paint fumes. Keep the area clear of children and pets.
- Brandbare materialen: Do not use the spray gun near open flames, sparks, or any ignition sources. Ensure proper ventilation when using flammable paints or solvents.
- Elektrische veiligheid: Keep the tool away from water. Ensure the battery is correctly charged and handled according to its instructions. Do not expose the battery or tool to rain or wet conditions.
- Verfcompatibiliteit: Only use paints and thinners recommended for spray gun application. Always check the paint manufacturer's instructions for thinning and compatibility.
- Schoonmaak: Disconnect the battery before cleaning or performing any maintenance. Use appropriate cleaning solutions and dispose of waste materials responsibly.
- Opslag: Store the tool and battery in a secure, dry place out of reach of children.
Garantie en ondersteuning
Garantie-informatie
Dit TOTAL-product wordt geleverd met fabrieksgarantie. 10 jaarBewaar uw aankoopbewijs voor garantieclaims.
Klantenservice
For any questions regarding the product, including dimensions, weight, or operation, please contact TOTAL customer support through the internal messaging service of your purchase platform. Our team is available to assist you with any inquiries.