1. Veiligheidsinstructies
Lees en begrijp alle instructies voordat u met de installatie begint. Het niet opvolgen van deze instructies kan leiden tot een elektrische schok, brand of letsel.
- Elektrische veiligheid: Ensure power is turned off at the circuit breaker before installation or maintenance. Consult a qualified electrician if you are unsure about wiring.
- Montage: The ceiling fan must be mounted to a structurally sound ceiling joist or outlet box capable of supporting the fan's weight.
- Bollen: Use only E26 base bulbs, maximum 10W LED or equivalent incandescent. Bulbs are not included.
- Opruiming: Zorg voor voldoende afstand tussen de ventilatorbladen en eventuele obstakels.
- Afstandsbediening: Houd de afstandsbediening uit de buurt van water en extreme temperaturen.
2. Inhoud van het pakket
Controleer of alle onderdelen aanwezig en onbeschadigd zijn voordat u met de installatie begint.
- Caged Ceiling Fan Unit (with integrated motor and light sockets)
- Afstandsbediening
- Montagebeugel
- Hardwarepakket (schroeven, draadmoeren, enz.)
- Gebruiksaanwijzing
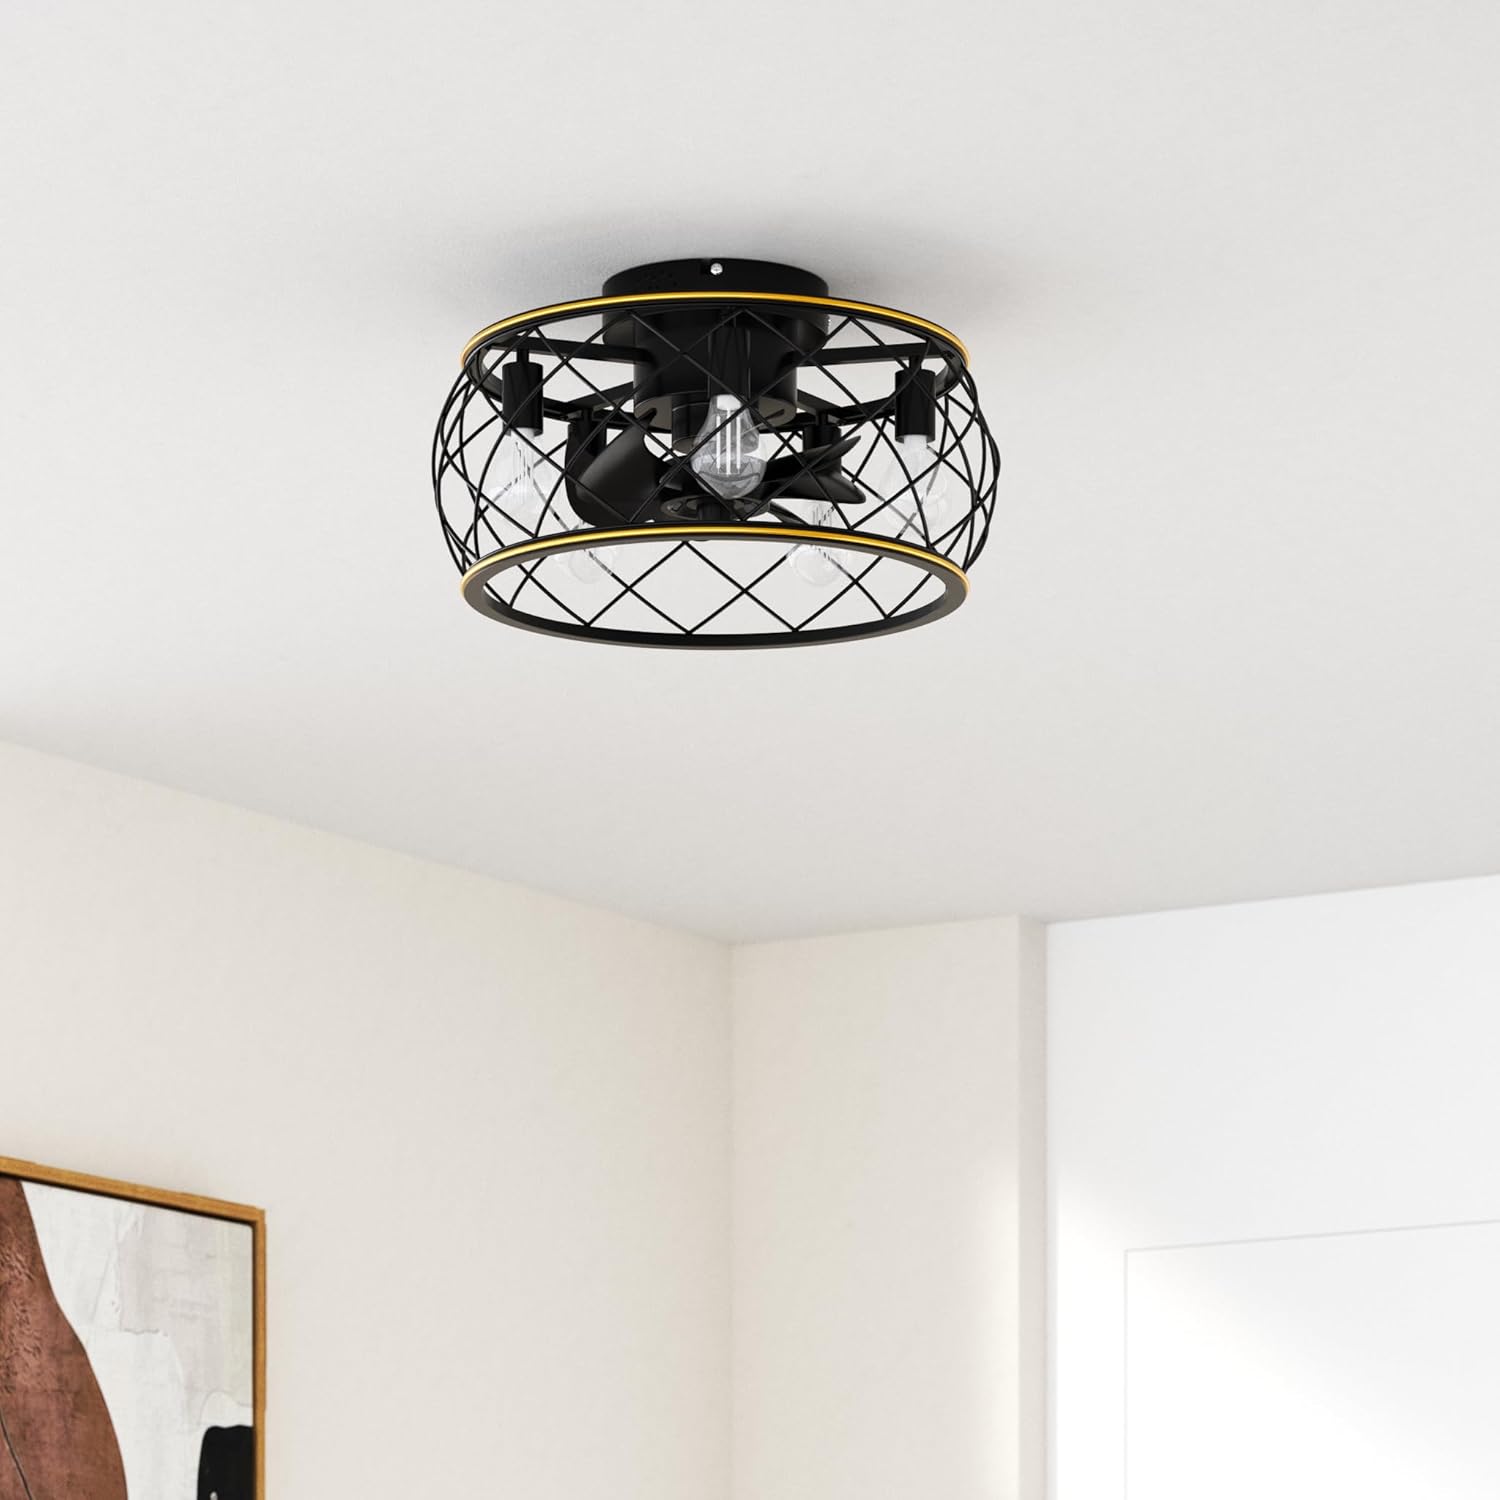
Afbeelding 1: voorbijview of the Ohniyou Caged Ceiling Fan with Lights and Remote.
3. Installatie
Professional installation is recommended for electrical work. Ensure power is disconnected before starting.
- Montageplaats voorbereiden: Turn off power at the circuit breaker. Remove any existing light fixture.
- Montagebeugel installeren: Secure the mounting bracket to the ceiling junction box using appropriate screws. Ensure it is firmly attached.
- Assemble Fan Unit (if necessary): Some components may require pre-assembly. Refer to the detailed diagrams in the printed manual for specific steps.
- Bedradingsverbindingen: Connect the fan's wires to the household wiring according to local electrical codes. Typically, connect live to live, neutral to neutral, and ground to ground. Use wire nuts to secure connections.
- Bevestig de ventilator aan de montagebeugel: Carefully lift the fan unit and attach it to the installed mounting bracket. Secure with screws.
- Gloeilampen installeren: Screw five E26 base bulbs (not included) into the sockets.
Video 1: This video demonstrates the installation process for a similar caged ceiling fan, including assembly of the frame, fan blades, and wiring connections. Note that specific steps may vary slightly for your Ohniyou model.

Afbeelding 2: Close-up view of the fan's flush mount design, 8 black blades, hand-painted gold line detail, and 5 E26 bulb bases.
4. Gebruiksaanwijzing
Your Ohniyou Caged Ceiling Fan is operated using the included remote control.
Functies van de afstandsbediening:
- Aan/uit-knop: Schakelt de ventilator en het licht in/uit.
- Licht aan/uit: Controls the light independently.
- Ventilatorsnelheid (1-6): Hiermee kunt u de ventilatorsnelheid aanpassen van laag (1) tot hoog (6).
- Timer (1 uur, 2 uur, 4 uur): Hiermee stel je de ventilator zo in dat hij na 1, 2 of 4 uur automatisch uitschakelt.
- Forward (F) / Reverse (R): Changes the direction of the fan blades. Use 'F' for downdraft (summer mode) and 'R' for updraft (winter mode).

Image 3: Diagram of the remote control with labeled buttons for fan speed, light control, timer, and forward/reverse functions.
Video 2: This video demonstrates the operation of the Ohniyou Caged Ceiling Fan, showcasing the remote control functions for turning the light and fan on/off, and adjusting fan speeds.
Omkeerbare motorfunctie:
De omkeerbare motor zorgt het hele jaar door voor comfort:
- Summer Downdraft Mode (Forward): Air circulates downward to create a cooling effect.
- Winter Updraft Mode (Reverse): Air circulates upward to redistribute warm air, enhancing heating efficiency.

Image 4: Visual representation of the fan's reversible motor function, illustrating airflow for both summer downdraft and winter updraft modes.
5. Onderhoud
Regelmatig onderhoud zorgt ervoor dat uw plafondventilator optimaal presteert en lang meegaat.
- Schoonmaak: Dust the fan blades and cage regularly with a soft, damp doek. Gebruik geen schurende reinigingsmiddelen of oplosmiddelen.
- Lamp vervangen: Ensure power is off before replacing light bulbs. Allow bulbs to cool completely before handling.
- Bevestigingsmiddelen vastdraaien: Periodically check and tighten all screws and fasteners to ensure secure operation.
6. Probleemoplossing
Als u problemen ondervindt met uw ventilator, raadpleeg dan de volgende veelvoorkomende problemen en oplossingen:
| Probleem | Mogelijke oorzaak | Oplossing |
|---|---|---|
| Ventilator start niet | No power, loose wiring, remote battery dead | Check circuit breaker, ensure wiring is secure, replace remote battery. |
| Het licht werkt niet | Bulb faulty, loose wiring, remote battery dead | Replace bulb, check wiring, replace remote battery. |
| Ventilator maakt lawaai | Loose screws, unbalanced blades | Tighten all mounting screws, ensure blades are securely attached. |
| Afstandsbediening werkt niet | Dead battery, interference | Replace remote battery, ensure no obstructions between remote and fan. |
7. Specificaties
- Merk: Ohniyou
- Modelnaam: 011
- Productafmetingen: 20"L x 20"B x 9.7"H
- Artikelgewicht: 9.53 pond
- Materiaal: Metaal
- Stijl: Boerderij
- Installatietype: Inbouw
- Energiebron: AC
- Deeltage: 120 Volt
- Aantal lichtbronnen: 5
- Lampvoet: E26
- Wattage: 30 watts (total for lights)
- Speciale eigenschap: Bladeless, Remote Controlled, Reversible Motor
- Binnen-/buitengebruik: Binnen, Buiten
- Meegeleverde componenten: Afstandsbediening

Image 5: Detailed diagram showing the product dimensions (20 inches diameter, 9.7 inches height) and E26 bulb base requirement.
8. Garantie en ondersteuning
This Ohniyou Caged Ceiling Fan comes with a Beperkte garantie. For specific details regarding warranty coverage, terms, and conditions, please refer to the warranty information provided in the product packaging or contact Ohniyou customer support.
For technical assistance, troubleshooting, or replacement parts, please contact Ohniyou customer service through the retailer where the product was purchased or visit the official Ohniyou webplaats.