1. Inleiding
This manual provides essential information for the safe assembly, operation, and maintenance of your Fms 1700MM Piper PA-18 Super CUB remote control airplane. Please read this manual thoroughly before operating the aircraft to ensure proper function and safety.
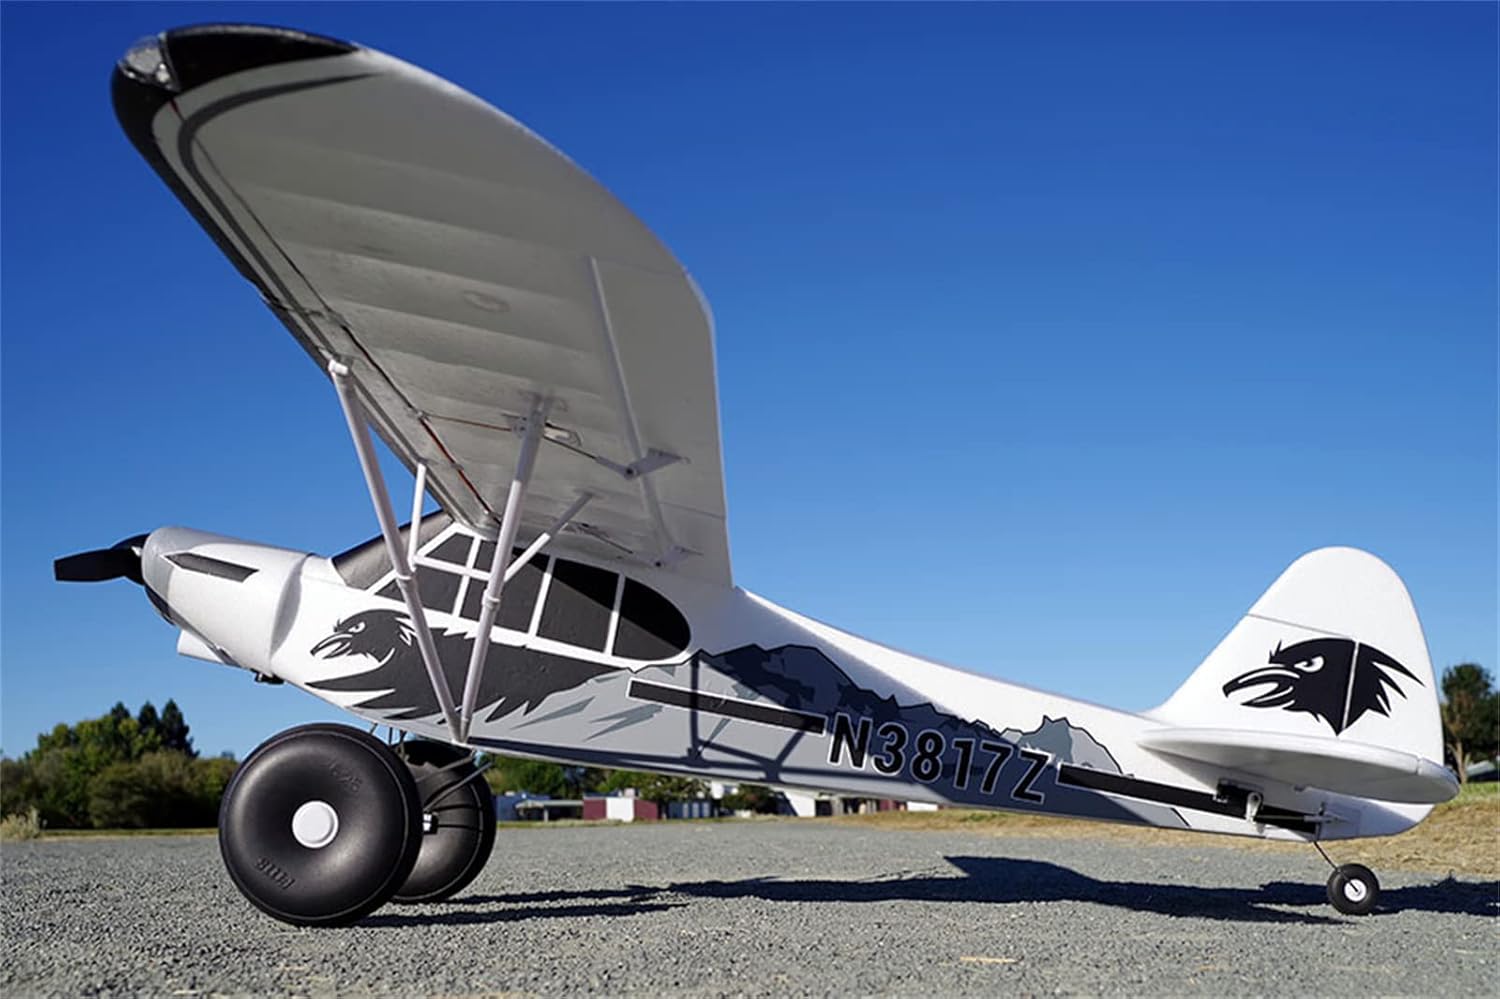
The Fms 1700mm PA-18 Super Cub is a Plug and Play (PNP) model, meaning it comes pre-installed with ESC, motor, and servos. A transmitter, receiver, battery, and charger are NOT included and must be purchased separately.
2. Veiligheidsinformatie
Operating a remote control aircraft requires caution and adherence to safety guidelines. Failure to do so may result in injury or property damage.
- Always operate your RC plane in open areas, away from people, buildings, and other obstacles.
- Ensure all batteries are fully charged and properly installed before each flight.
- Perform pre-flight checks on all control surfaces and radio connections.
- Never fly near airports or restricted airspace.
- Vermijd vliegen bij harde wind of ongunstige weersomstandigheden.
- Houd uw handen en losse kleding uit de buurt van de propeller wanneer de motor draait.
- Adult supervision is recommended for operators under 14 years of age.
3. Inhoud van het pakket
The Fms 1700MM Piper PA-18 Super CUB PNP package includes:
- Pre-assembled fuselage with motor, ESC, and servos installed.
- Main wing halves with integrated servo connectors.
- Horizontal and vertical stabilizers.
- Landing gear with 6.25-inch oversized balloon tires.
- Propeller and spinner.
- Wing struts.
- Small parts bag (screws, plastic retainers, pushrods).
- Gebruiksaanwijzing.
Note: Transmitter, receiver, flight battery, and charger are not included.
4. Opstelling en montage
Follow these steps for quick and glue-free assembly:
4.1 Landing Gear Installation
With the fuselage inverted, insert the landing gear into the designated slots. Secure the landing gear using the included screws and plastic retainers. Attach the springs to the landing gear assembly for proper suspension.

4.2 Wing Assembly
Insert the wing spar into the pass-through on the fuselage. Carefully slide both wing halves onto the wing spar, ensuring the integrated servo connectors align and seat properly. Secure the wing halves and wing struts using the included screws and wing bolts.
4.3 Horizontal Stabilizer Installation
Insert the horizontal stabilizer spat into the pass-through on the fuselage. Insert both halves of the horizontal stabilizer onto the spat. Use the included bolts to secure the horizontal stabilizer.
4.4 Control Surface Connections
With the elevator servo centered, connect the pushrod to the control horn on the elevator. Repeat for other control surfaces (ailerons, rudder) as necessary. The ball-link pushrods ensure increased precision.
4.5 Propellerinstallatie
Install the propeller and spinner in the order shown in the diagram (refer to the physical manual for detailed diagram). Ensure it is securely fastened.
4.6 Batterij installatie
The aircraft features an oversized battery compartment. Insert your recommended 14.8V 2200-2600mAh 35C LiPo battery (not included) into the compartment and secure it with the provided strap (if any) to prevent shifting during flight.
5. Gebruiksaanwijzing
5.1 Controles vóór de vlucht
- Verify all control surfaces move freely and correctly in response to transmitter inputs.
- Check battery charge level on both the aircraft and transmitter.
- Zorg ervoor dat de propeller stevig vastzit en onbeschadigd is.
- Confirm the Reflex V2 system is correctly configured for your desired flight mode.
5.2 Opstijgen
The 1700mm PA-18 Super Cub is known for its Short Takeoff and Landing (STOL) capability, achieving takeoff heights of less than 3 meters/10 feet. Position the aircraft into the wind, gradually increase throttle, and apply slight elevator input as speed builds to lift off.
5.3 Vlucht
The aircraft offers excellent flight characteristics. Use gentle control inputs for smooth flight. For advanced maneuvers, ensure you are in the appropriate Reflex V2 mode.

5.4 Overloop
Approach the landing area into the wind. Reduce throttle and maintain a controlled descent. Apply slight elevator input just before touchdown for a smooth landing. The CNC metal landing gear and oversized tires are designed for perfect landings on various terrains.
6. Reflex V2 Flight Controller System
The Reflex V2 is a user-upgradeable flight controller compatible with most FMS aircraft. It can be reprogrammed easily with different model files via a simple software interface. It offers three flight modes:
- Stabilized Mode: Designed for beginners. Reflex will rapidly level the aircraft from any attitude when this mode is activated. It combines accelerometer and gyro data to determine how to level the aircraft when the control sticks are released, providing peace of mind. The aircraft will maintain level flight with 50-60% throttle and climb under full throttle.
- Optimized Mode: Utilizing advanced solid-state gyros, the Reflex system maintains aircraft attitude by counteracting inflight upsets, such as gusts or crosswinds. With Reflex, even small aircraft will fly with confidence, similar to much larger models.
- Uit-modus: This turns off all gyro functionality. The aircraft is flown completely manually.
These modes are controlled with a two or three-position switch on your transmitter. When assigned to a two-position switch, the Reflex system changes between stabilized and optimized modes.

7. Onderhoud
- Regularly inspect all components for damage, especially after hard landings.
- Check propeller for cracks or chips and replace if damaged.
- Ensure all screws and connections are tight.
- Keep the aircraft clean and free from dirt and debris.
- Store the aircraft in a cool, dry place away from direct sunlight.
8. Probleemoplossing
| Probleem | Mogelijke oorzaak | Oplossing |
|---|---|---|
| Het vliegtuig reageert niet op de besturing. | Low battery on transmitter or aircraft; receiver not bound; loose connections. | Charge batteries; re-bind receiver; check all wiring. |
| Het vliegtuig vliegt onregelmatig. | Incorrect control surface trim; damaged control surface; Reflex V2 settings. | Adjust trim; inspect and repair damage; check Reflex V2 mode. |
| Motor draait niet. | ESC not armed; motor or ESC failure; loose connections. | Ensure throttle is at zero and arm ESC; check connections; replace faulty components. |
9. Specificaties
| Functie | Specificatie |
|---|---|
| Spanwijdte | 1700 mm / 66.9 inch |
| Totale lengte | 1136 mm / 44.7 inch |
| Vliegend gewicht | ~2100 gram |
| Motorgrootte | 3541-KV750 Outrunner |
| ESC | 45A Predator |
| Servo | 17x 6g |
| Radiokanalen | 6 Channel (minimum) |
| Aanbevolen batterij | 14.8V 2200-2600mAh 35C |
| Geschatte vliegduur | 4-6 minuten |
| Ervaringsniveau | Tussenliggend |
| Montagetijd | Ongeveer 40 minuten |
| Kleppen | Ja |
| Trekt in | Nee |
| CG (From leading edge) | 80-85mm |
| Prop-maat | 12*7.5, 2-bladig |
| Vleugelbelasting | 50g/dm² / 0.11oz/in² |
| Vleugel gebied | 42dm² / 651sq.in |

10. Extra functies
- Pre-installed navigation and landing lights for enhanced visibility and realism.
- Robust two-bladed Nylon propellers.

11. Officiële productvideo's
FMS 1700mm(67") Piper PA-18 Super Cub - Features
Video Description: This video showcases the key features and design elements of the FMS 1700mm Piper PA-18 Super Cub RC plane, highlighting its construction and capabilities.
1700mm Piper PA-18 Super Cub
Video Description: A comprehensive video demonstrating the FMS 1700mm Piper PA-18 Super Cub in action, including flight maneuvers and showcasing zijn prestaties.
12. Garantie en ondersteuning
For warranty claims or technical support, please contact Fms customer service. Keep your purchase receipt as proof of purchase.
Fms guarantees their models. If you encounter any issues, please reach out to the seller or Fms directly for assistance.
Voor meer informatie, bezoek de FMS Store op Amazon.