Belangrijke veiligheidsinformatie
Please read these instructions carefully before installation. If you do not understand these instructions or have doubts about the safety of the installation, please contact a qualified installer. The manufacturer is not liable for damage or injury caused by incorrect assembly or use.
- Draagvermogen: Do not exceed the maximum weight capacity specified for your model. Overloading can result in serious injury or property damage.
- Muurstructuur: The wall mount must be securely attached to a suitable wall structure. Do not install on drywall alone. Ensure the mounting surface can safely support the combined weight of the mount and the television.
- VESA-compatibiliteit: Verify your TV's VESA mounting pattern (hole spacing) is compatible with this mount.
- Kinderen: Houd kinderen uit de buurt van het installatiegebied. Kleine onderdelen kunnen verstikkingsgevaar opleveren.
- Hulpmiddelen: Gebruik geschikt gereedschap voor de installatie.
Productcompatibiliteit
This instruction manual covers two models of PERLESMITH Full Motion TV Wall Mounts, PSMFK7 and PSMFK1. Please identify your model and confirm your television's specifications before proceeding with installation.
Model PSMFK7
- Compatibiliteit schermgrootte: Most 26-55 inch TVs.
- Draagvermogen: Up to 70 lbs (31.7 kg).
- VESA-patronen: 100x100mm to 400x400mm.

Figure 1: PSMFK7 Model Compatibility Overview. This image illustrates the supported screen sizes (26-55 inches), maximum weight capacity (70 lbs), and VESA mounting patterns (100x100mm to 400x400mm) for the PSMFK7 TV wall mount.
Model PSMFK1
- Compatibiliteit schermgrootte: Most 26-60 inch TVs.
- Draagvermogen: Up to 77 lbs (35 kg).
- VESA-patronen: Up to 400x400mm (16x16 inches).

Figure 2: PSMFK1 Model Compatibility and Wall Types. This image details the wide compatibility of the PSMFK1 model, supporting TVs up to 60 inches and various VESA patterns. It also indicates suitability for single wood stud, brick, and concrete walls.
Confirm Before Purchase
Voor aankoopasing or installing, ensure your TV meets the following criteria:
- TV-gewicht: Your TV's weight is within the mount's capacity (70 lbs for PSMFK7, 77 lbs for PSMFK1).
- TV-formaat: Your TV's screen size is within the recommended range (26-55" for PSMFK7, 26-60" for PSMFK1).
- VESA-patroon: Your TV's VESA mounting holes match one of the supported patterns.
- Muurtype: Your wall is suitable for installation (single wood stud, concrete, or brick).
- Cable Blockage: Ensure the mounting holes on your TV do not block any cables or inputs.

Figure 3: Pre-Purchase Confirmation Checklist. This image provides a visual summary of essential checks to perform before installing the TV mount, including TV weight, size, VESA, wall type, and potential cable interference.
Wat is inbegrepen
Carefully unpack the box and ensure all parts are present and undamaged. If any parts are missing or damaged, do not attempt to install. Contact customer service for assistance.
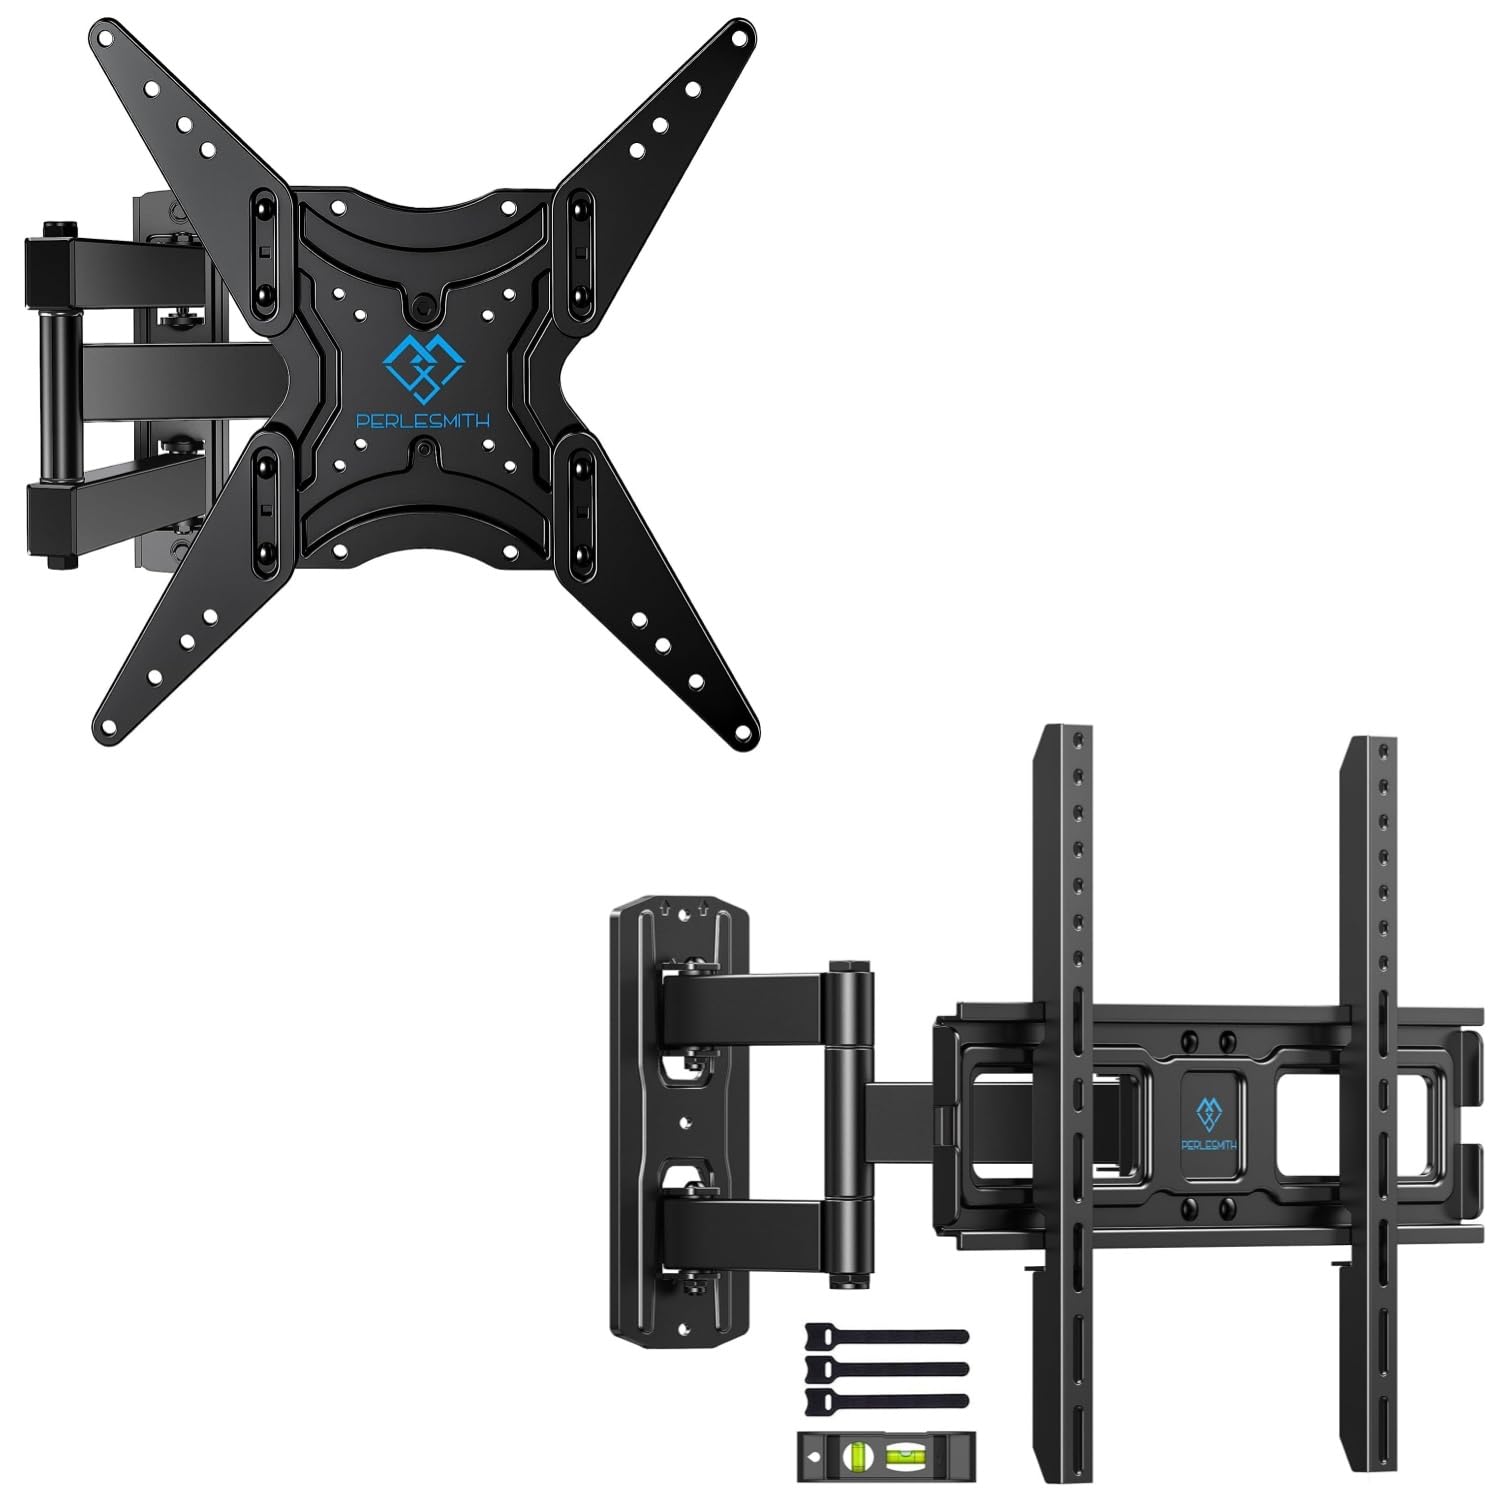
Figure 4: Package Contents. This image displays the main components of the PERLESMITH full motion TV wall mount kit, including the mount assembly, a bubble level for installation, and cable ties for cable management.
Typische inhoud van een verpakking:
- Full Motion TV-muurbeugelmontage
- TV-beugels (x2)
- Montagemateriaalset (verschillende schroeven, ringen, afstandhouders, ankers)
- Waterpas
- Kabelbinders (x3)
- Gebruiksaanwijzing
Instellen en installeren
Een goede installatie is cruciaal voor de veiligheid en stabiliteit van uw tv. Volg deze stappen zorgvuldig.
Voordat u begint
- Gather all necessary tools (e.g., drill, stud finder, level, screwdriver, tape measure).
- Ensure you have a clear, safe workspace.
- Confirm your TV and wall meet the compatibility requirements.
Wall Type Considerations
This mount is designed for installation on:
- Single Wood Stud: Locate the center of the wood stud using a stud finder.
- Solid Concrete Wall: Requires a masonry drill bit and concrete anchors.
- Bakstenen muur: Requires a masonry drill bit and brick anchors.
WAARSCHUWING: Do not install this TV mount on drywall alone. Drywall cannot support the weight of the mount and TV.
Algemene installatiestappen
- Bevestig de tv-beugels aan de tv: Bevestig de verticale tv-beugels aan de achterkant van uw televisie met de juiste schroeven, ringen en afstandhouders uit de montageset. Zorg ervoor dat de beugels gecentreerd en waterpas zijn.
- Bepaal de positie van de muurplaat: Hold the wall plate against the wall at your desired viewing height. Use the included bubble level to ensure it is perfectly horizontal. Mark the drilling locations.
- Boor proefgaten: Drill pilot holes at the marked locations. For wood studs, drill directly. For concrete or brick, use a masonry bit and insert concrete/brick anchors.
- Veilige wandplaat: Bevestig de wandplaat aan de muur met de bouten en ringen. Draai ze stevig vast, maar niet te vast.
- TV ophangen aan muurplaat: Carefully lift the TV (with brackets attached) and hook the brackets onto the wall plate. Ensure the TV is securely seated.
- Veilige TV monteren: Use the safety screws or locking mechanisms on the TV brackets to secure the TV to the wall mount, preventing accidental dislodgement.

Figure 5: Centering Your TV. This image demonstrates a TV mounted centrally on a wall, providing a visual guide for optimal placement above a feature like a fireplace.

Figure 6: Corner Mounting Example. This image illustrates how the full motion design allows for effective TV placement in a room corner, maximizing viewhoeken.
Bedrijfsaanpassingen
The full motion design allows for flexible viewing angles. Adjustments can be made after installation.
- Kantelen: The TV can be tilted +5° upwards to -15° downwards to reduce glare or optimize viewing from different heights. Loosen the tilt knobs on the TV brackets, adjust to the desired angle, and re-tighten.
- Draaibaar: The articulating arm allows the TV to swivel up to +/-90° (180° total range) left or right, depending on TV size and wall distance. Gently push or pull the TV to the desired angle.
- Uitbreiding/intrekking: The mount can extend the TV up to 19.17 inches (48.7 cm) from the wall for optimal viewing or retract it back to 3.2 inches (8.1 cm) for a low-profile Look.
- Nivellering: After installation, the TV can be leveled +/-3° to correct any minor misalignments. Loosen the leveling screws, adjust, and re-tighten.

Figure 7: Full Motion Adjustments. This image visually explains the tilt, extension, swivel, and leveling features of the TV mount, demonstrating the range of motion available for optimal viewind.
Onderhoud
Regelmatig onderhoud zorgt ervoor dat uw tv-muurbeugel lang meegaat en veilig werkt.
- Schoonmaak: Veeg de houder af met een zachte, droge doek om stof te verwijderen. Vermijd schurende reinigingsmiddelen of oplosmiddelen.
- Controleer verbindingen: Controleer regelmatig alle schroeven en verbindingen om er zeker van te zijn dat ze nog goed vastzitten. Draai ze indien nodig opnieuw vast.
- Controleer op schade: Regularly inspect the mount for any signs of wear, corrosion, or damage. If any issues are found, discontinue use and contact customer support.
Probleemoplossing
Als u problemen ondervindt tijdens of na de installatie, raadpleeg dan de volgende veelvoorkomende problemen en oplossingen.
| Probleem | Mogelijke oorzaak | Oplossing |
|---|---|---|
| De TV staat na installatie niet waterpas. | Kleine afwijking tijdens de installatie. | Use the +/-3° leveling adjustment feature. Loosen leveling screws, adjust, and re-tighten. |
| De houder voelt los of instabiel aan. | Screws not fully tightened; incorrect wall anchors used; wall structure insufficient. | Ensure all mounting screws are securely tightened. Verify correct anchors for your wall type. If the wall is insufficient, consult a professional. |
| Moeilijkheden bij het kantelen of draaien. | Adjustment knobs/bolts are too tight. | Loosen the relevant adjustment knobs or bolts slightly, make the adjustment, then re-tighten to hold the position. |
| De TV past niet op de beugel. | Incorrect TV size, weight, or VESA pattern for the mount model. | Verify your TV's specifications against the mount's compatibility (refer to Product Compatibility section). |
Productspecificaties
| Functie | PSMFK7 Model | PSMFK1 Model |
|---|---|---|
| Montagetype | Muurbevestiging | |
| Bewegingstype | Articulerend, draaibaar, kantelbaar | |
| Compatibele schermformaten | 26 - 55 inch | 26 - 60 inch |
| Maximale draagkracht | 70 kg (31.7 lbs) | 77 kg (35 lbs) |
| VESA-compatibiliteit | 100x100mm tot 400x400mm | Tot 400x400mm |
| Kantelhoek | +5° / -15° | |
| Zwenkhoek | +/-90° (up to 180° total, depending on TV size) | |
| Nivellering Aanpassing | +/-3° | |
| Verlenging vanaf de muur | 3.2 inch (ingetrokken) tot 19.17 inch (uitgeschoven) | |
| Materiaal | Gelegeerd staal | |
| Compatibele wandtypen | Single Wood Stud, Solid Concrete, Brick Wall | |
Garantie en ondersteuning
For warranty information or technical support, please refer to the product packaging or contact PERLESMITH customer service directly. Keep your purchase receipt for warranty claims.
If you have any questions or require assistance with installation or operation, please do not hesitate to reach out to our support team.