Invoering
This manual provides detailed instructions for the safe installation, operation, and maintenance of your Progress Lighting Tobin Collection 1-Light Etched White Glass Modern Bath Vanity Light. Please read all instructions carefully before beginning installation and retain this manual for future reference.
The Tobin vanity light features a modern design with tubular arms and an etched white glass shade, finished in Brushed Nickel. It is designed to provide functional and aesthetic lighting for your bathroom space.
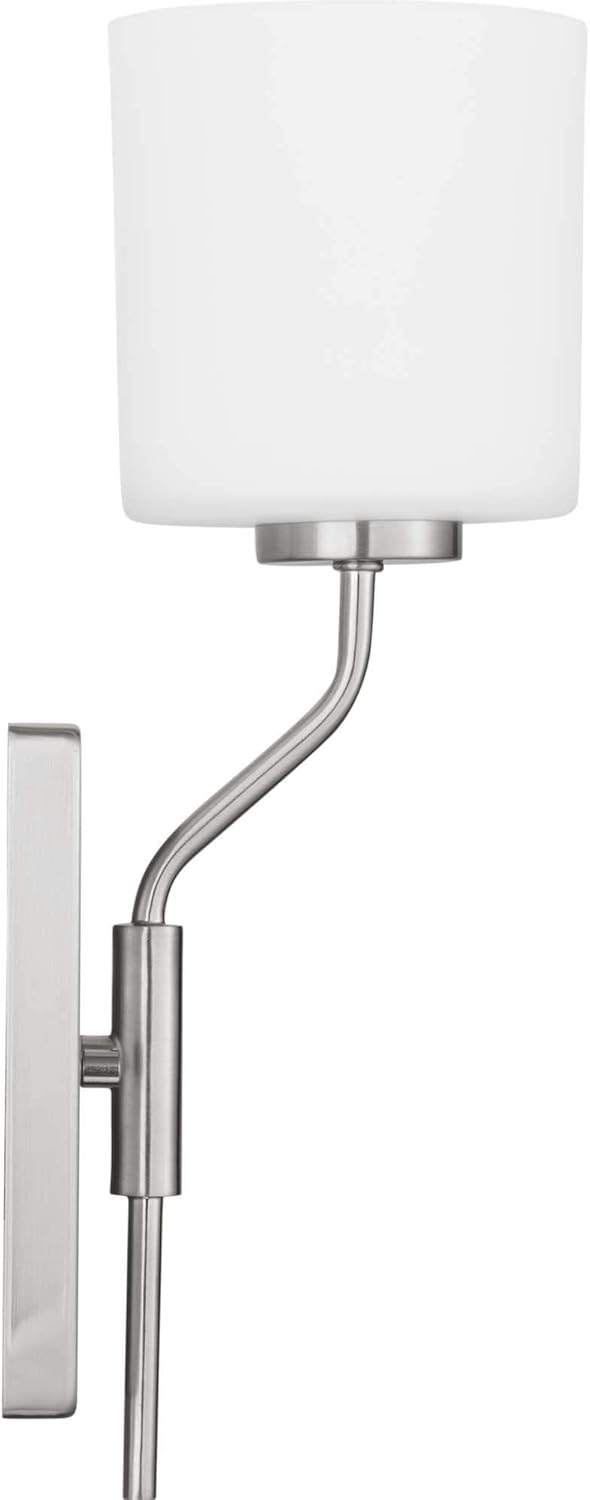
Figure 1: Progress Lighting Tobin 1-Light Vanity Light.
Veiligheidsinformatie
- WAARSCHUWING: Risico op elektrische schokken. Schakel de stroom uit via de zekeringkast of stroomonderbreker voordat u met installatie of onderhoud begint.
- Alle elektrische aansluitingen moeten voldoen aan de plaatselijke voorschriften, verordeningen of de National Electric Code (NEC). Neem contact op met een gekwalificeerde elektricien als u niet bekend bent met de juiste elektrische bedrading.
- Dit armatuur is uitsluitend bedoeld voor gebruik binnenshuis.
- Gebruik alleen het type lamp en wattage specified for this fixture. Exceeding the recommended wattage may cause overheating and damage.
- Ga voorzichtig om met glazen onderdelen om breuk te voorkomen.
- Zorg ervoor dat het armatuur stevig is bevestigd aan een structureel element van het gebouw.
- This product is UL Listed, ensuring it meets specific safety standards.
Inhoud van het pakket
Pak uw nieuwe armatuur voorzichtig uit en leg alle onderdelen op een vrije ruimte neer. Controleer of alle onderstaande onderdelen aanwezig zijn voordat u het verpakkingsmateriaal weggooit.
- Fixture Body (with tubular arm and backplate)
- Geëtste witte glazen kap
- Mounting Hardware (crossbar, mounting screws, wire nuts)
- Installatieblad
Specificaties
| Merk | Vooruitgangsverlichting |
| Modelnaam | Tobin |
| Onderdeelnummer | P300222-009 |
| Kleur | Brushed Nickel (Fixture), Etched White (Shade) |
| Materiaal | Armatuur van gelegeerd staal, lampenkap van glas |
| Stijl | Modern |
| Lichtpunt formulier | Trots |
| Kamertype | Badkamer |
| Binnen-/buitengebruik | Binnen |
| Energiebron | AC |
| Installatietype | Opbouwmontage |
| Speciale functie | Dimbaar |
| Lichtbrontype | Gloeilamp (compatibel met LED) |
| Aantal lichtbronnen | 1 |
| Deeltage | 120 Volt |
| Wattage | 100 watts (max) |
| Lampvoet | E26 Middel |
| Helderheid | 250 lumens (typical for included bulb, may vary with bulb choice) |
| Artikelgewicht | 3.02 pond |
| Montage vereist | Ja |
| Specificatie Voldaan | UL-vermeld |

Figuur 2: Productafmetingen.
Instellen en installeren
Voordat u begint: Ensure power is turned off at the circuit breaker. Read all instructions thoroughly.
- Maak het montageoppervlak klaar: Ensure the electrical box is securely installed and capable of supporting the fixture's weight.
- Bevestig de montageplaat: Secure the mounting crossbar to the electrical box using the provided screws.
- Draadverbindingen: Connect the fixture's wires to the corresponding house wires (black to black, white to white, ground to ground) using the provided wire nuts. Ensure all connections are secure.
- Bevestig het armatuur: Carefully align the fixture's backplate with the mounting screws on the crossbar. Secure the fixture in place with the decorative nuts or screws.
- Installeer glazen kap: Place the etched white glass shade over the socket and secure it according to the specific design (e.g., with a threaded ring or set screws).
- Lamp installeren: Insert one E26 medium base bulb (max 100W incandescent or equivalent LED) into the socket.
This fixture can be mounted with the light facing upwards or downwards, depending on your preference and desired lighting effect.

Figure 3: Mounting Options (Up or Down).
Installatie videogids
Video 1: Bath and Vanity Sizing and Placement Guidelines. This video provides general guidance on sizing and placement for bathroom vanity lights, which can be helpful during installation.
Gebruiksaanwijzing
Once installed, restore power at the circuit breaker. The fixture is operated via a standard wall switch (not included). If connected to a compatible dimmer switch, the light output can be adjusted. Ensure the bulb used is dimmable if you intend to use a dimmer switch.
Onderhoud
- Schoonmaak: Always turn off power before cleaning. Wipe the fixture with a soft, dry cloth. Do not use abrasive cleaners or solvents as they may damage the finish.
- Glazen kap: The etched white glass shade can be removed for cleaning. Wash with mild soap and water, rinse thoroughly, and dry completely before reattaching.
- Lamp vervangen: Ensure power is off and the bulb has cooled before attempting to replace it. Use an E26 medium base bulb, not exceeding 100 watts.
Probleemoplossing
| Probleem | Mogelijke oorzaak | Oplossing |
|---|---|---|
| Licht gaat niet aan. |
|
|
| Licht flikkert. |
|
|
| De glazen lampenkap zit los. |
|
|
Garantie en ondersteuning
Dit Progress Lighting-product valt onder een 1 jaar beperkte garantieDeze garantie verzekert uw volledige tevredenheid met uw aankoop en omvat professionele klantenservice na de verkoop.
Voor garantieclaims of technische assistentie kunt u de contactgegevens op uw aankoopbewijs raadplegen of de officiële website van Progress Lighting bezoeken. webplaats.