1. Inleiding
This manual provides essential information for the safe and efficient use of your Alienware AW3418DW 34.1-inch Curved Gaming Monitor. This monitor features a WQHD (3440x1440) resolution, a 120Hz refresh rate (overclocked), and NVIDIA G-SYNC technology for an immersive gaming experience. Please read this manual thoroughly before operating the device.
2. Veiligheidsinformatie
- Always disconnect the power cable from the wall outlet before cleaning the monitor.
- Stel de monitor niet bloot aan regen of vocht om brand- en schokgevaar te voorkomen.
- Open de monitor nietasing. Er bevinden zich geen onderdelen die door de gebruiker kunnen worden onderhouden. Laat al het onderhoud over aan gekwalificeerd servicepersoneel.
- Plaats de monitor op een stabiele, vlakke ondergrond om te voorkomen dat deze valt.
- Zorg voor voldoende ventilatie rondom de monitor. Blokkeer de ventilatieopeningen niet.
- Gebruik uitsluitend de stroomadapter en kabels die bij de monitor zijn geleverd.
3. Inhoud van het pakket
Controleer of alle componenten in het pakket aanwezig zijn:
- Alienware AW3418DW Monitor
- Monitorstandaard (basis en verhoger)
- Stroomkabel
- DisplayPort-kabel
- HDMI-kabel
- USB 3.0 upstream-kabel
- Documentation (Quick Setup Guide, Safety Information)
4. Instellen
4.1 Fysieke opstelling
Carefully remove the monitor and its components from the packaging. Place the monitor face down on a soft cloth or cushion to prevent scratches.
De standaard bevestigen
- Attach the stand riser to the monitor panel until it clicks into place.
- Attach the stand base to the stand riser and tighten the captive screw.

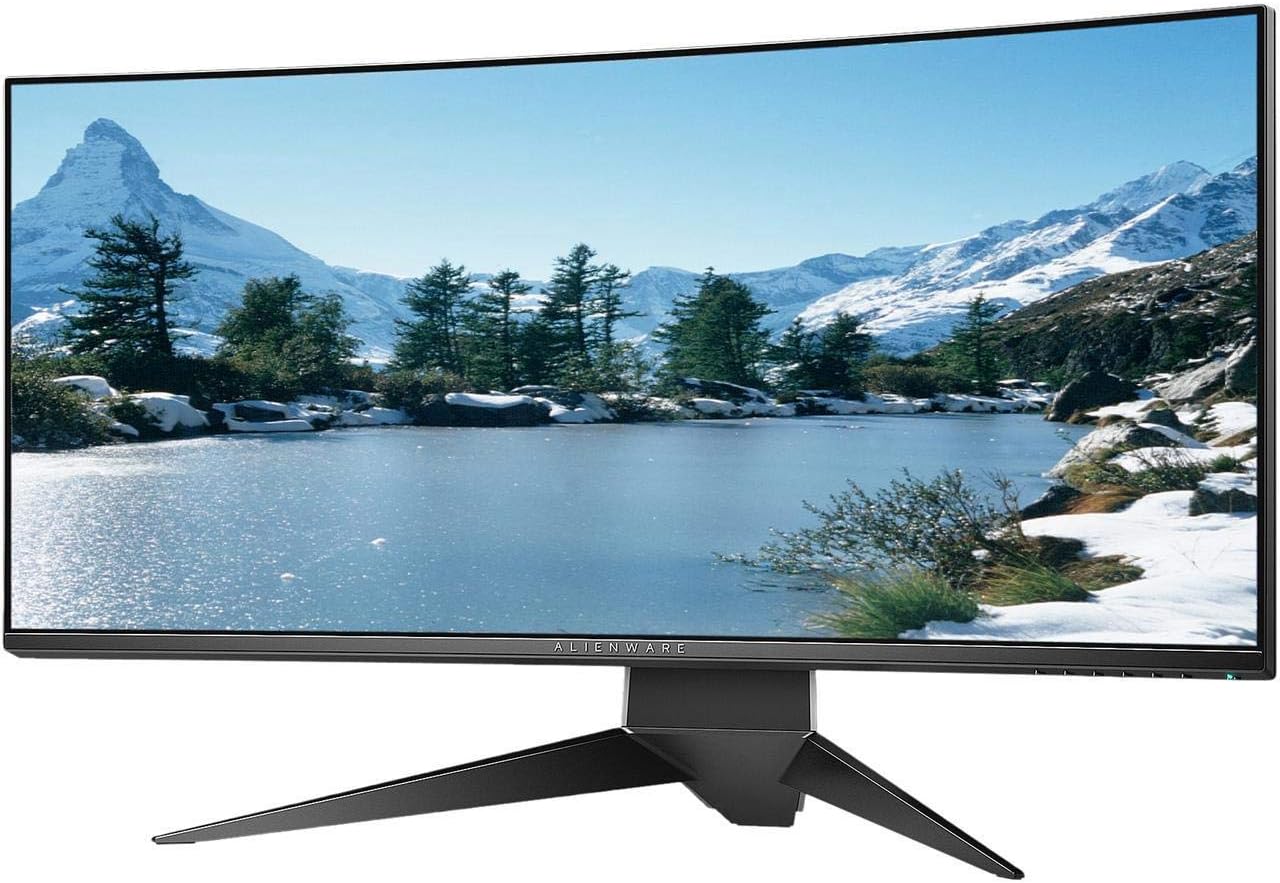
Figuur 4.1: Voorzijde view of the Alienware AW3418DW monitor with its stand attached.

Figuur 4.2: Zijkant view of the Alienware AW3418DW monitor with its stand.
Afbeelding 4.3: Achter view of the Alienware AW3418DW monitor showing the stand and AlienFX lighting.
VESA-montage
The monitor supports VESA mounting (100 x 100 mm). Remove the stand riser by pressing the release button and then attach the VESA-compatible mount to the monitor using appropriate screws. Ensure the mount can support the monitor's weight of 26.1 pounds (without stand).

Figure 4.4: Monitor dimensions for VESA mount compatibility.
4.2 Kabels aansluiten
Sluit de benodigde kabels aan op uw monitor en computer.
- Stroomkabel: Sluit de stroomkabel aan op de voedingsaansluiting van de monitor en vervolgens op een stopcontact.
- Videokabel: Connect either the DisplayPort cable or the HDMI cable from your computer's graphics card to the corresponding port on the monitor. For optimal performance, especially for 120Hz refresh rate and G-SYNC, use the DisplayPort connection.
- USB-upstreamkabel: Connect the USB 3.0 upstream cable from your computer to the monitor's upstream USB port to enable the monitor's USB hub functionality.
- USB-downstream-poorten: Connect your USB devices (e.g., keyboard, mouse, webcam) to the four USB 3.0 downstream ports on the monitor.
5. Gebruiksaanwijzing
5.1 In-/uitschakelen
Druk op de aan/uit-knop op de monitor om deze in of uit te schakelen. De aan/uit-led geeft de status van de monitor aan.
5.2 On-Screen Display (OSD)-navigatie
The On-Screen Display (OSD) menu allows you to adjust various monitor settings. Use the control buttons, typically located on the bottom right or rear of the monitor, to navigate the OSD.
- Press a control button to activate the OSD menu.
- Use the navigation buttons (up/down/left/right) to move through menu options.
- Druk op de selectieknop om een selectie te bevestigen of een submenu te openen.
- Use the back/exit button to return to the previous menu or exit the OSD.
5.3 Weergave-instellingen
Pas de weergave-instellingen aan voor een optimale weergave viewing and gaming performance.
- Oplossing: Set your computer's display resolution to 3440x1440 for the native WQHD experience.
- Vernieuwingsfrequentie: The monitor supports up to 120Hz refresh rate (overclocked). Ensure your graphics card drivers are updated and the refresh rate is set in your operating system's display settings or graphics control panel.
- NVIDIA G-SYNC: For tear-free and smooth gameplay, enable G-SYNC in your NVIDIA Control Panel. This feature synchronizes the monitor's refresh rate with your GPU's frame rate.
- Helderheid/contrast: Adjust these settings in the OSD menu to suit your environment and preference.
5.4 AlienFX Lighting
Customize the AlienFX lighting zones on your monitor through the OSD menu or Alienware Command Center software (if installed on your PC). You can select colors, effects, and synchronize lighting with other Alienware devices.
5.5 USB Hub Usage
The monitor acts as a USB 3.0 hub, providing convenient access to four downstream USB ports for connecting peripherals. Ensure the USB upstream cable is connected to your computer for this feature to function.
6. Onderhoud
6.1 De monitor schoonmaken
- Haal altijd de stekker van de monitor uit het stopcontact voordat u hem schoonmaakt.
- Gebruik lichtjes een zachte, pluisvrije doek dampschoongemaakt met water of een niet-schurende schermreiniger.
- Spuit de reiniger niet rechtstreeks op het scherm.
- Veeg het scherm voorzichtig schoon om stof en vlekken te verwijderen.
- Maak de buitenkant schoonasing met een zachte, droge doek.
6.2 Opslag
If storing the monitor for an extended period, disconnect all cables, carefully disassemble the stand (if applicable), and store it in its original packaging in a cool, dry place.
7. Probleemoplossing
Als u problemen ondervindt met uw monitor, raadpleeg dan de volgende veelvoorkomende stappen voor probleemoplossing:
- Geen scherm: Ensure all power and video cables are securely connected. Check if the monitor is powered on and the correct input source is selected in the OSD.
- Flickering/Stuttering: Verify that your graphics drivers are up to date. Ensure G-SYNC is properly configured in the NVIDIA Control Panel. Check for interference from other electronic devices.
- Onjuiste resolutie/vernieuwingsfrequentie: Adjust the display settings in your operating system or graphics control panel to the native resolution (3440x1440) and desired refresh rate (up to 120Hz).
- Dode pixels: The Alienware AW3418DW comes with a Premium Panel Guarantee. Refer to the warranty information for details on pixel policy.
- USB-poorten werken niet: Ensure the USB 3.0 upstream cable is connected from the monitor to your computer.
8. Specificaties
| Functie | Specificatie |
|---|---|
| Merk | Buitenaards |
| Modelnummer | AW3418DW |
| Schermgrootte | 34.1 inch |
| Oplossing | WQHD (3440 x 1440 Pixels) |
| Beeldverhouding | 21:9 |
| Vernieuwingsfrequentie | 120 Hz (Overclocked) |
| Reactietijd | 4 milliseconden |
| Adaptieve synchronisatietechnologie | NVIDIA G-SYNC |
| Weergavetype | LED IPS |
| Kromming | 1900R |
| Helderheid | 300 cd/m² |
| Contrastverhouding | 1000:1 |
| Viewhoek: | 178 graden |
| Connectiviteit | 1x DisplayPort (1.2), 1x HDMI (1.4), 4x USB 3.0 Downstream, 1x USB 3.0 Upstream |
| Artikelgewicht | 26.1 pond (zonder standaard) |
| Montagetype | VESA Compatible (100 x 100 mm) |
9. Garantie en ondersteuning
Your Alienware AW3418DW monitor is covered by a 3 Years Limited Hardware Warranty En 3 Years Advance Exchange Service, inclusief een Premium Panel Guarantee. The Premium Panel Guarantee ensures a free panel replacement during the limited hardware warranty period even if only one bright pixel is found.
For technical support, warranty claims, or additional information, please visit the official Alienware or Dell support website. You may also find updated drivers and firmware there.
Online hulp: www.dell.com/support