1. Inleiding
Thank you for choosing the Dinuy Helios TI URA R00 Wireless Doorbell Receiver. This manual provides essential information for the safe and efficient installation, operation, and maintenance of your device. Please read these instructions carefully before installation and retain them for future reference.
2. Veiligheidsinformatie
- Elektrisch gevaar: This device operates on 230V AC mains power. Installation must be performed by a qualified electrician or competent person in accordance with local electrical codes and regulations.
- Stroom loskoppelen: Always disconnect the main power supply at the circuit breaker before attempting any installation, wiring, or maintenance.
- Alleen voor gebruik binnenshuis: This receiver is designed for indoor use in dry locations. Do not expose it to moisture, rain, or extreme temperatures.
- Ventilatie: Ensure adequate ventilation around the unit to prevent overheating. Do not cover the receiver.
- Schoonmaak: Use a dry, soft cloth for cleaning. Do not use liquid cleaners or aerosols.
3. Inhoud van het pakket
Controleer de inhoud van het pakket om er zeker van te zijn dat alle artikelen aanwezig zijn:
- Dinuy Helios TI URA R00 Wireless Doorbell Receiver Unit
- Montagemateriaal (schroeven, pluggen)
- Gebruiksaanwijzing (dit document)
4. Product voorbijview
The Dinuy Helios TI URA R00 is a sleek, wall-mountable wireless receiver designed to alert you when a compatible wireless doorbell push button is activated. It integrates seamlessly into various home or office environments.
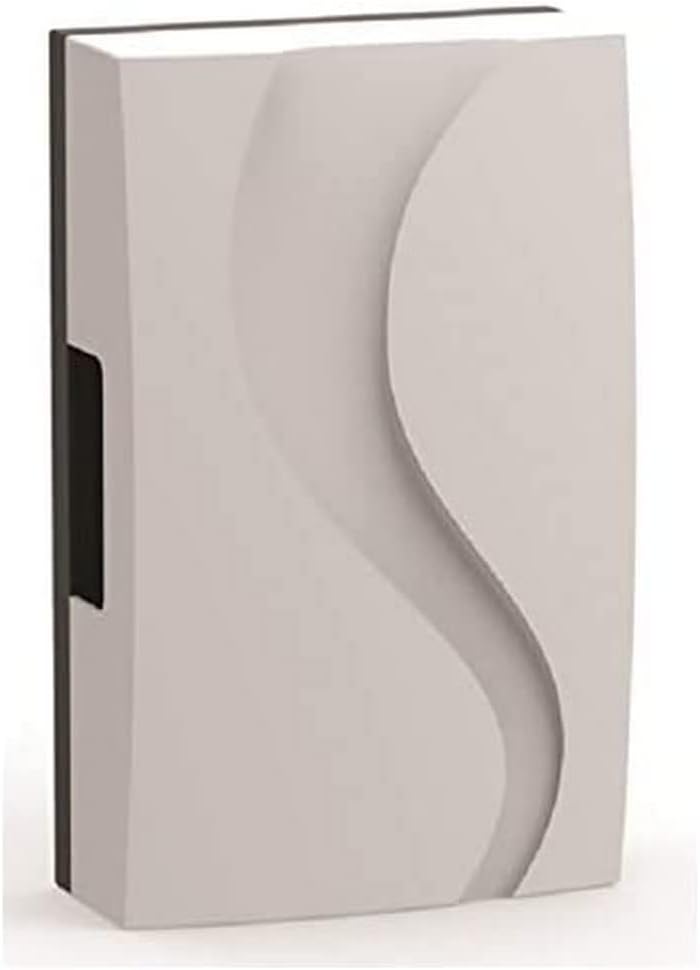
Figuur 1: Dinuy Helios TI URA R00 Wireless Doorbell Receiver. This image displays the compact, rectangular wireless receiver unit. Its front panel features a subtle, wave-like embossed design, providing a modern aesthetic. A small black section is visible on the left side, likely for wiring or mounting.
5. Installatie en installatie
Belangrijk: Ensure the main power supply is disconnected before proceeding with installation.
5.1 De ontvanger monteren
- Choose a suitable indoor location for the receiver, ideally centrally located within your property for optimal wireless signal reception from the doorbell push button.
- Mark the desired mounting points on the wall using the receiver as a template.
- Boor gaten op de gemarkeerde punten en plaats de meegeleverde pluggen.
- Secure the receiver to the wall using the provided screws.
5.2 Wiring the Receiver (230V Mains Connection)
The Dinuy Helios TI URA R00 receiver requires a permanent 230V AC mains power supply.
- With the power disconnected, carefully open the receiver casinGebruik de pijltoets g om toegang te krijgen tot de bedradingsaansluitingen. Raadpleeg indien beschikbaar het interne schema.
- Connect the Live (L) wire from your 230V mains supply to the terminal marked 'L'.
- Connect the Neutral (N) wire from your 230V mains supply to the terminal marked 'N'.
- Zorg ervoor dat alle aansluitingen goed vastzitten en goed geïsoleerd zijn.
- Sluit de ontvanger casing veilig.
5.3 Pairing with a Wireless Push Button
After wiring, restore power to the receiver. Follow these steps to pair it with your wireless doorbell push button (transmitter):
- Put the receiver into pairing mode. This usually involves pressing and holding a specific button on the receiver for a few seconds until an indicator light flashes or a sound is emitted. (Consult your specific doorbell push button manual for its pairing procedure if different).
- Within the pairing window (typically 10-30 seconds), press the button on your wireless doorbell transmitter.
- The receiver should emit a confirmation sound or flash its indicator light to confirm successful pairing.
- Test the connection by pressing the doorbell push button. The receiver should chime.
6. Gebruiksaanwijzing
Once installed and paired, the Dinuy Helios TI URA R00 receiver operates automatically:
- When the paired wireless doorbell push button is pressed, the receiver will sound the selected melody.
- Melodieselectie: If your receiver supports multiple melodies, there will typically be a button (often marked with a music note or 'M') to cycle through available chimes. Press this button to select your preferred melody.
- Volume aanpassen: If your receiver has volume control, a dedicated button (often marked with '+' and '-' or a speaker icon) will allow you to adjust the sound level.
7. Onderhoud
- Schoonmaak: To clean the receiver, wipe the exterior with a soft, dry cloth. Do not use abrasive cleaners, solvents, or wet cloths, as these can damage the unit or cause electrical hazards.
- Geen door de gebruiker te onderhouden onderdelen: The Dinuy Helios TI URA R00 receiver contains no user-serviceable parts. Do not attempt to open or repair the unit yourself. Refer all servicing to qualified personnel.
8. Probleemoplossing
| Probleem | Mogelijke oorzaak | Oplossing |
|---|---|---|
| De ontvanger geeft geen geluidssignaal. | Ontvanger krijgt geen stroom. Receiver not paired with push button. De batterij van de drukknop is leeg. Buiten draadloos bereik. | Check 230V mains connection and circuit breaker. Voer de koppelingsprocedure uit (paragraaf 5.3). Replace battery in the wireless push button transmitter. Move receiver closer to the push button or eliminate obstructions. |
| Intermittent chiming or poor signal. | Draadloze interferentie. De batterij van de drukknop is bijna leeg. Obstructions between receiver and push button. | Relocate receiver or push button away from large metal objects or other wireless devices. Replace battery in the wireless push button transmitter. Ensure clear line of sight or reduce distance. |
| Het indicatielampje van de ontvanger werkt niet. | Geen stroom. Defect apparaat. | Controleer de stroomvoorziening. Neem contact op met de klantenservice. |
9. Specificaties
- Merk: Dinuy
- Model: Helios TI URA R00
- Voeding: 230V wisselstroom
- Afmetingen (ongeveer): 17.4 x 11.1 x 5.5 cm (Lengte x Breedte x Diepte)
- Gewicht (ongeveer): 250 gram
- Installatie: Aan de muur bevestigd
- Bedrijfsfrequentie: (Specific frequency not provided, typically 433MHz or 868MHz for wireless doorbells)
10. Garantie en ondersteuning
Dinuy products are manufactured to high-quality standards. This product is covered by a manufacturer's warranty against defects in materials and workmanship. The specific terms and duration of the warranty may vary by region. Please retain your proof of purchase for warranty claims.
For technical support, troubleshooting assistance beyond this manual, or warranty inquiries, please contact your local Dinuy distributor or visit the official Dinuy webwebsite voor contactgegevens.