1. Inleiding
This manual provides essential information for the safe and effective operation, setup, maintenance, and troubleshooting of your Telwin Linear 340-819020 MMA DC Welding Machine. Please read this manual thoroughly before using the machine to ensure proper handling and to prevent injury or damage.
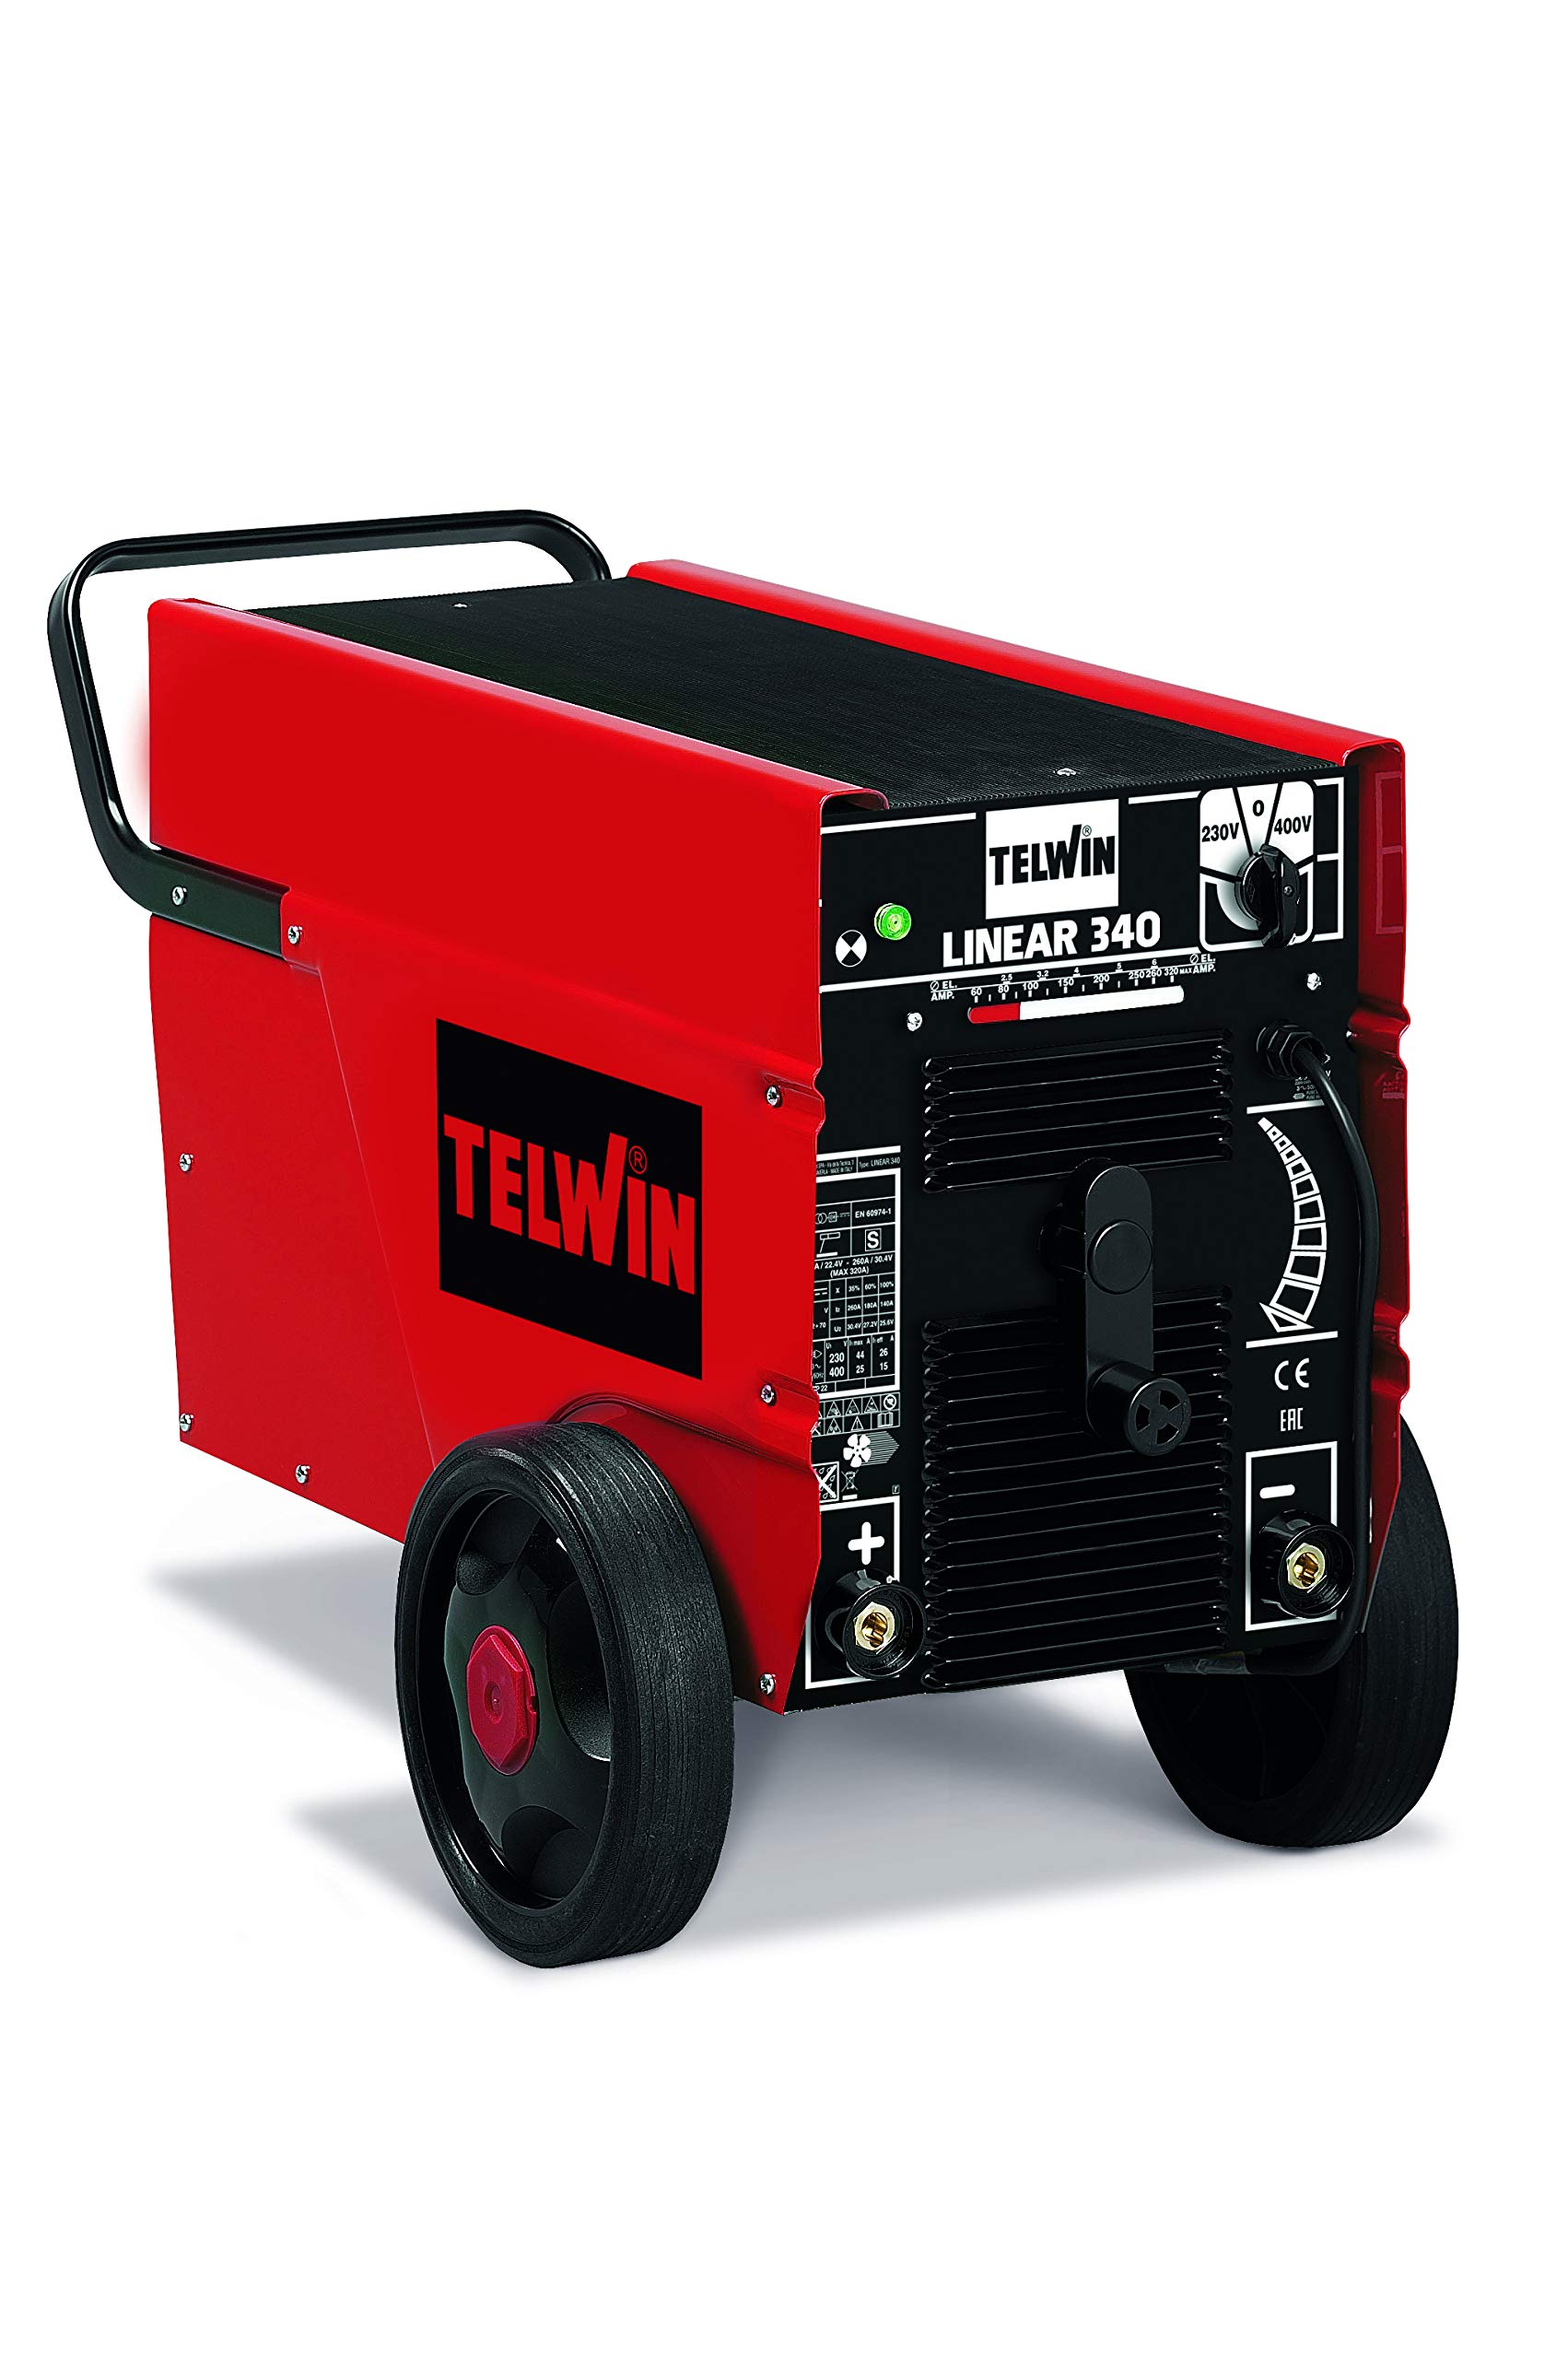
Figure 1: Telwin Linear 340-819020 Welding Machine. This image shows the overall view of the red and black welding machine with its control panel and wheels.
2. Veiligheidsinformatie
Welding operations involve significant risks. Always adhere to safety precautions to prevent electric shock, burns, fire, and exposure to fumes. This machine is designed for Manual Metal Arc (MMA) welding.
- Elektrische schok: Zorg ervoor dat de machine goed geaard is. Raak geen stroomvoerende elektrische onderdelen aan. Draag droge lashandschoenen.
- Dampen en gassen: Werk in een goed geventileerde ruimte. Gebruik indien nodig afzuiging.
- Boogstralen: Bescherm uw ogen en huid tegen de vlamboogstraling. Gebruik een lashelm met de juiste beschermingsfactor en beschermende kleding.
- Fire and Explosions: Houd brandbare materialen uit de buurt van de lasplek. Zorg dat er een brandblusser binnen handbereik is.
- Brandwonden: Hete metalen onderdelen en apparatuur kunnen ernstige brandwonden veroorzaken. Draag beschermende kleding, handschoenen en schoenen.
3. Instellen
3.1 Uitpakken en inspectie
Carefully remove the welding machine from its packaging. Inspect the machine for any signs of damage that may have occurred during transit. Ensure all components listed in the packing list are present. If any damage or missing parts are found, contact your supplier immediately.
3.2 Stroomaansluiting
The Telwin Linear 340-819020 operates on a 230-400V power supply. Ensure your power source matches these requirements. Connect the machine to a suitable power outlet using the provided cord. Verify that the power circuit is adequately protected by a fuse or circuit breaker.
3.3 Electrode Holder Connection
Connect the electrode holder cable to the appropriate terminal on the welding machine. For DC welding, the polarity depends on the electrode type and welding application. Consult your electrode manufacturer's recommendations for correct polarity.
3.4 Grond Clamp Verbinding
Bevestig de grond clamp cable to the workpiece. Ensure a clean, solid electrical connection to the base metal to facilitate a stable arc. A poor ground connection can lead to an unstable arc and poor weld quality.

Figure 2: Close-up of the Telwin Linear 340-819020 control panel. This image highlights the current adjustment knob and connection points.
4. Gebruiksaanwijzing
4.1 In-/uitschakelen
To power on the machine, switch the main power switch to the 'ON' position. The indicator light will illuminate. To power off, switch the main power switch to the 'OFF' position.
4.2 Stroomaanpassing
The Telwin Linear 340-819020 features stepless regulation of the welding current. Use the adjustment knob on the front panel to set the desired welding current. Refer to the electrode manufacturer's recommendations for appropriate current settings based on electrode diameter and material thickness.
4.3 Elektrodeselectie
This machine is compatible with a wide range of electrodes, including rutile, basic, stainless steel, cast iron, and aluminum electrodes. Select the appropriate electrode type and diameter for your specific welding application and material.
4.4 Lasproces
- Zorg ervoor dat u de juiste veiligheidsuitrusting draagt.
- Insert the chosen electrode into the electrode holder.
- Ontsteek een boog door de elektrode lichtjes tegen het werkstuk aan te houden en deze vervolgens snel iets op te tillen om de boog te creëren.
- Zorg voor een consistente booglengte en lassnelheid voor een optimale laskwaliteit.
- Laat het werkstuk na het lassen afkoelen voordat u het aanraakt.
5. Onderhoud
Regelmatig onderhoud garandeert de lange levensduur en veilige werking van uw lasapparaat.
- Schoonmaak: Periodically clean the machine's exterior with a dry cloth. Ensure ventilation openings are free from dust and debris. Use compressed air to clean internal components if necessary, ensuring the machine is unplugged.
- Kabelinspectie: Controleer regelmatig alle laskabels, de elektrodehouder en de aardingskabel.amp for damage, cuts, or loose connections. Replace damaged cables immediately.
- Opslag: Store the welding machine in a dry, clean environment, away from direct sunlight and extreme temperatures.
6. Probleemoplossing
| Probleem | Mogelijke oorzaak | Oplossing |
|---|---|---|
| Geen boog of zwakke boog | Slechte aardverbinding, onjuiste stroominstelling, damp elektrode, probleem met de voeding. | Controleer grond clamp connection, adjust current, dry electrodes, verify power supply. |
| Machine raakt oververhit | Exceeding duty cycle, blocked ventilation. | Allow machine to cool, clear ventilation openings, reduce welding time. |
| Slechte laskwaliteit | Incorrect current, wrong electrode, improper technique, dirty workpiece. | Adjust current, select correct electrode, refine welding technique, clean workpiece. |
7. Specificaties
| Functie | Detail |
|---|---|
| Fabrikant | Telwin |
| Modelnummer | 819020 |
| Artikelgewicht | 80 kilogram |
| Productafmetingen | 46x89x59cm |
| Kleur | Rood/Zwart |
| Type stroombron | Elektrische kabel |
| Deeltage | 240 Volts (Input 230-400V) |
| Wattage | 11.5 Kilowatts (Max Power 7 kW) |
| Meegeleverde componenten | Alleen apparaat |
| Batterijen inbegrepen | Nee |
| Batterijen vereist | Nee |
8. Garantie en ondersteuning
For warranty information and technical support, please refer to the documentation provided with your purchase or contact Telwin customer service directly. Keep your proof of purchase for warranty claims.

Figure 3: Telwin brand logo. This image displays the official logo of the manufacturer, Telwin.